Pour the water into the bowl of a stand mixer fitted with a dough hook, then add the flour on top of the water and add the yeast and salt in separate piles. Mix for 10 minutes on a medium–low speed.
For the first few minutes it will look shaggy and you might be worried that it won’t come together, but leave it be and by the end of the 10 minutes the dough should be smooth, springy and slightly sticky.
Check the dough after a couple of minutes, though, to see how it’s coming along. If it’s really dry and isn’t coming together, add another tablespoon of water. If it looks really wet, add another tablespoon of flour.
Alternatively, if you don’t have a mixer, you can knead the dough by hand.
Sprinkle your work surface with a little flour and tip the dough out onto it. Knead it by hand a few times to bring it together into a smooth, round ball that holds its shape well and springs back when you poke it.
If it doesn’t pass those tests, knead it for 1–2 minutes more.
Using a dough cutter or a sharp knife, cut the dough in half. Pressing it firmly into the work surface, roll each piece into a smooth round, like a tennis ball. Put the dough balls on two side plates or a baking tray dusted with flour.
Cover tightly with clingfilm or soak a clean tea towel in cold running water from the tap and wring it out really well, then cover the dough with the damp cloth.
Place the covered plates or tray in the fridge for at least 6 hours, but ideally overnight or even up to 48 hours to let it have a long fermentation and a slow rise. The longer you let the dough sit in the fridge, the more flavour it will have.
Take the dough out of the fridge 1 hour before you want to cook the pizzas, making sure you keep it covered with the clingfilm or damp cloth so it doesn’t dry out.
When you’re ready to shape the dough, dust a pizza peel or a thin wooden chopping board generously with flour. You can either stretch the dough by hand or use a rolling pin. If you’re using a rolling pin, dust that with flour too.
Take the rested dough ball off the plate or tray using a dough cutter or a bowl scraper, making sure the dough ball stays round at this point. Place the dough ball onto the floured peel or board and dust some flour on top of the dough too.
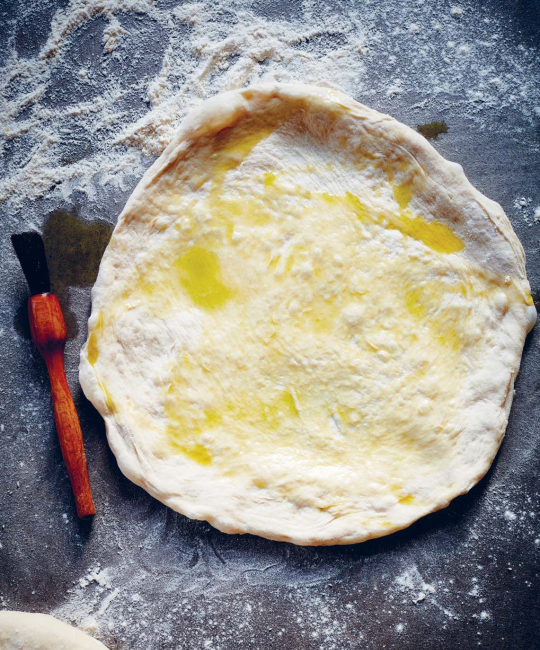
Press down the middle of the dough with your fingers, but don’t press the edge of the dough ball, as that will be the crust later. It should already look like a little pizza. The dough is now ready to be rolled out.
Click on one of our pizza recipes for the next steps.