Best of British
Your ultimate resource to the best British food and drink inspiration, from top culinary picks to must-visit foodie locations
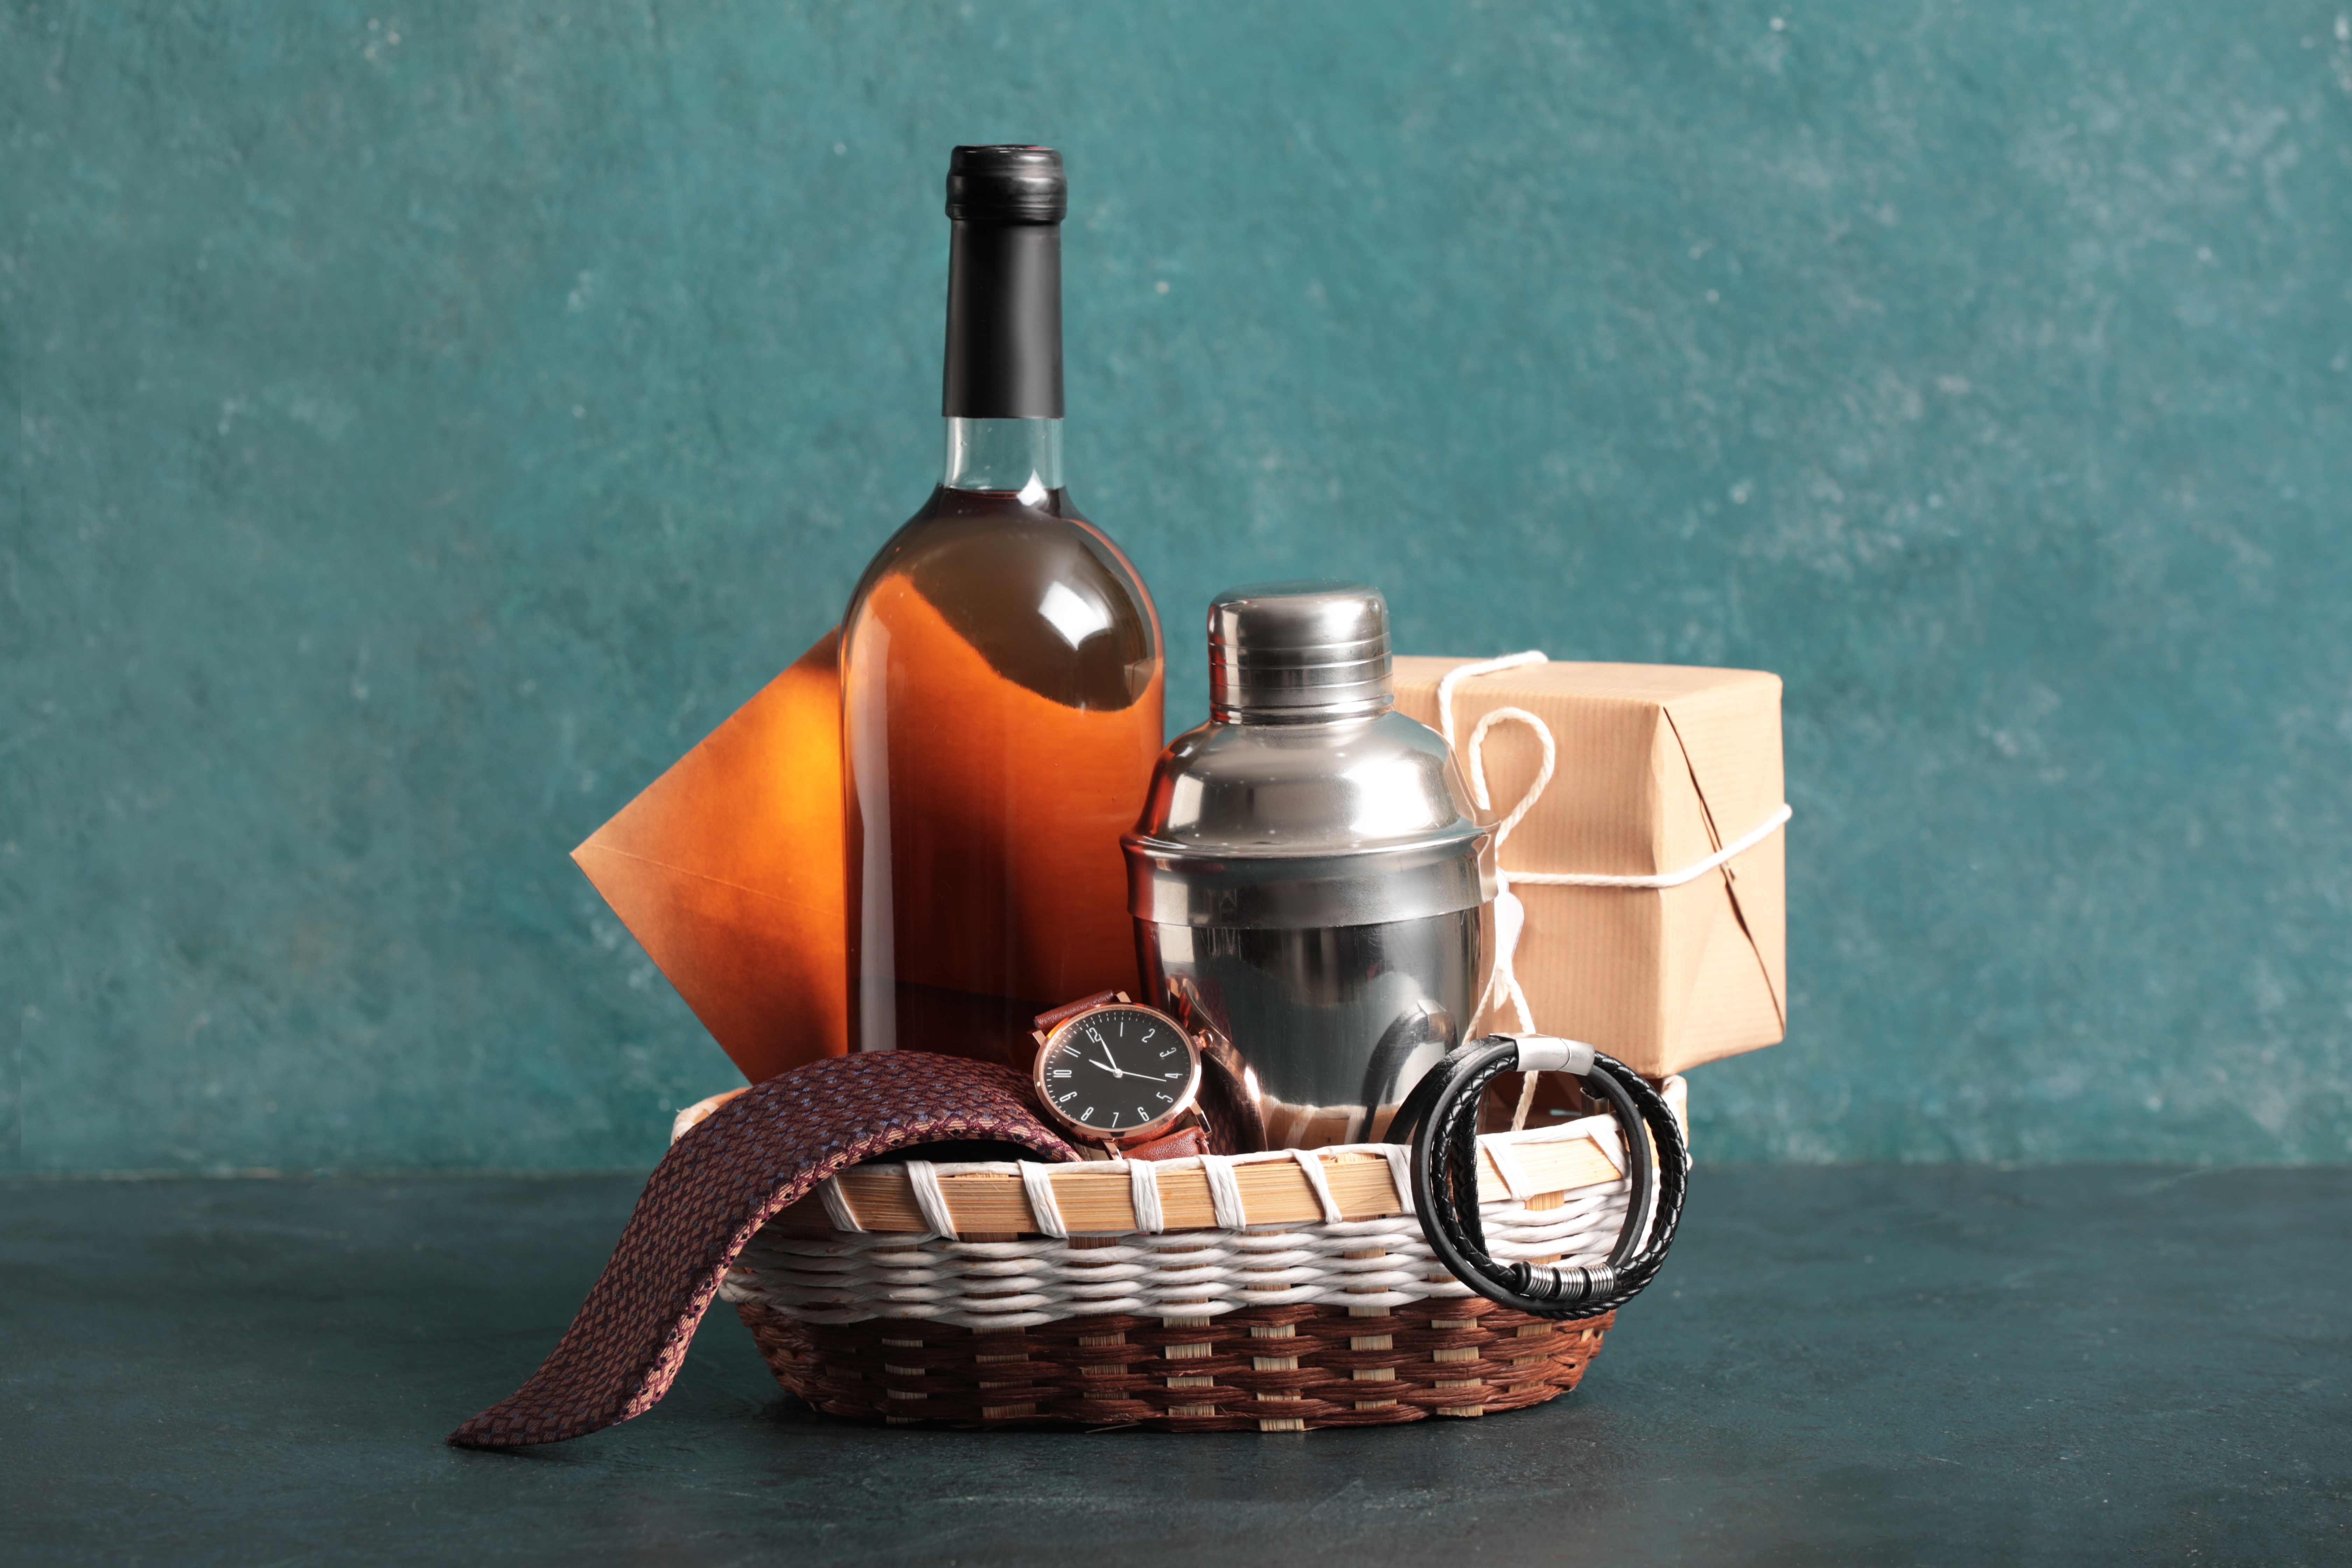
8 delicious Father’s Day gift ideas for dads who have everything
Struggling to find the perfect Father’s Day present? From whisky and craft beer to cookery classes and artisan honey, discover some tasty British food and drink gifts.
This recipe blends ripe tomatoes, mascarpone and a few unexpected umami boosters into…
Layer creamy vanilla custard, fruity jam and crisp-topped meringue into one irresistible…
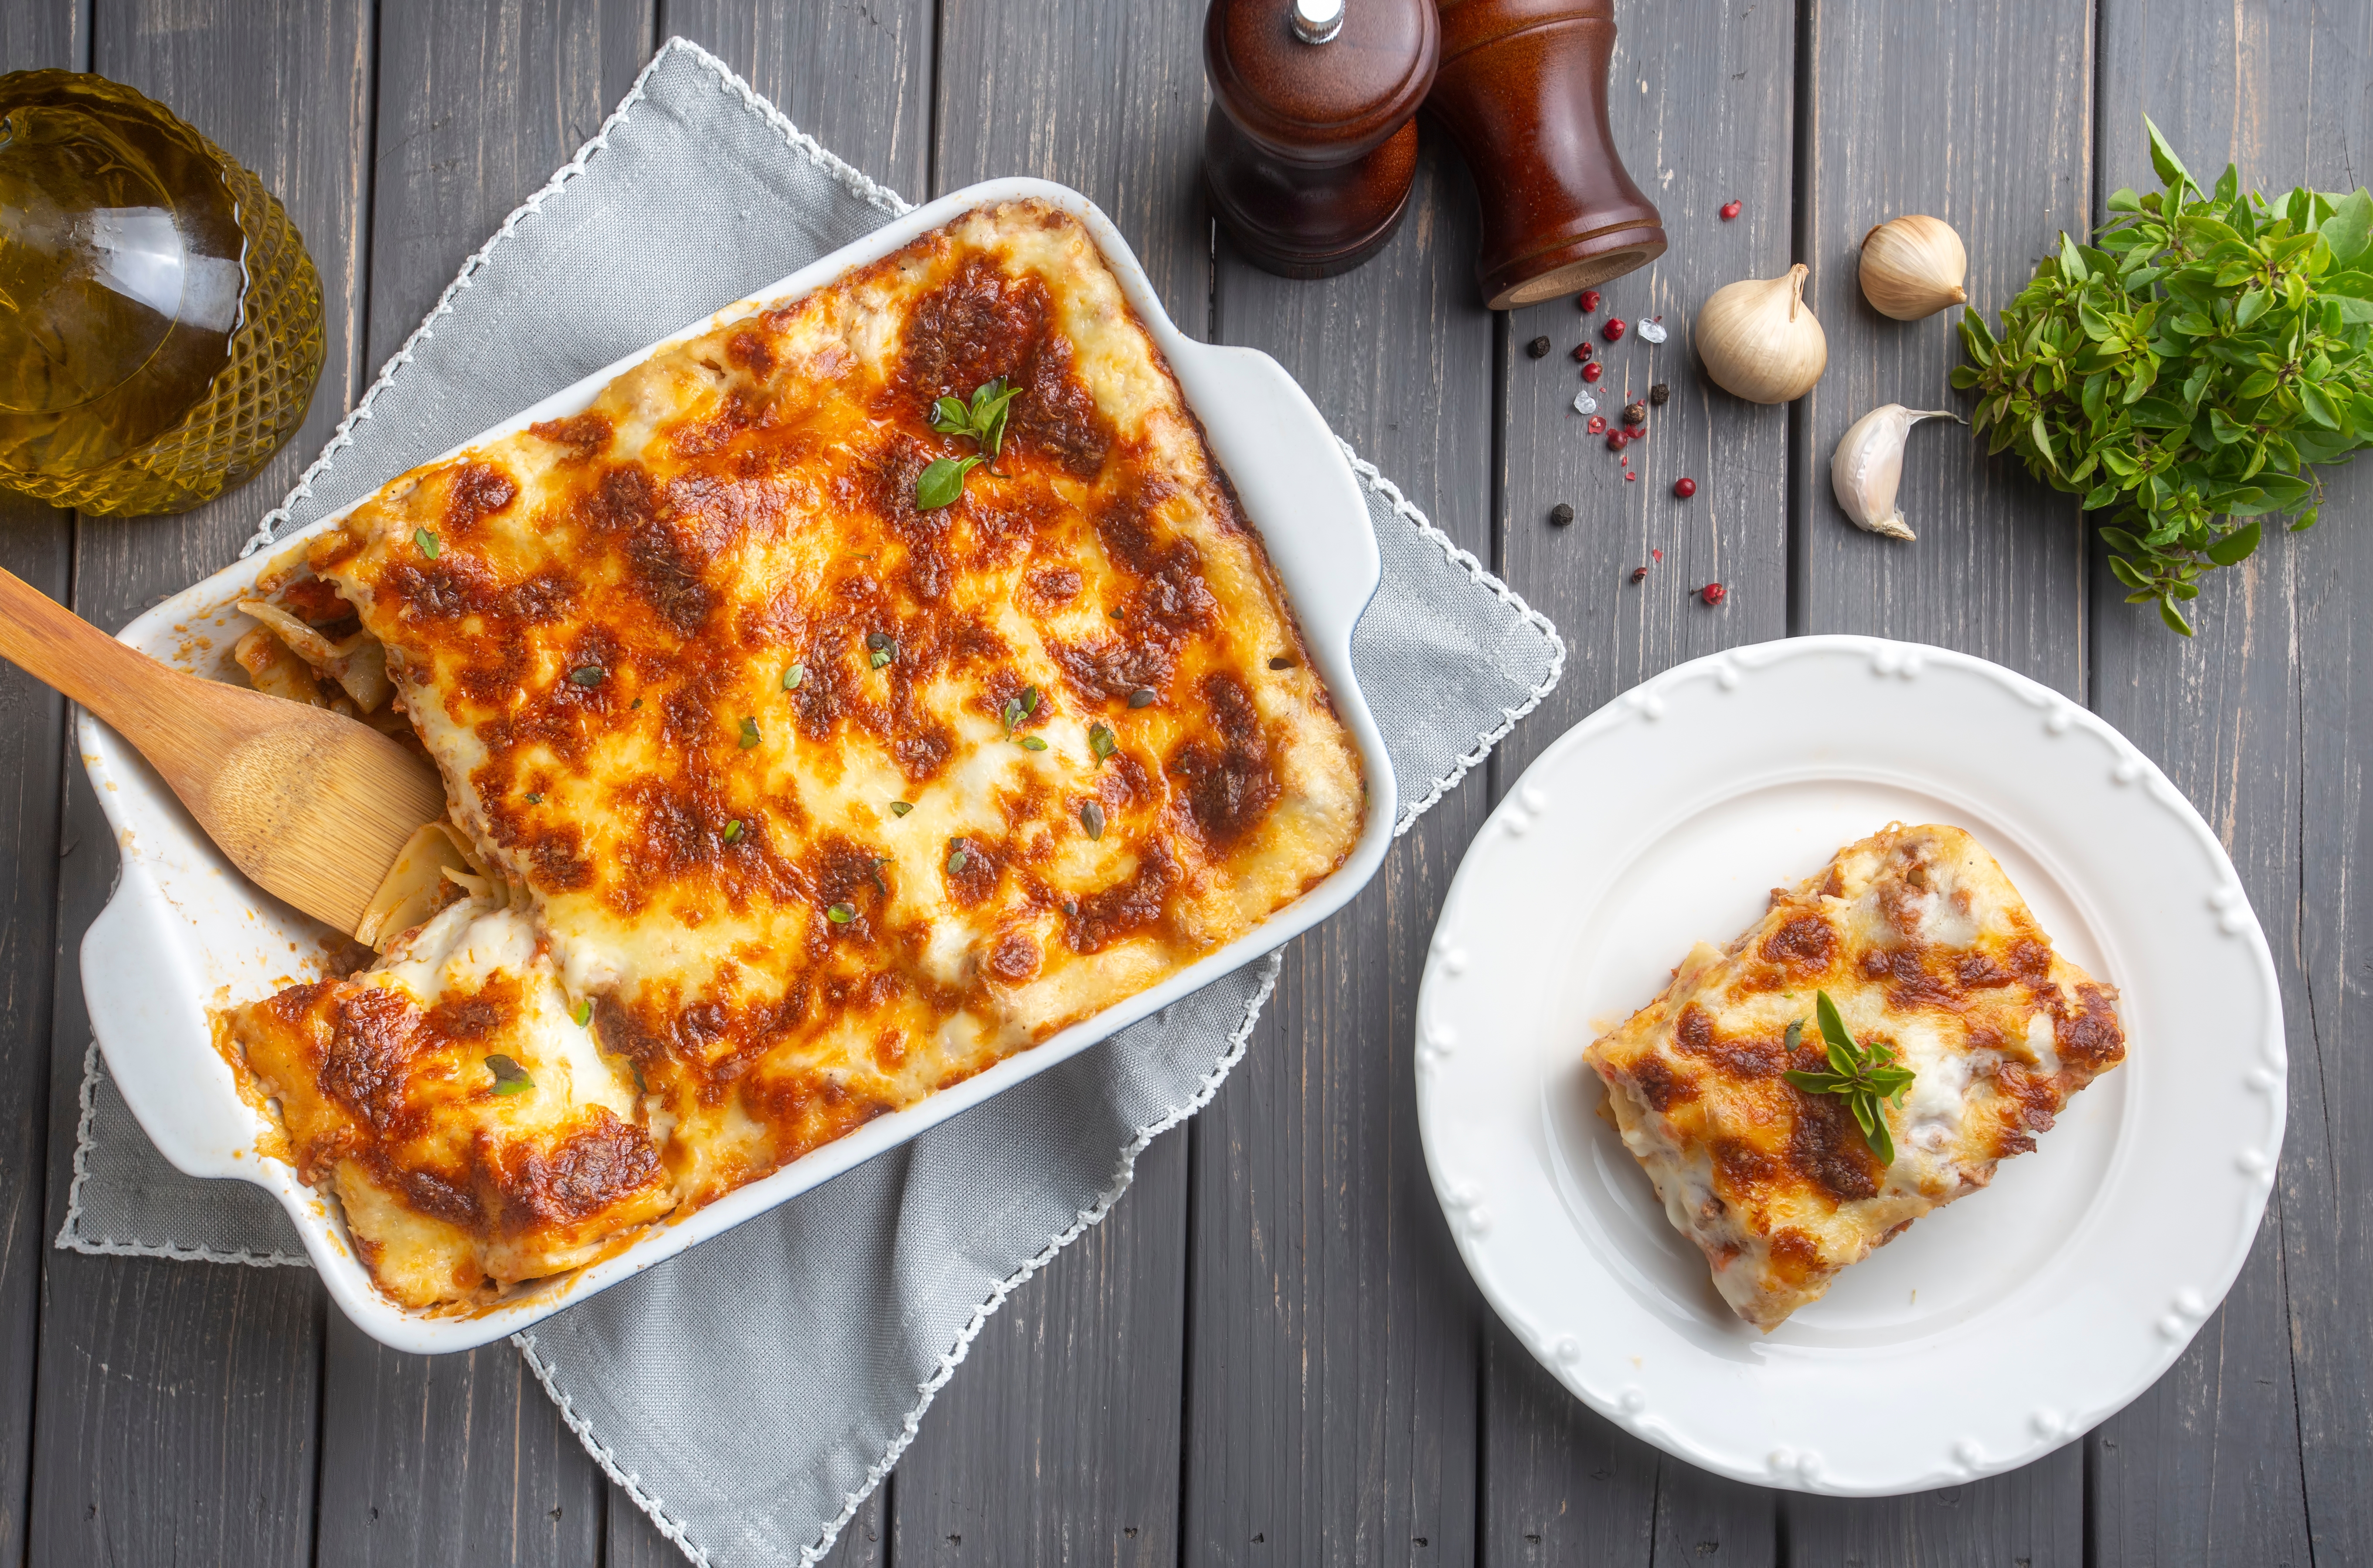
A make-ahead lunch hack that turns weekday chaos into something fresh, flavourful and…
A proper British classic with a chewy bite and a crisp crust – best enjoyed piled…

10 of the best Mother’s Day food &…
10 of the best Mother’s…
Discover 10 of…
The UK’s best bakeries right now: 6 must-visit…
The UK’s best bakeries…
From award-winning…
How to bake bread like an expert – and…
How to bake bread like…
Why do you need…

5 of the best recipes for Pancake Day
5 of the best recipes…
Want to know how to cook up a storm on Pancake Day this year? Follow our tips and tricks,…
Best British chocolate brands – 7 artisan…
Best British chocolate…
From rich dark bars to velvety caramel creations, we celebrate the best British craft chocolates…
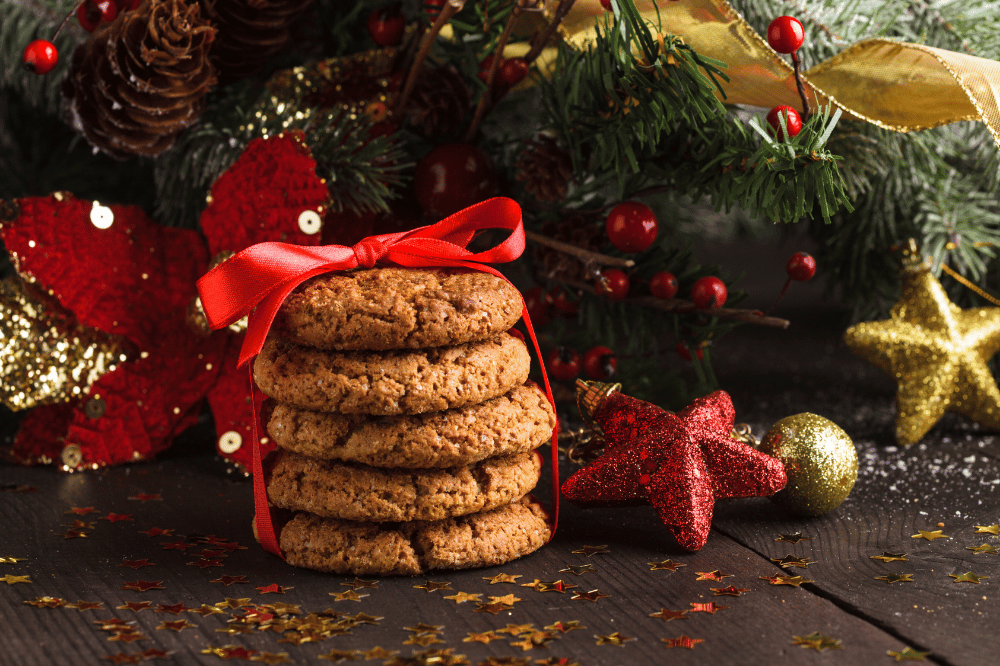
Christmas gifts for foodies – 16 delectable…
Christmas gifts for foodies…
Discover fun and original gifting ideas for the foodies in your life with our guide…
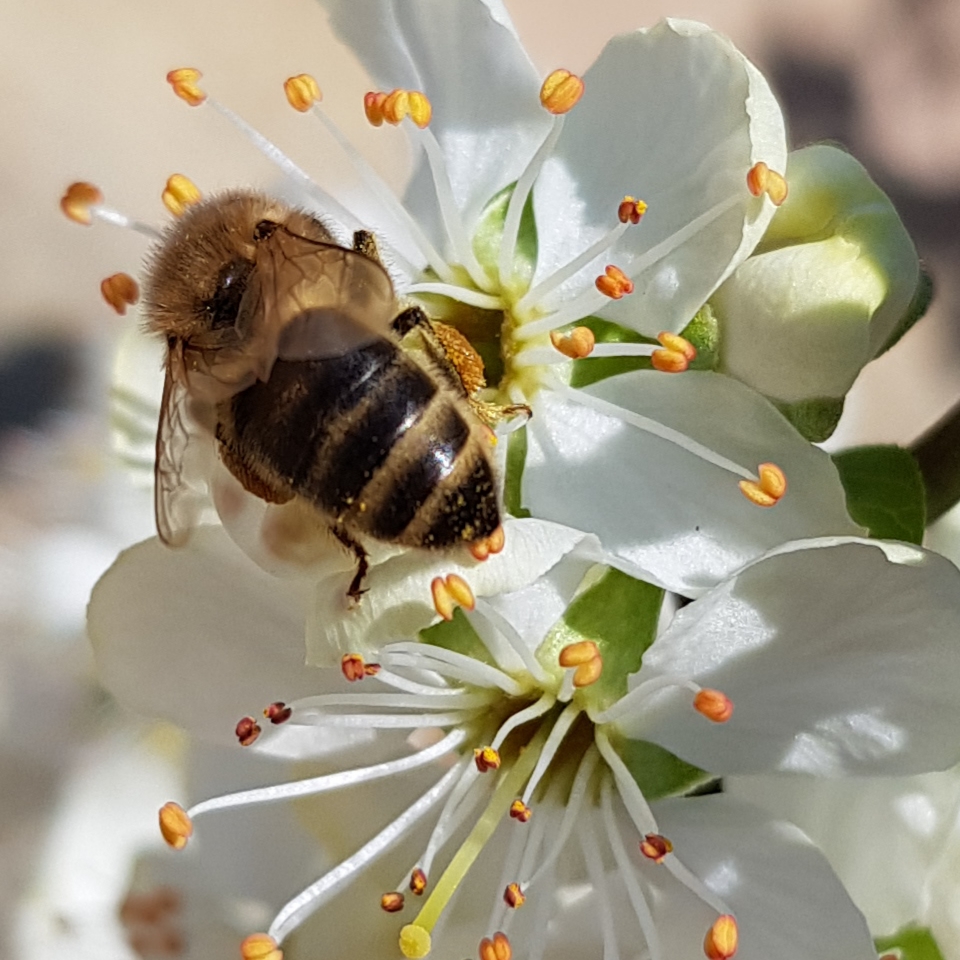
10 facts about honey that every foodie should…
10 facts about honey…
Excellent honey is one of the greatest pleasures in life - but despite it being so adored…
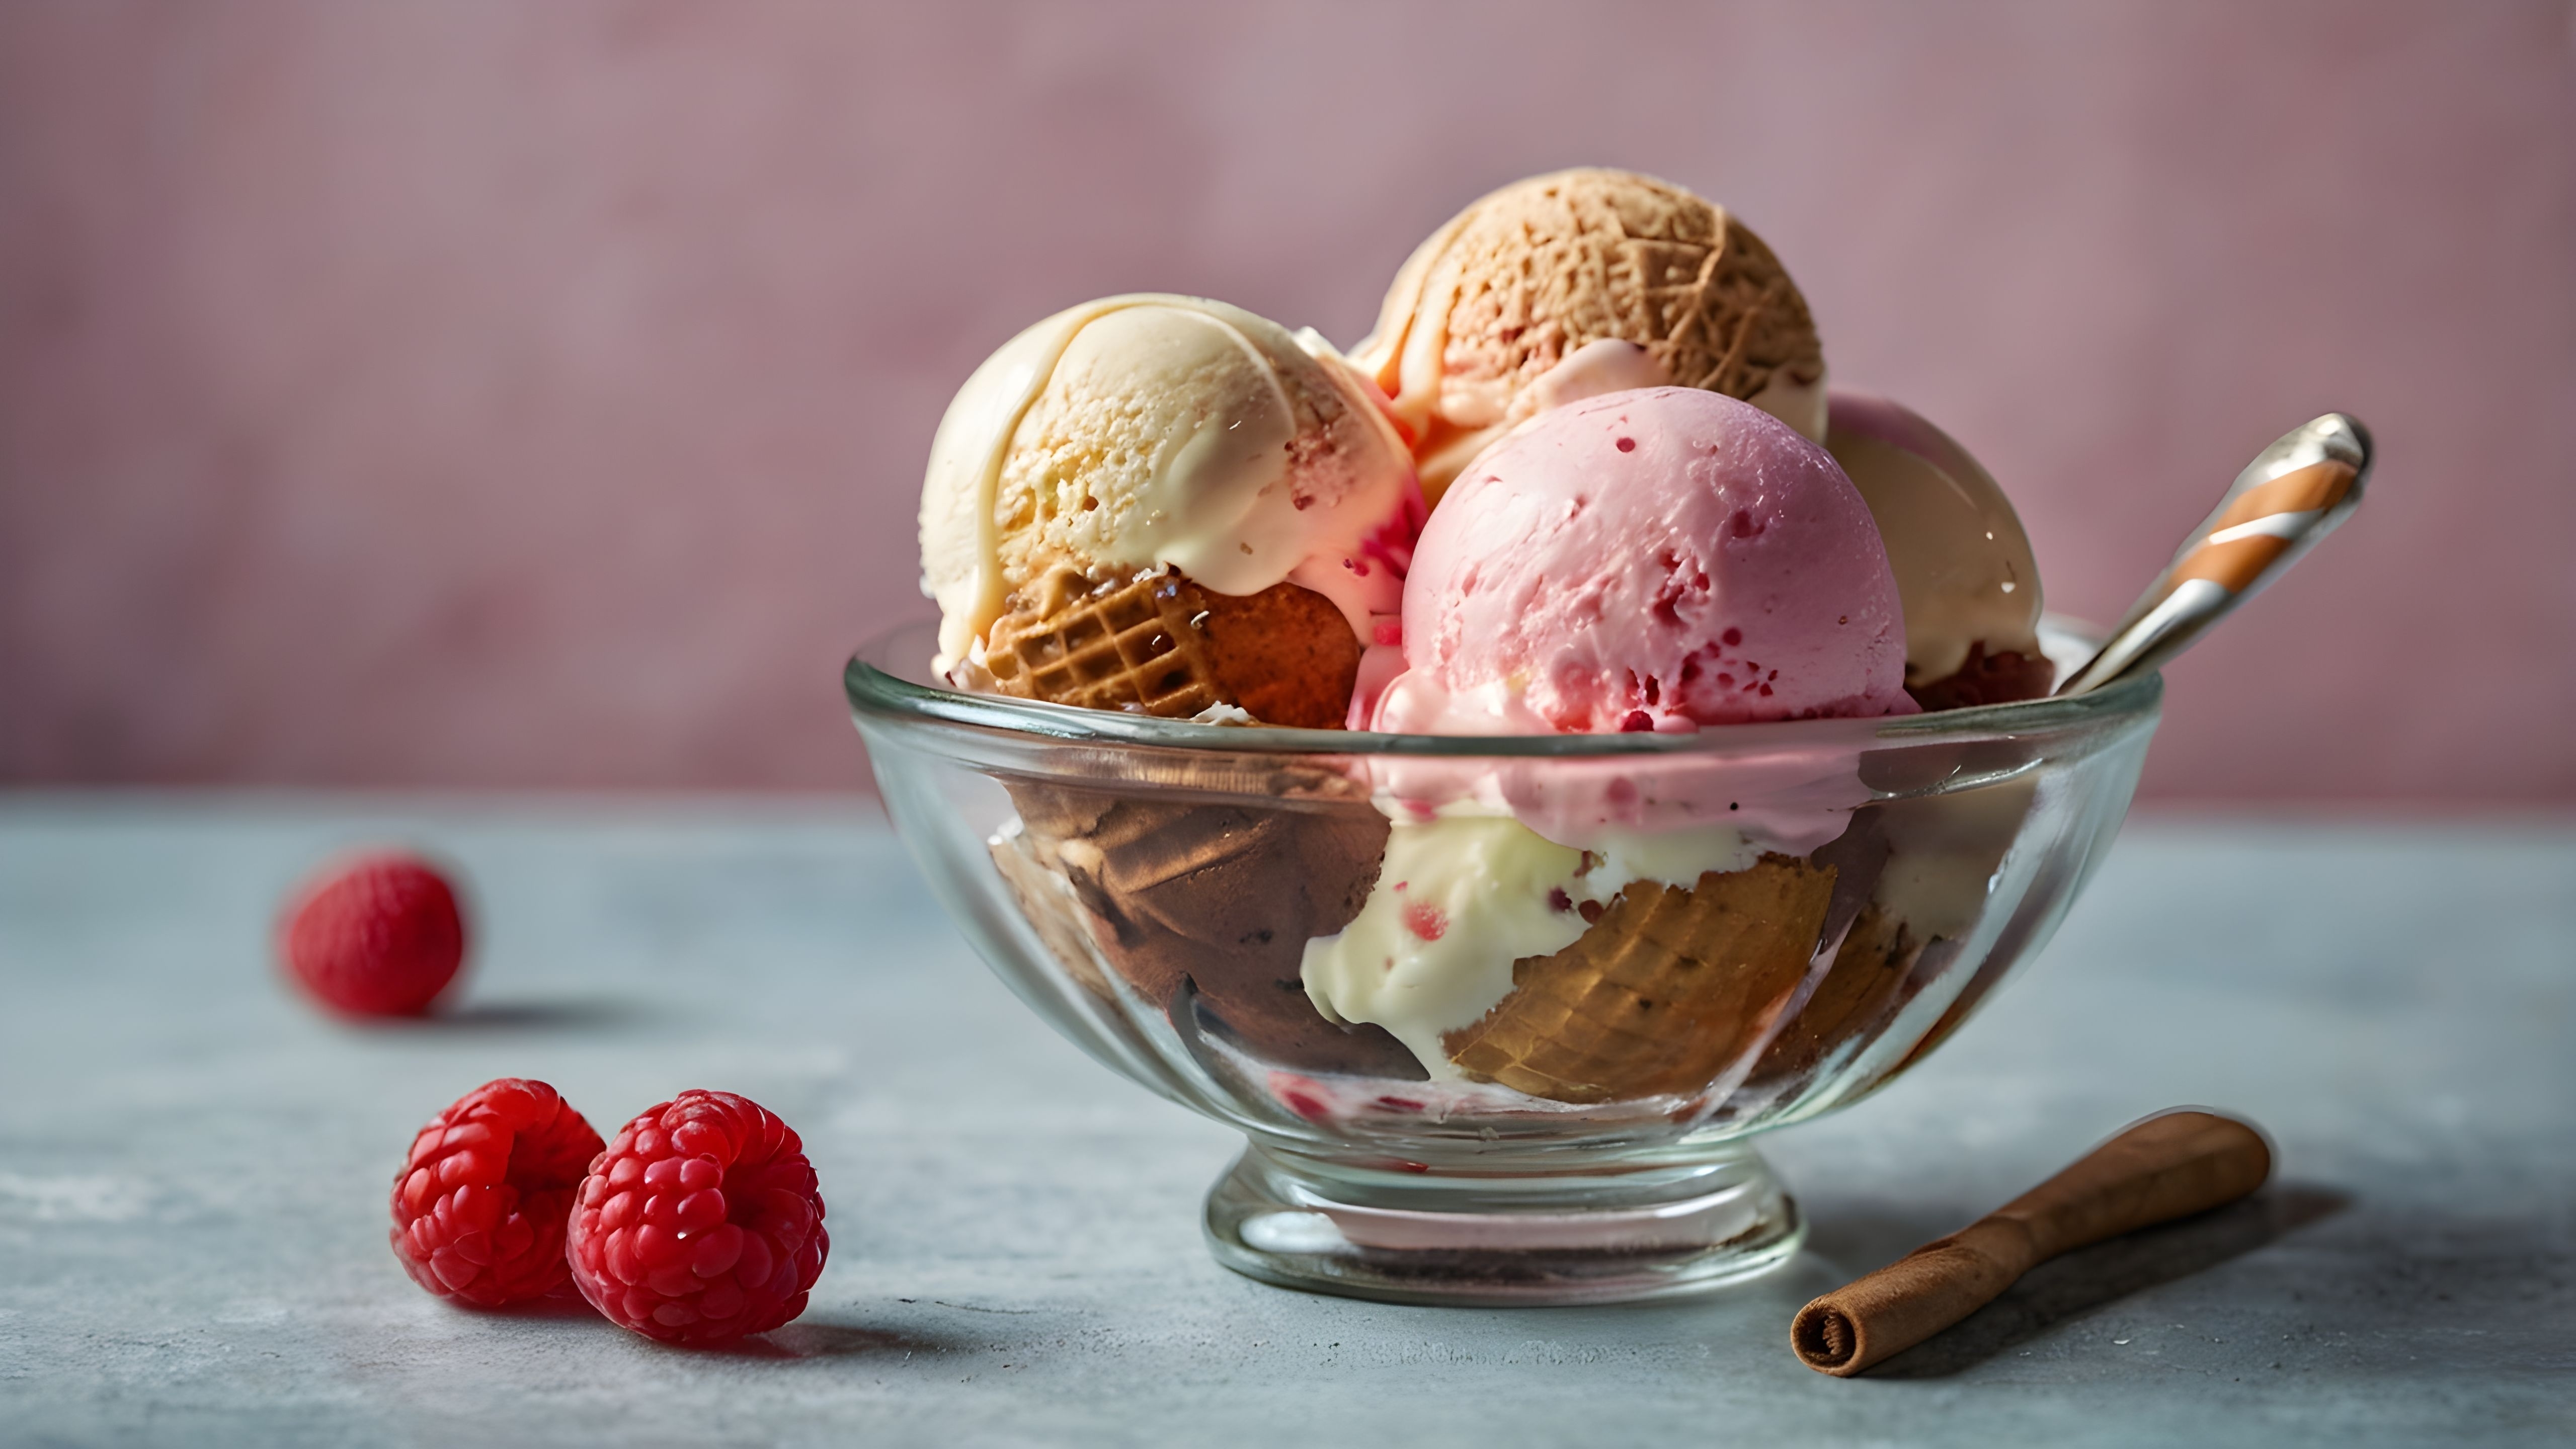
9 of the UK’s best ice creams revealed:…
9 of the UK’s best…
Discover the UK’s finest ice creams, from Alder Tree’s champion blackcurrant fruit cream…
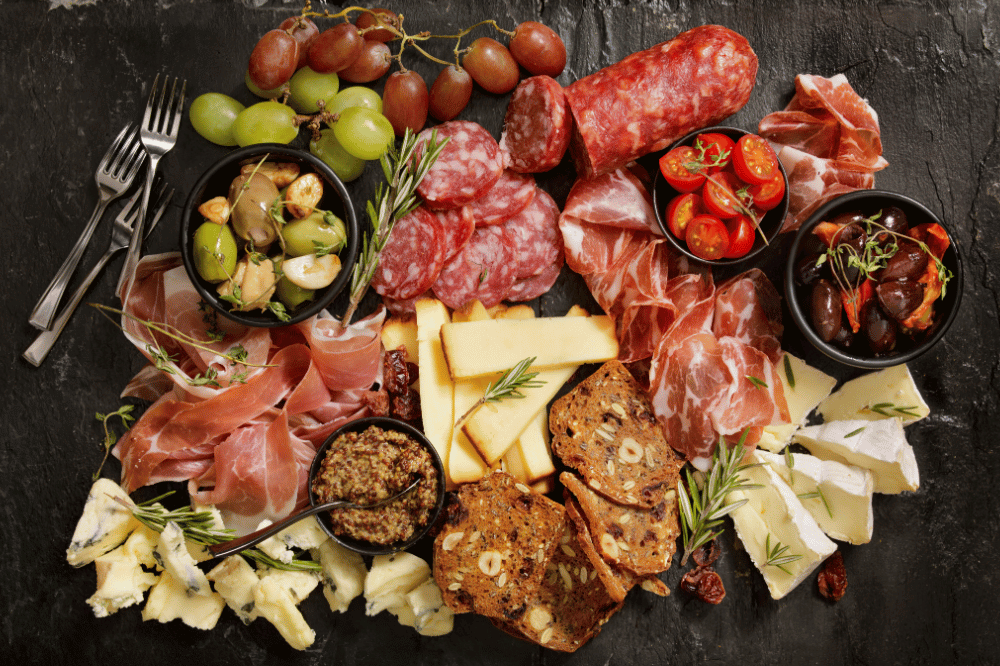
Charcuterie – Showstopping British options…
Charcuterie – Showstopping…
Choose from our pick of delicious British cured meats to create a charcuterie board that…
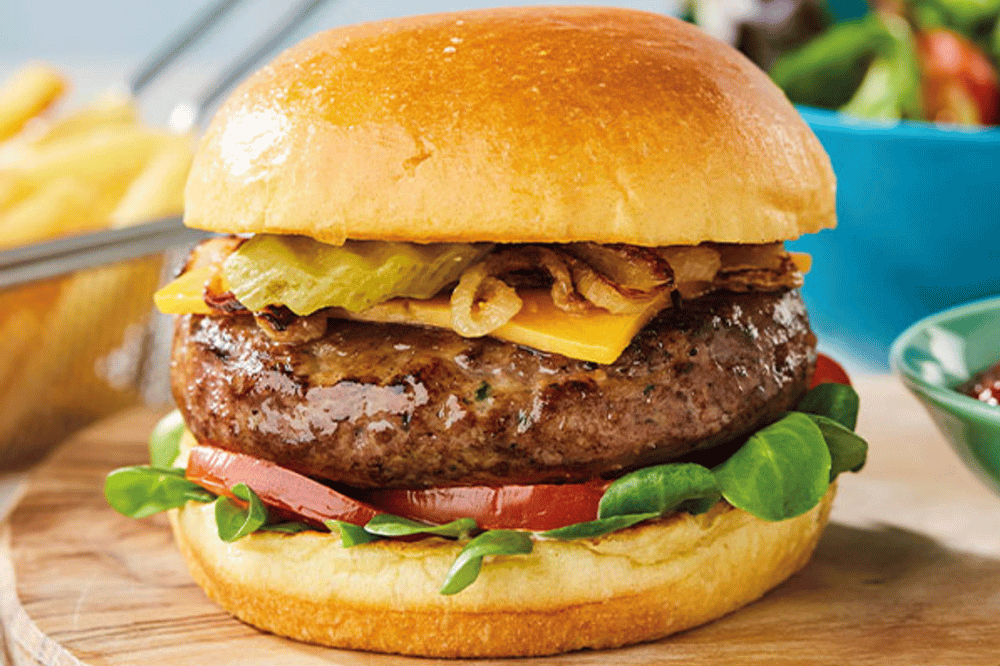
Burgers – 10 juicy & flavour-packed…
Burgers – 10 juicy…
Throw out the takeaway menu and prep the grill – we have you sorted with 10 of the best…
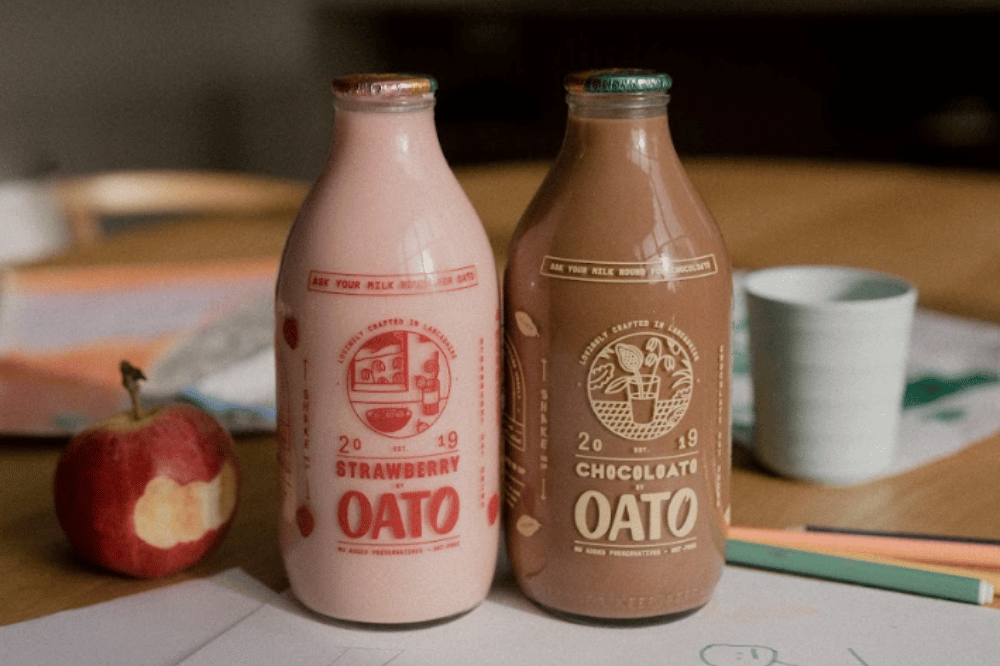
Free-from – 10 British products that are…
Free-from – 10 British…
The free-from sector is booming, and new British product innovations mean you don’t have…
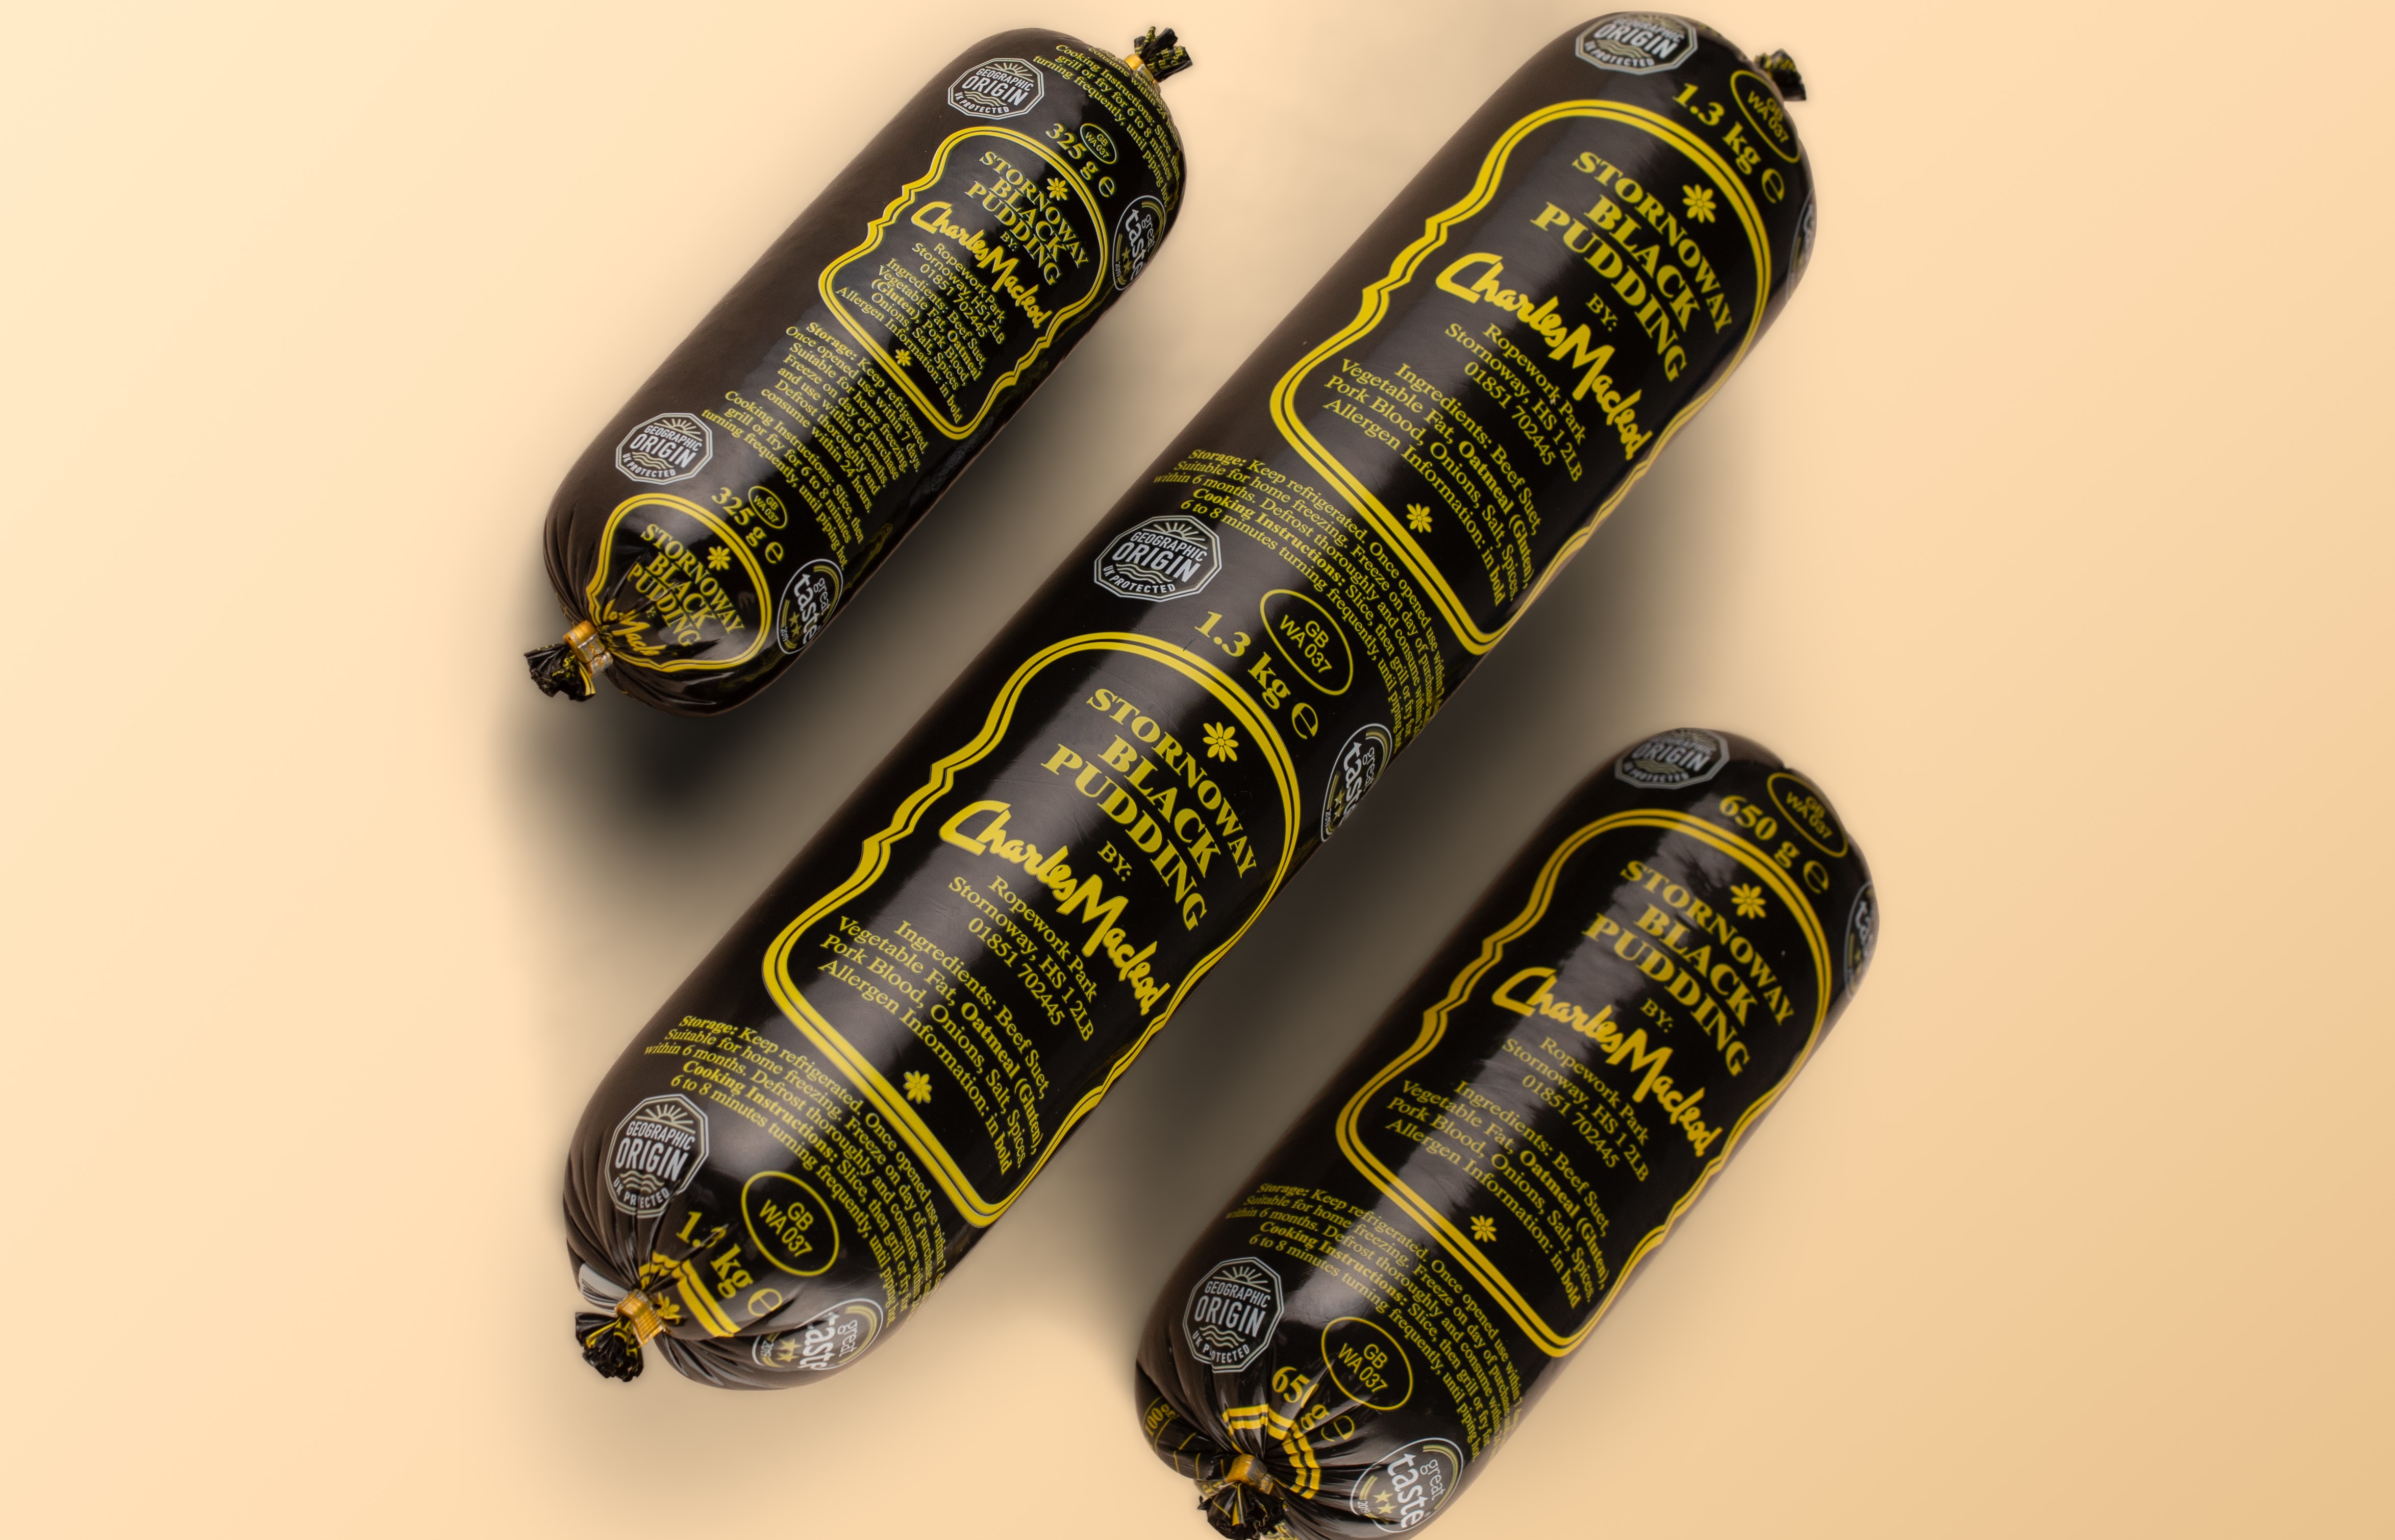
A Taste of the Hebrides – Charles Macleod…
A Taste of the Hebrides…
Looking for a product to liven up your home cooking? Here at…
Condiments – Best British condiments for…
Condiments – Best British…
From fiery hot honey to timeless Branston pickle, join us on a tour of the condiments shaping…
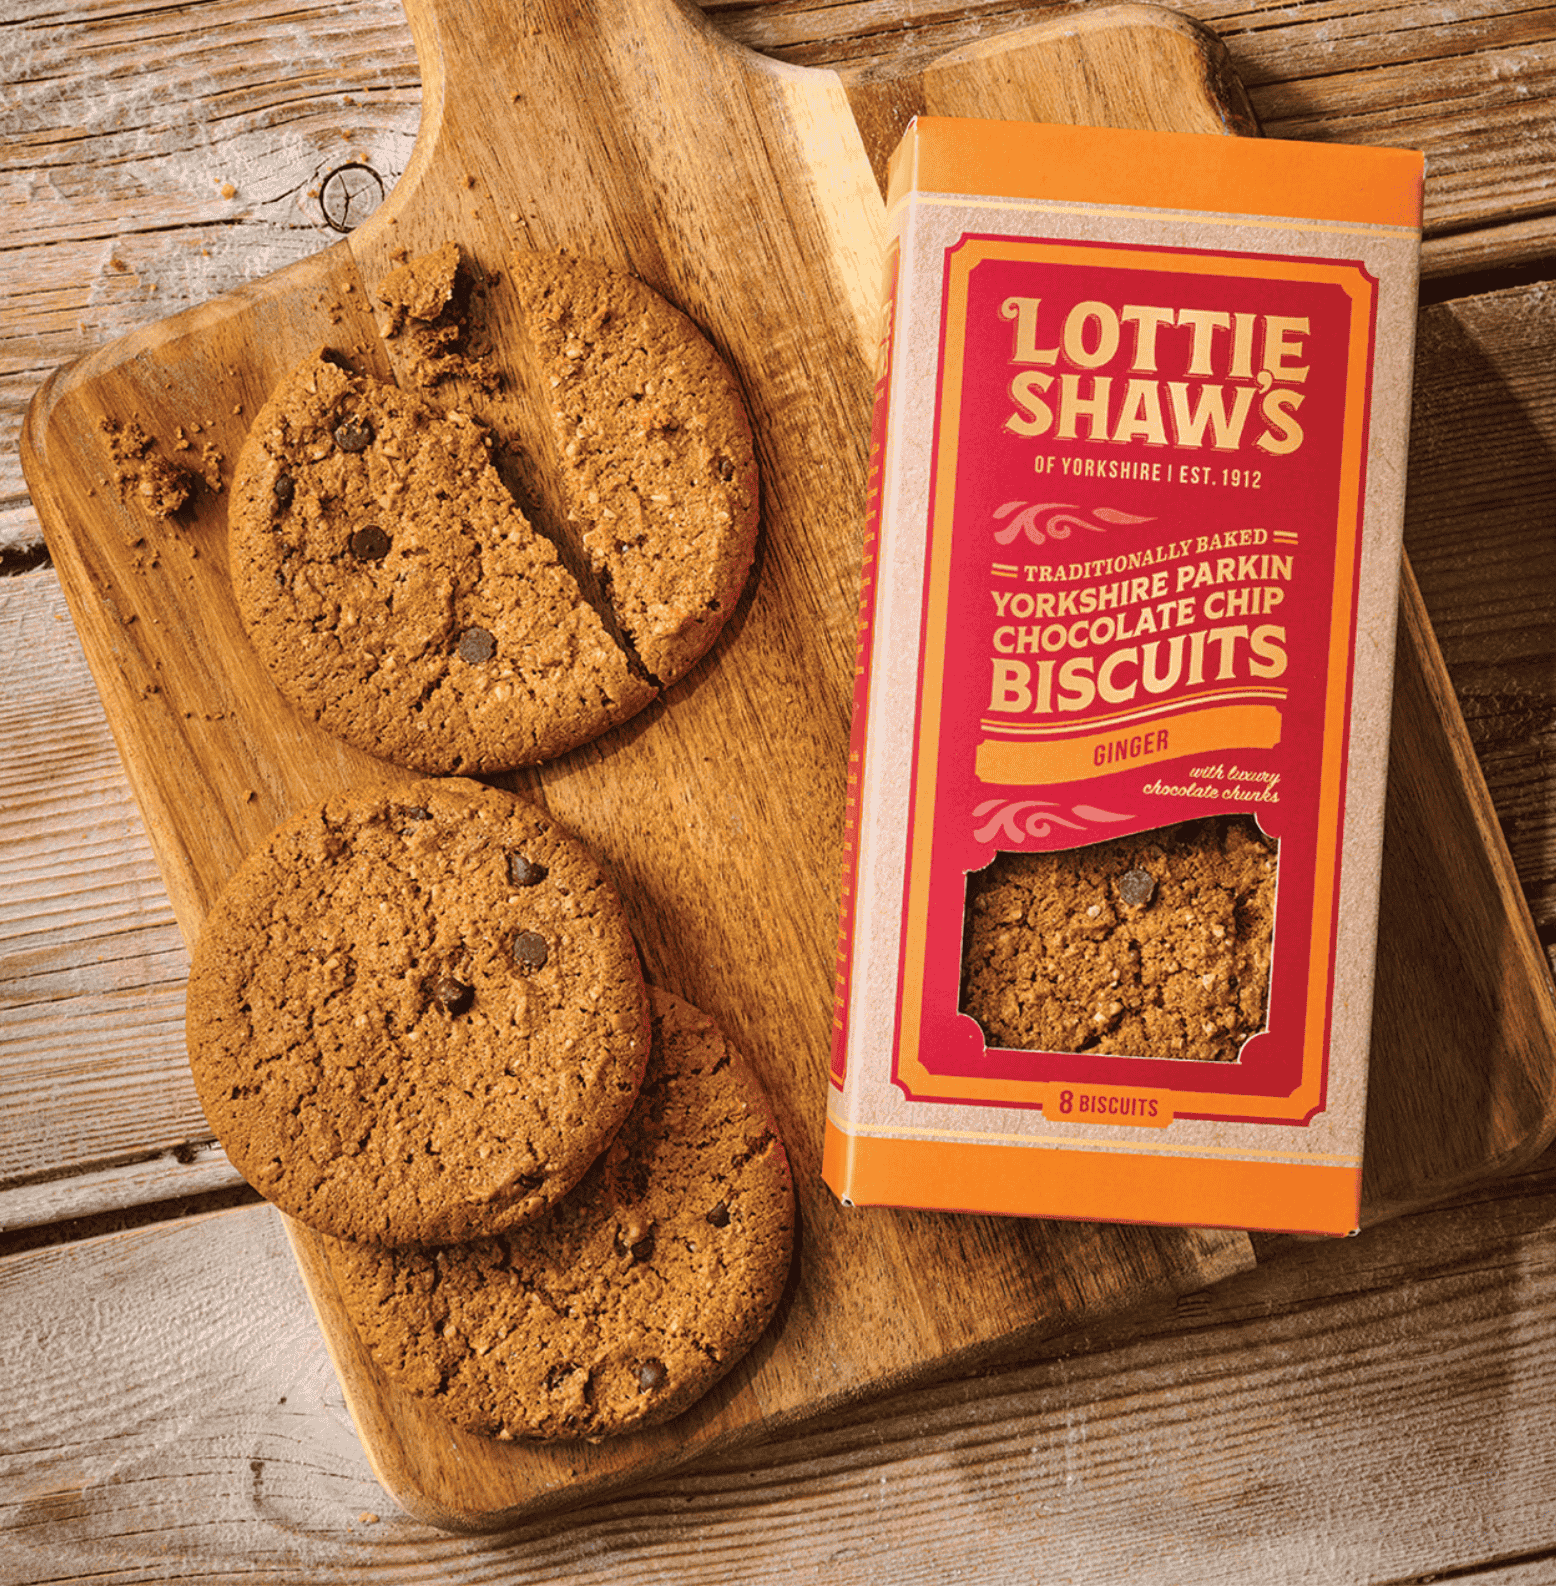
British biscuits – 10 new favourites for…
British biscuits –…
Discover beloved British biscuits, from classic favourites to modern twists, plus ten taste…
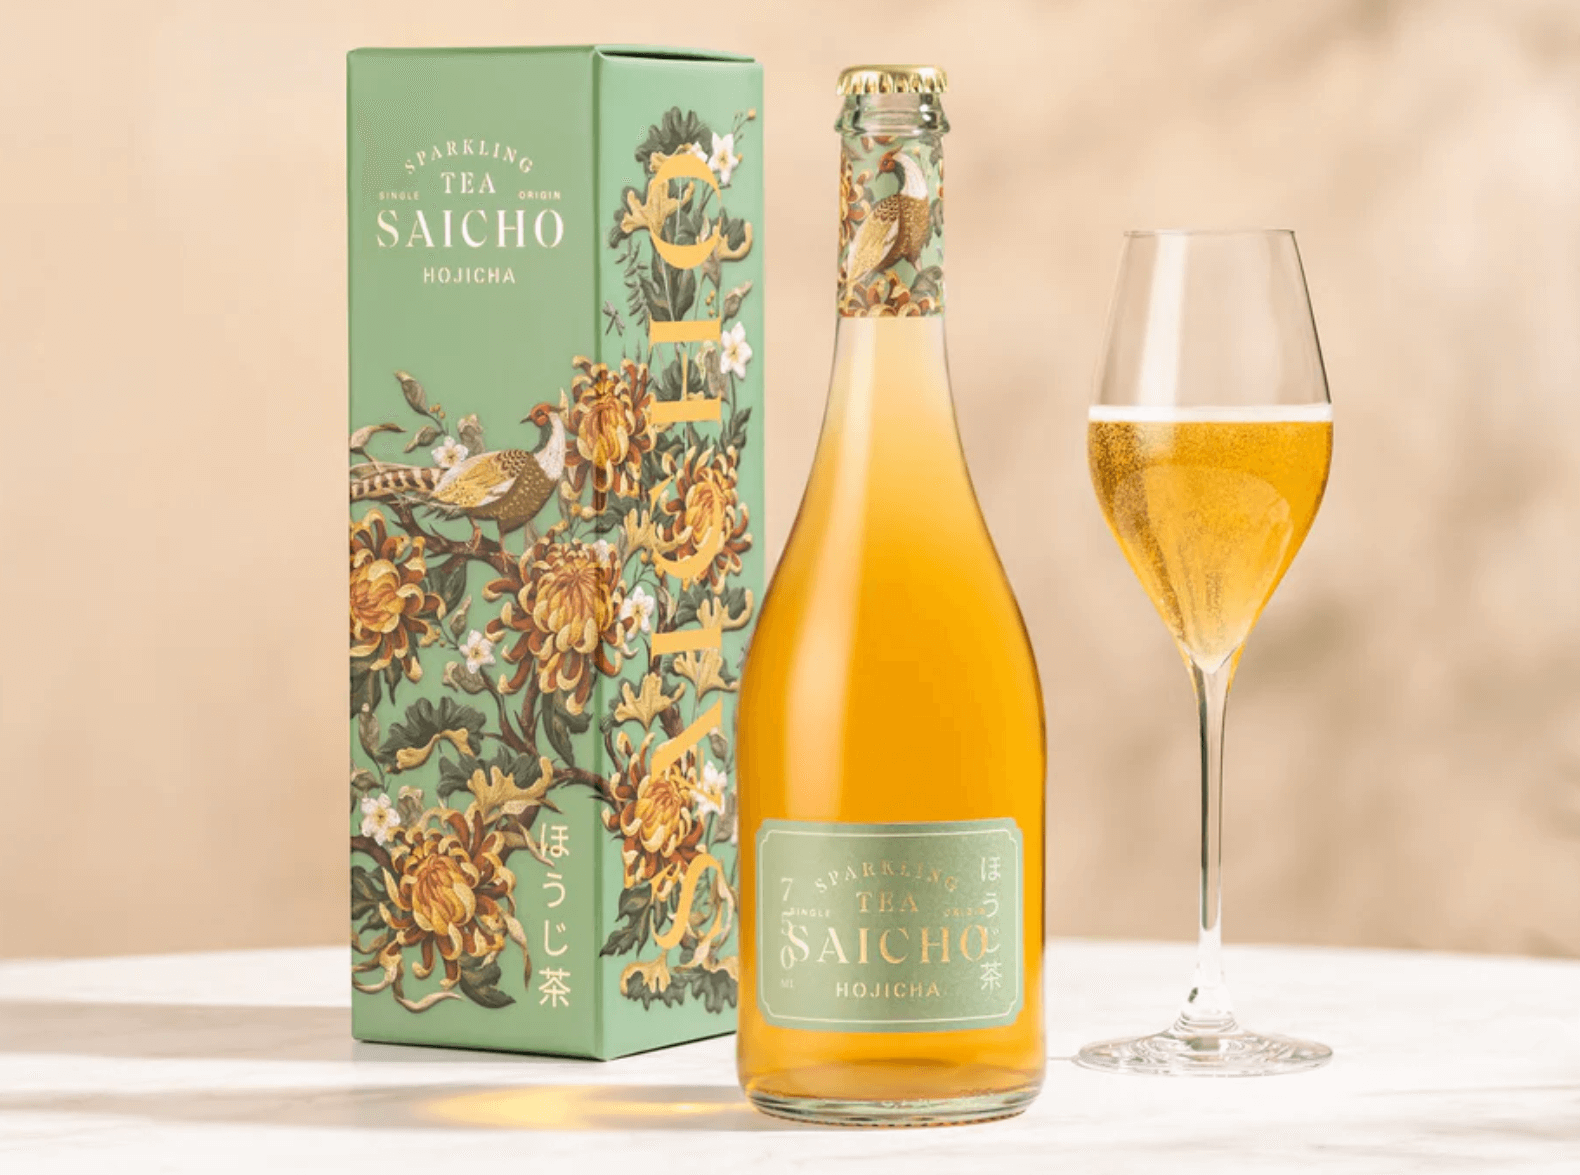
Soft drinks – Raise a glass to these British…
Soft drinks – Raise…
Britain’s soft drinks scene is fizzing with innovation – explore the trends, health-boosting…
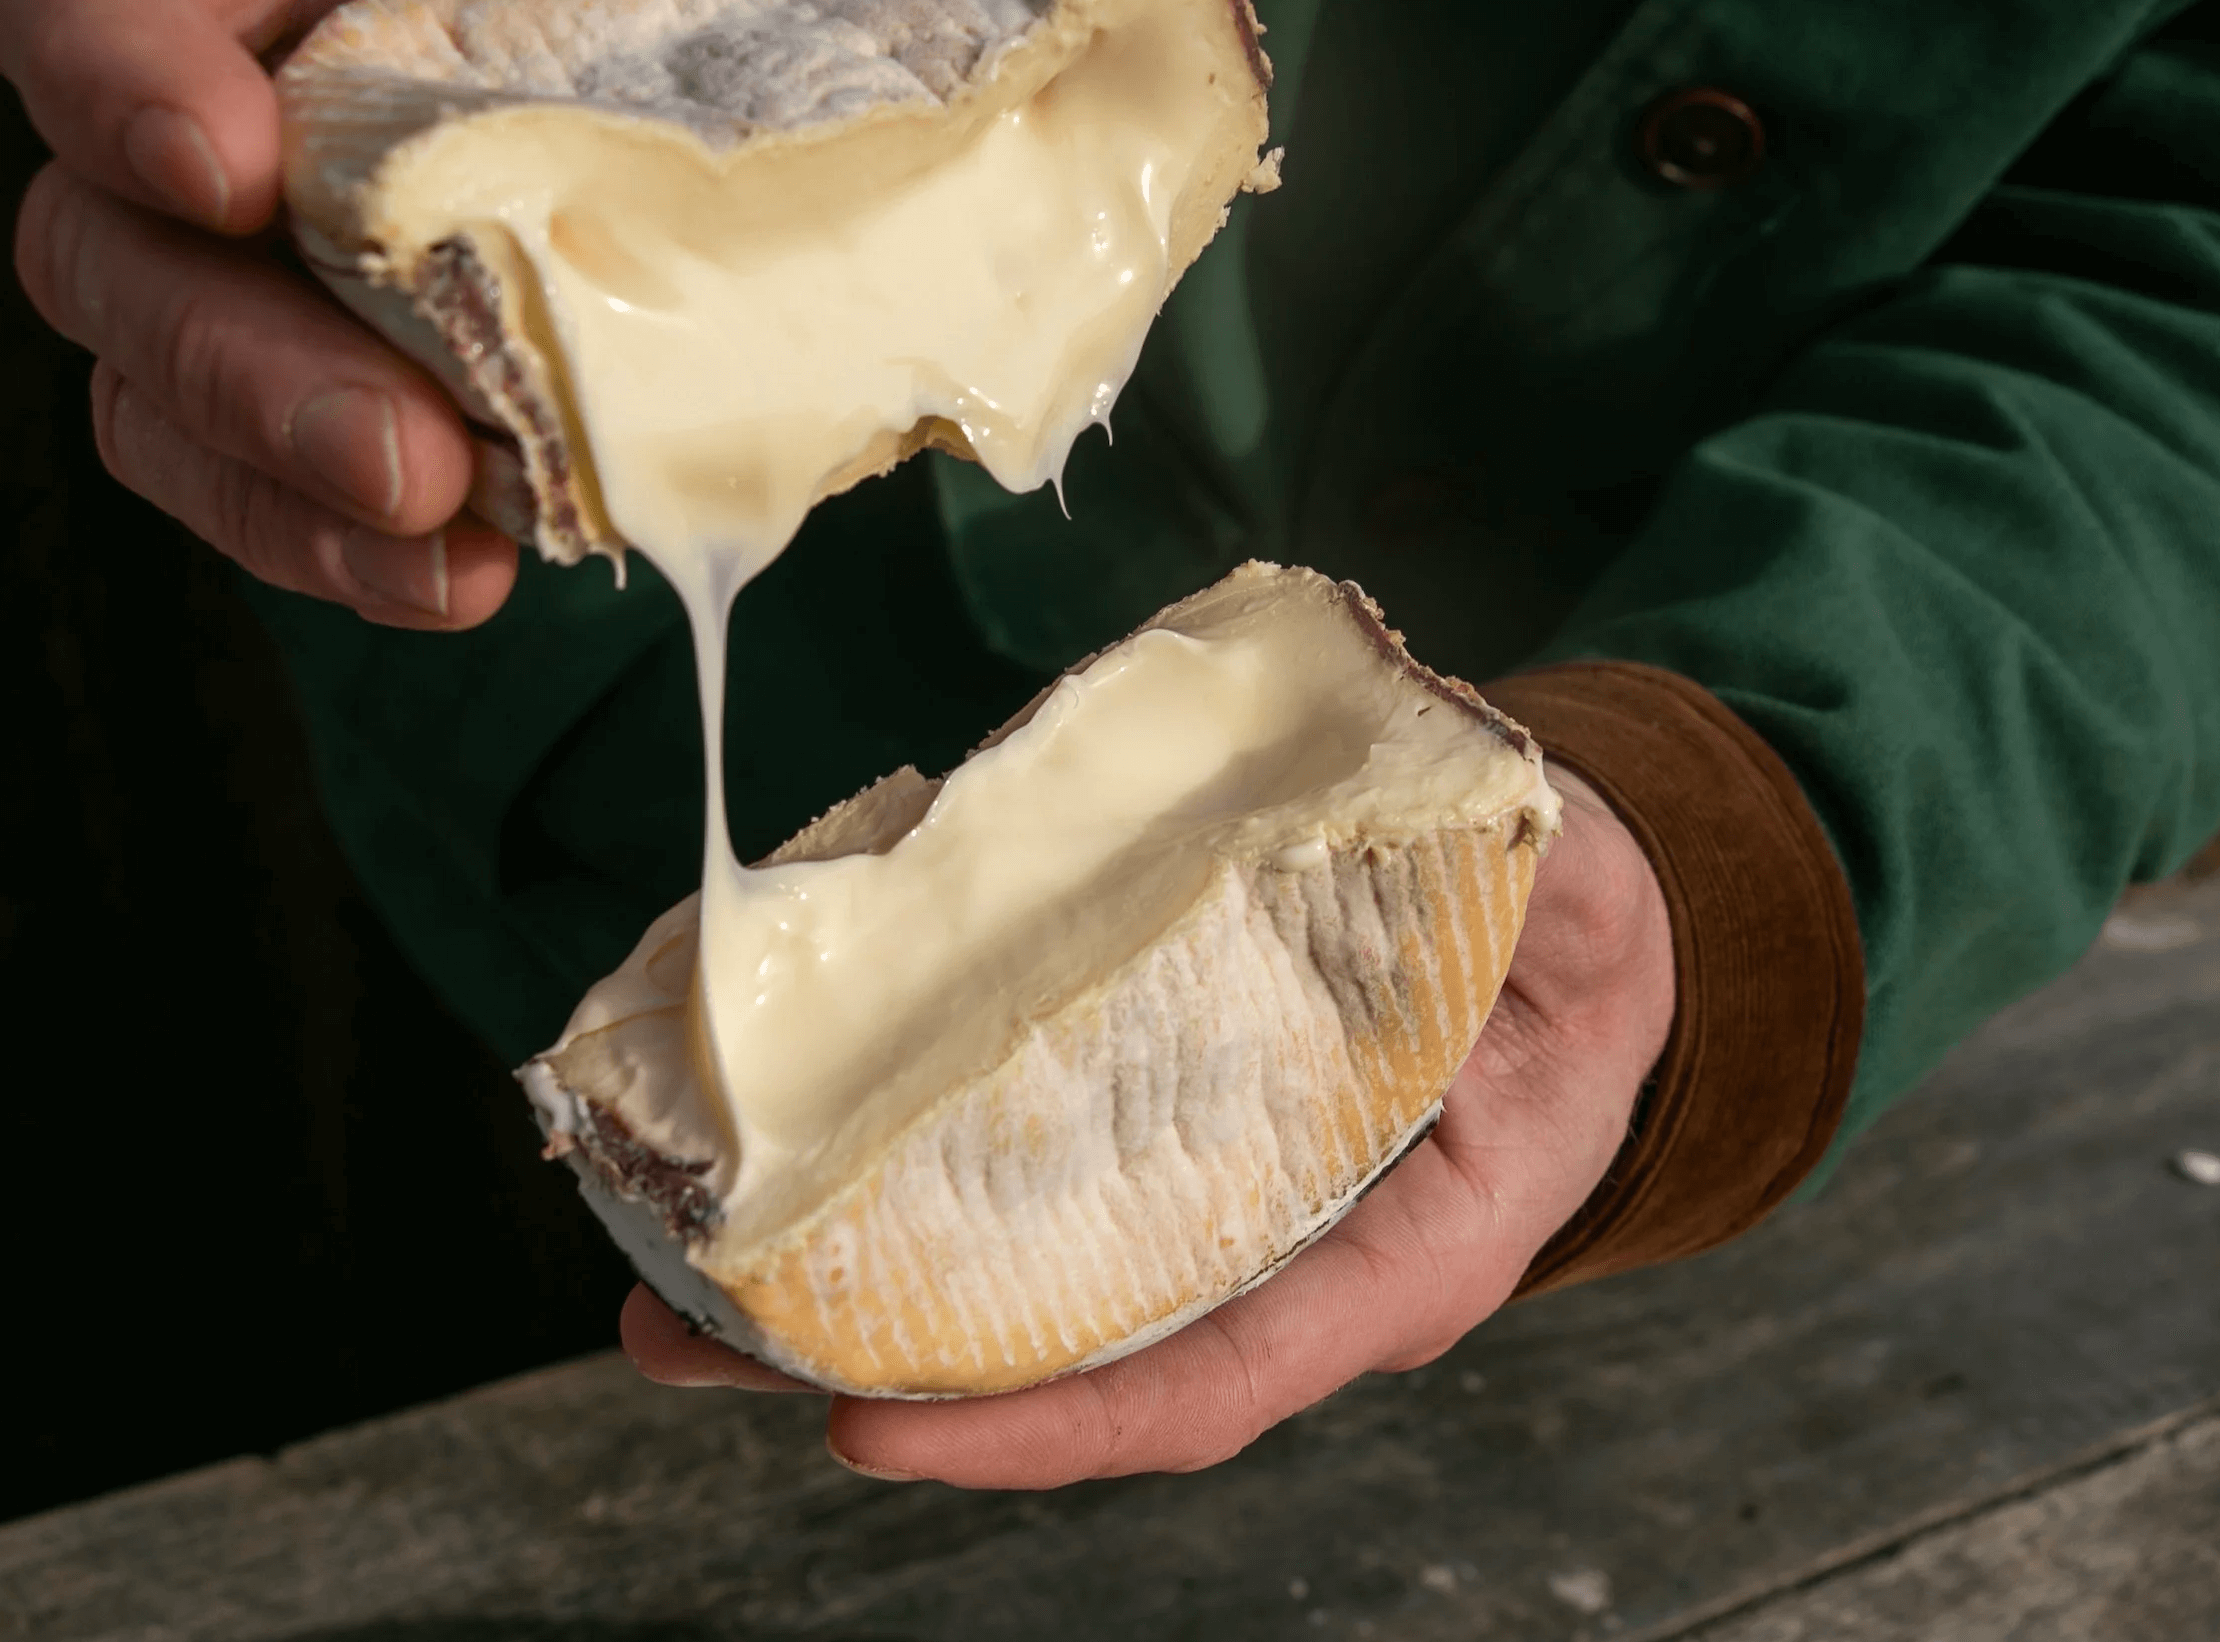
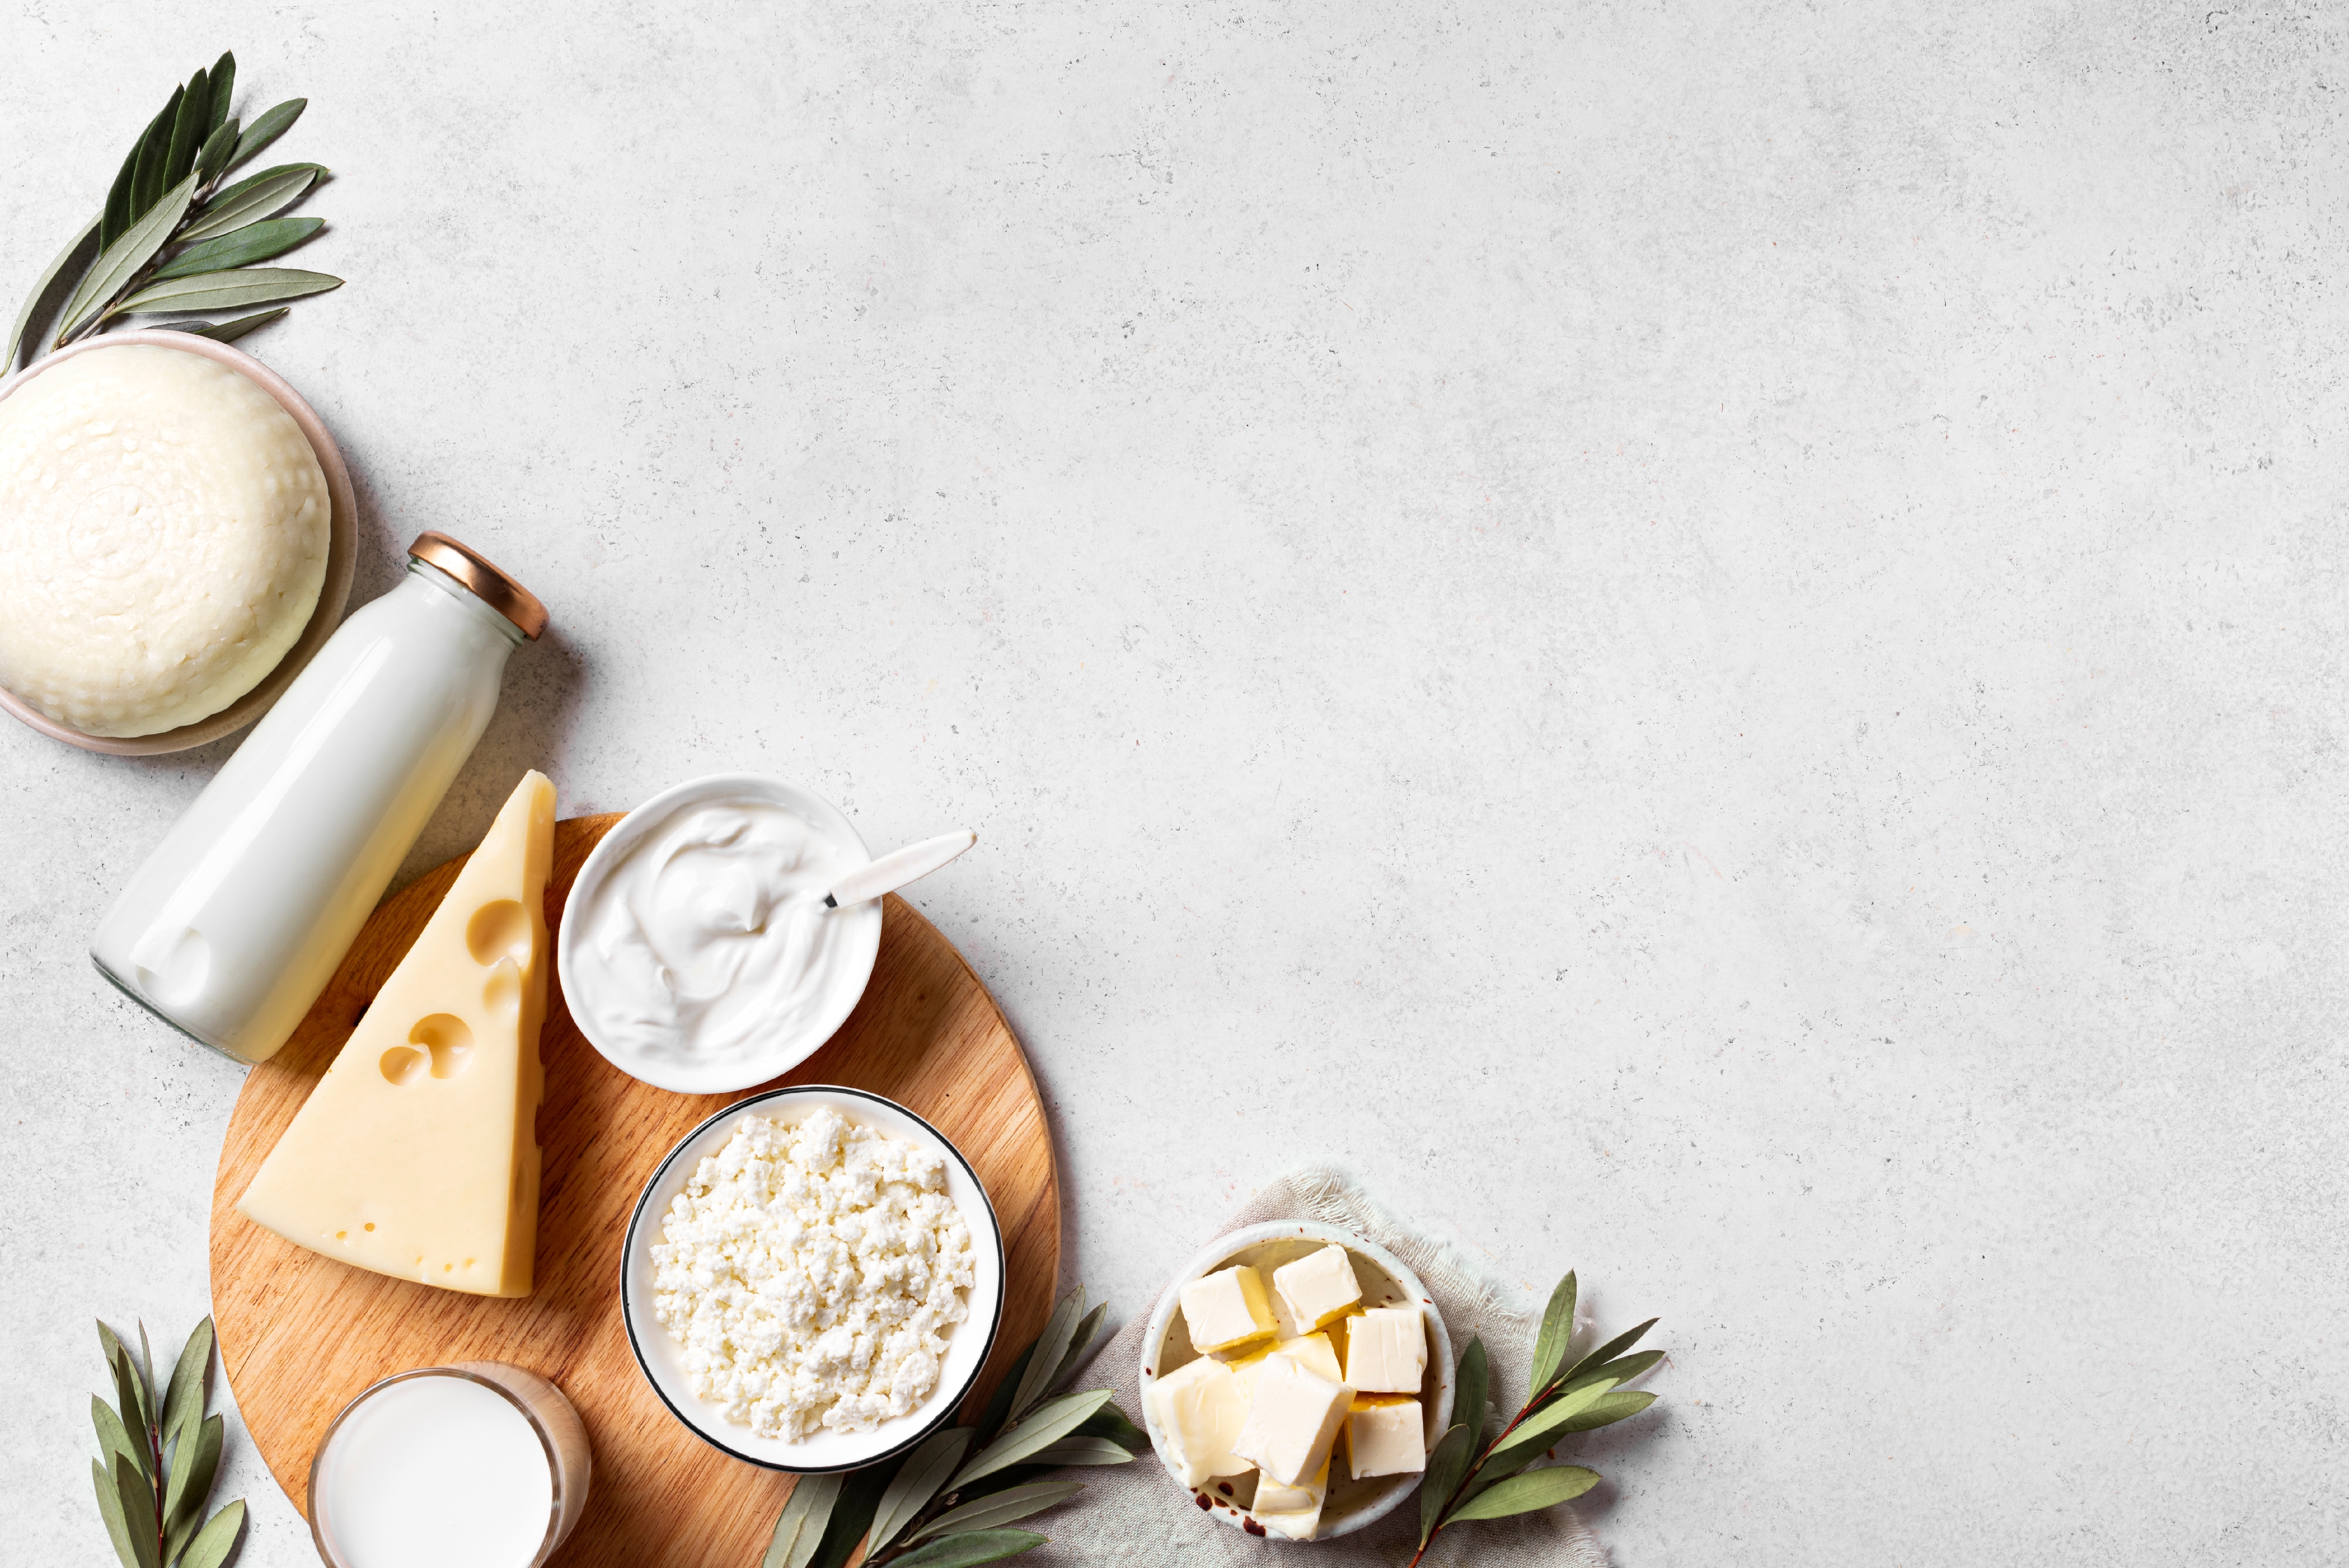
Soft cheese – British classics for spreading,…
Soft cheese – British…
Oozy, creamy and utterly irresistible – explore the story of soft cheese and meet brilliant…
The GBF Awards Kitchen Must-haves Shortlist…
The GBF Awards Kitchen…
From free-from and vegan-friendly indulgences to the very tastiest ready meals on the market…
The GBF Awards Store Cupboard Essentials…
The GBF Awards Store…
From rich consommés and flavour-packed stocks to gourmet nut butters, artisan vinegars…
The GBF Awards Drinks Shortlist 2025
The GBF Awards Drinks…
From artisan teas and small-batch coffees to award-worthy wines and smooth single malts, these…
The GBF Meat & Veg Shortlist 2025
The GBF Meat & Veg…
From melt-in-the-mouth Wagyu beef to sun-sweet British strawberries, these Meat & Veg…
The GBF Cheese & Dairy Shortlist 2025
The GBF Cheese &…
From creamy blues to artisan butters and creative ice creams, the list below celebrates the…

The GBF Awards Sweet & Savoury Shortlist…
The GBF Awards Sweet…
If you're looking for a superb treat to tempt your sweet tastebuds, you're in the right place.…
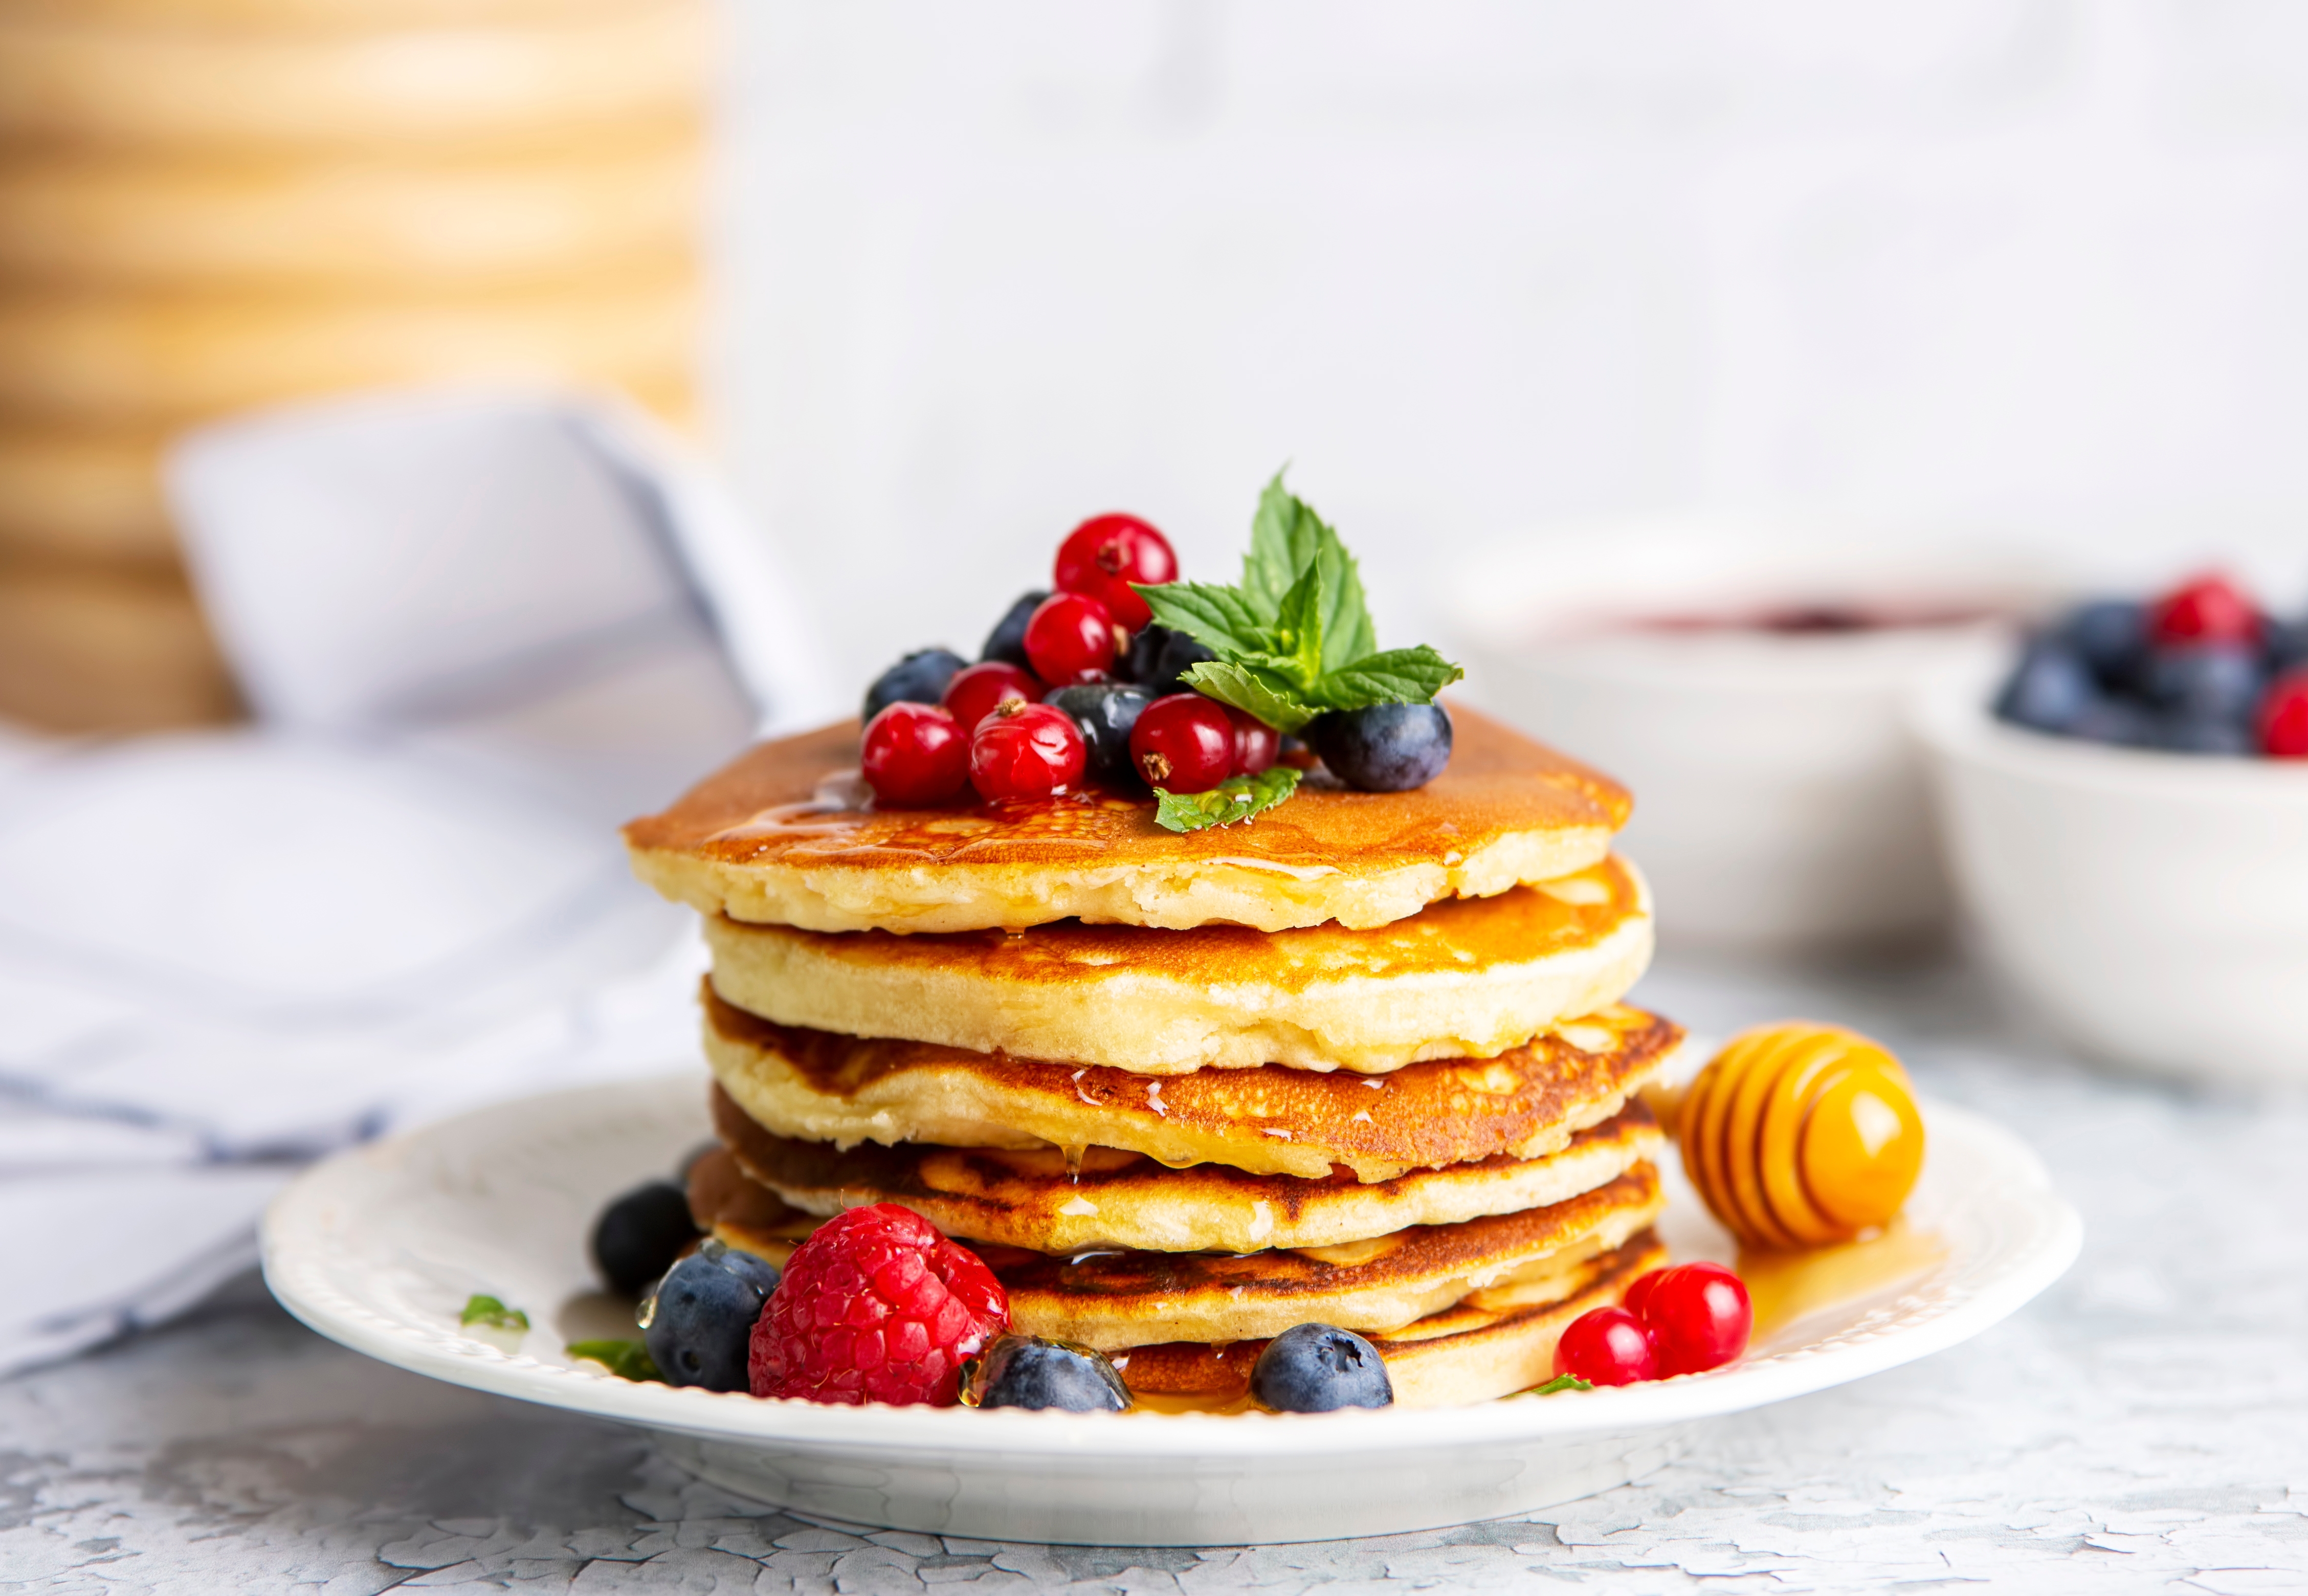
Pancake toppings – Award-winning sweet…
Pancake toppings –…
Pancake Day is just around the corner and to help you celebrate we’ve rounded up some of…
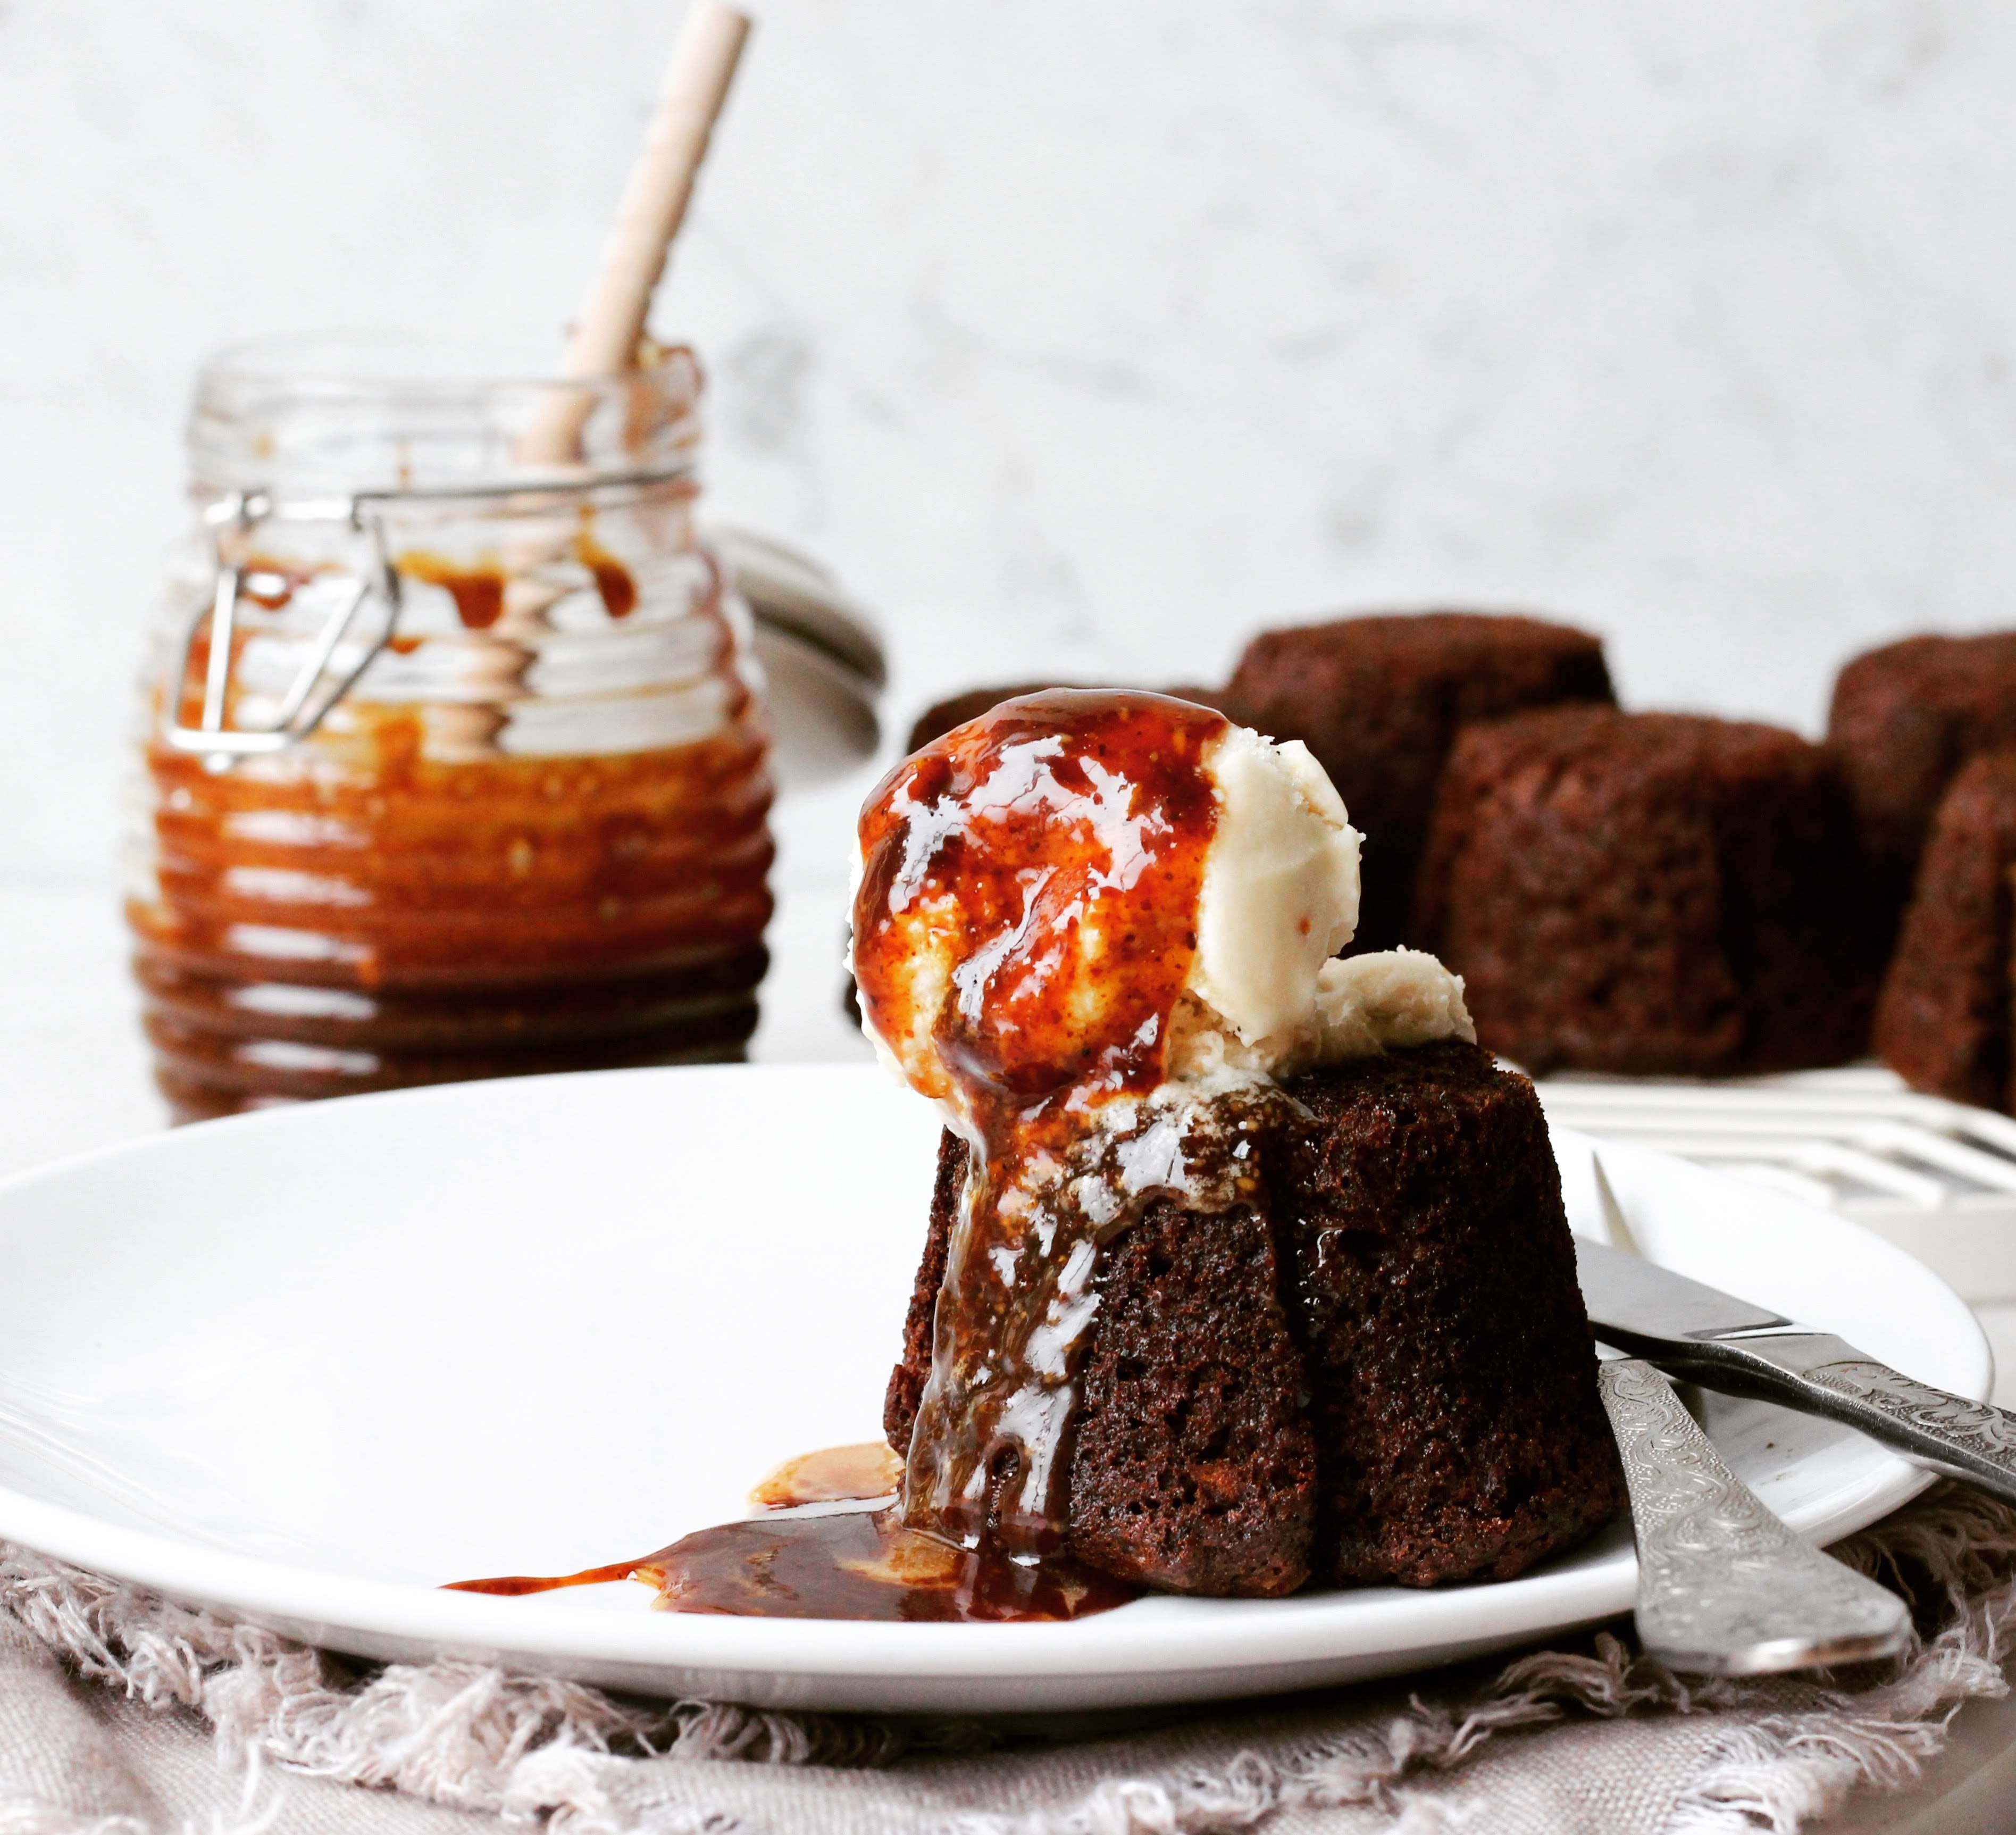
10 of the best Valentine’s Day dessert…
10 of the best Valentine’s…
Love is in the air and panic may have set in. Whether you’re planning a crowd-pleasing pudding…
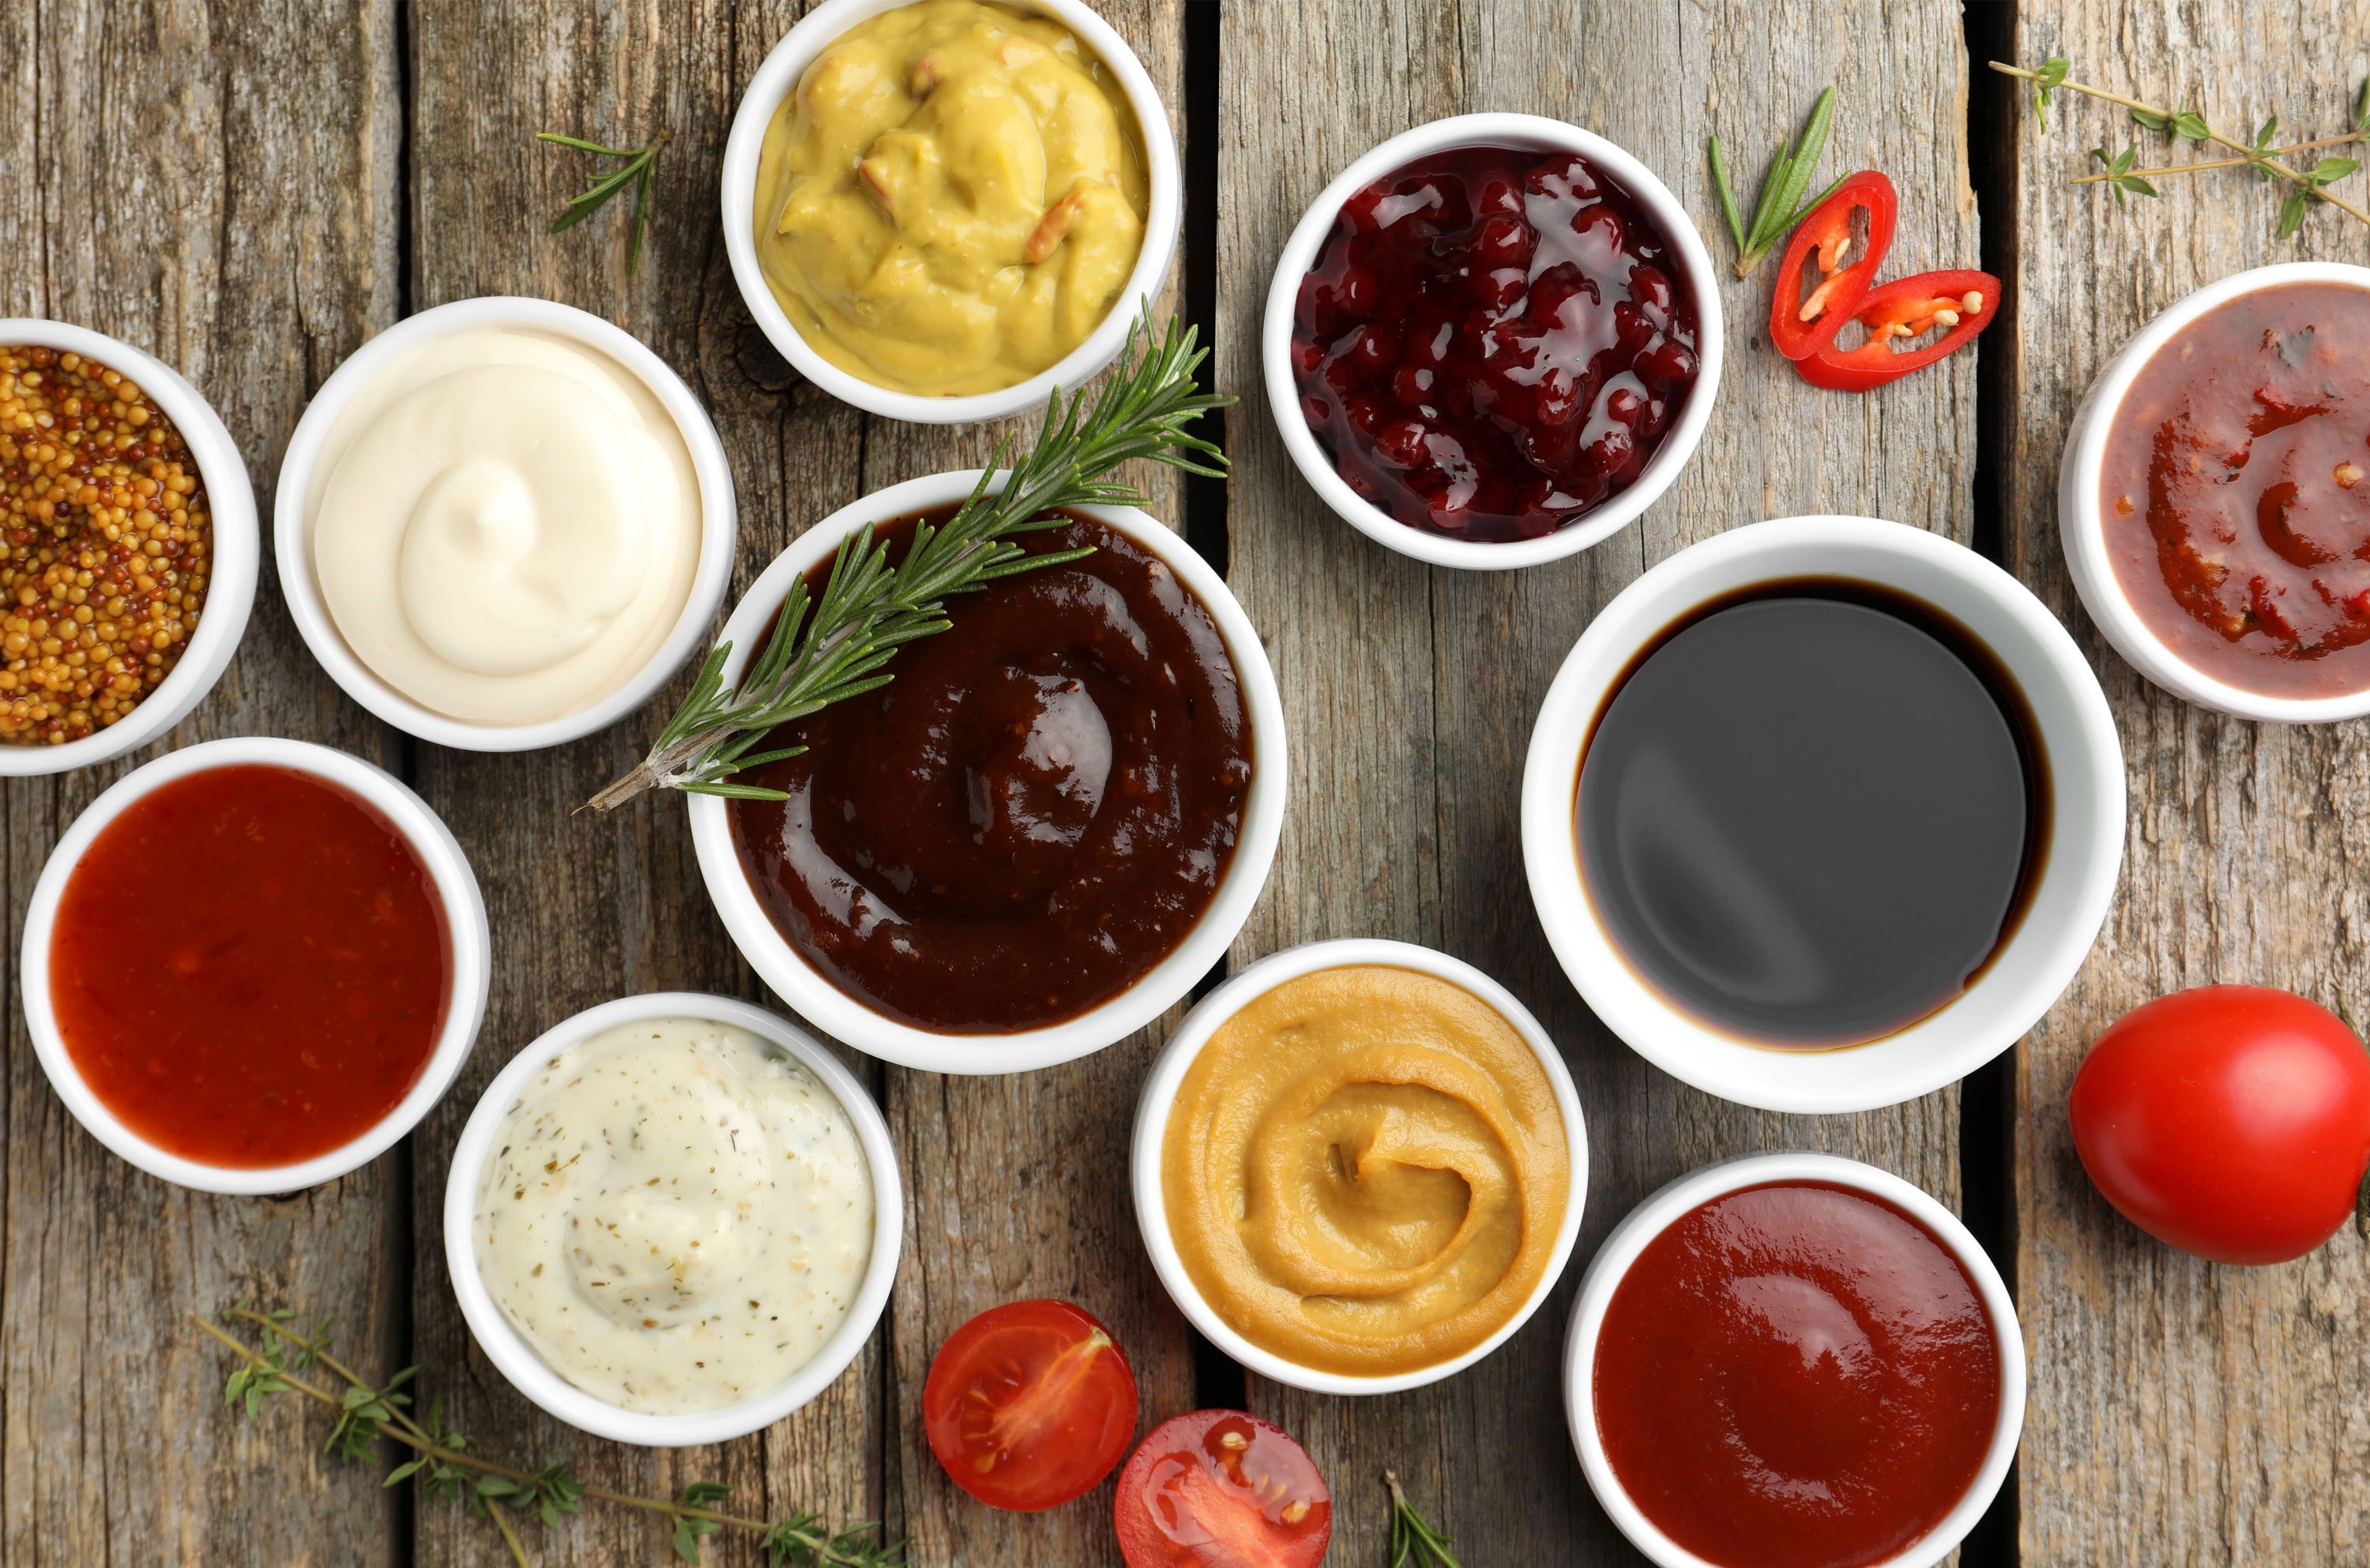
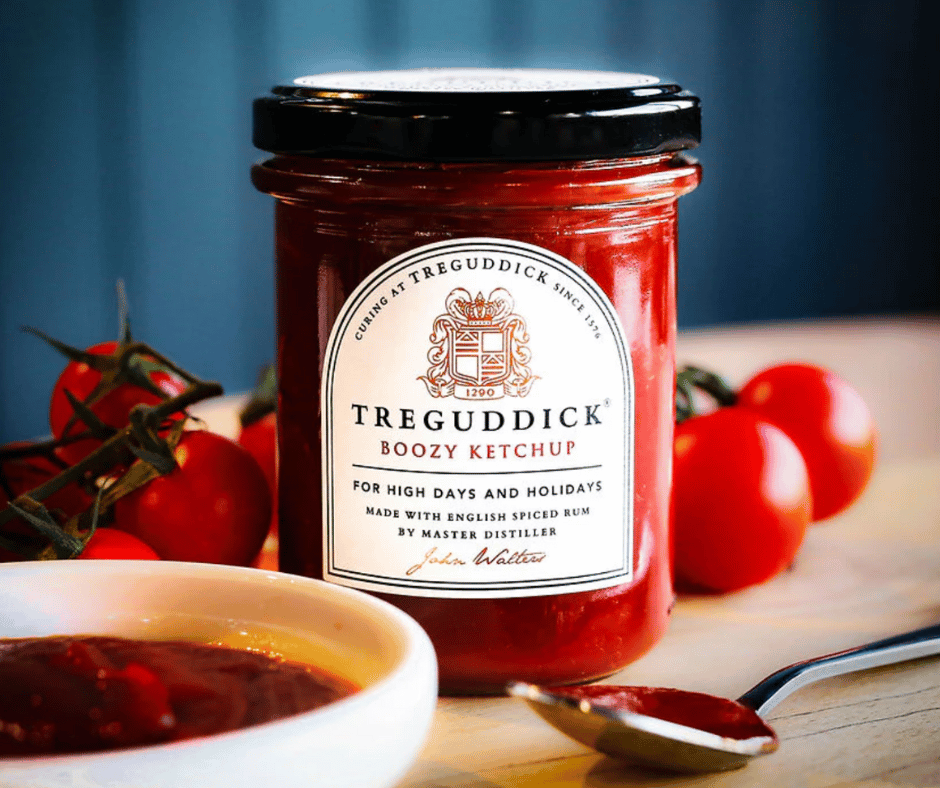
13 of the best British condiments to transform…
13 of the best British…
Whether you’re on the hunt for an artisan tomato ketchup, an unusual smoked salt or a blow-your-socks-off…
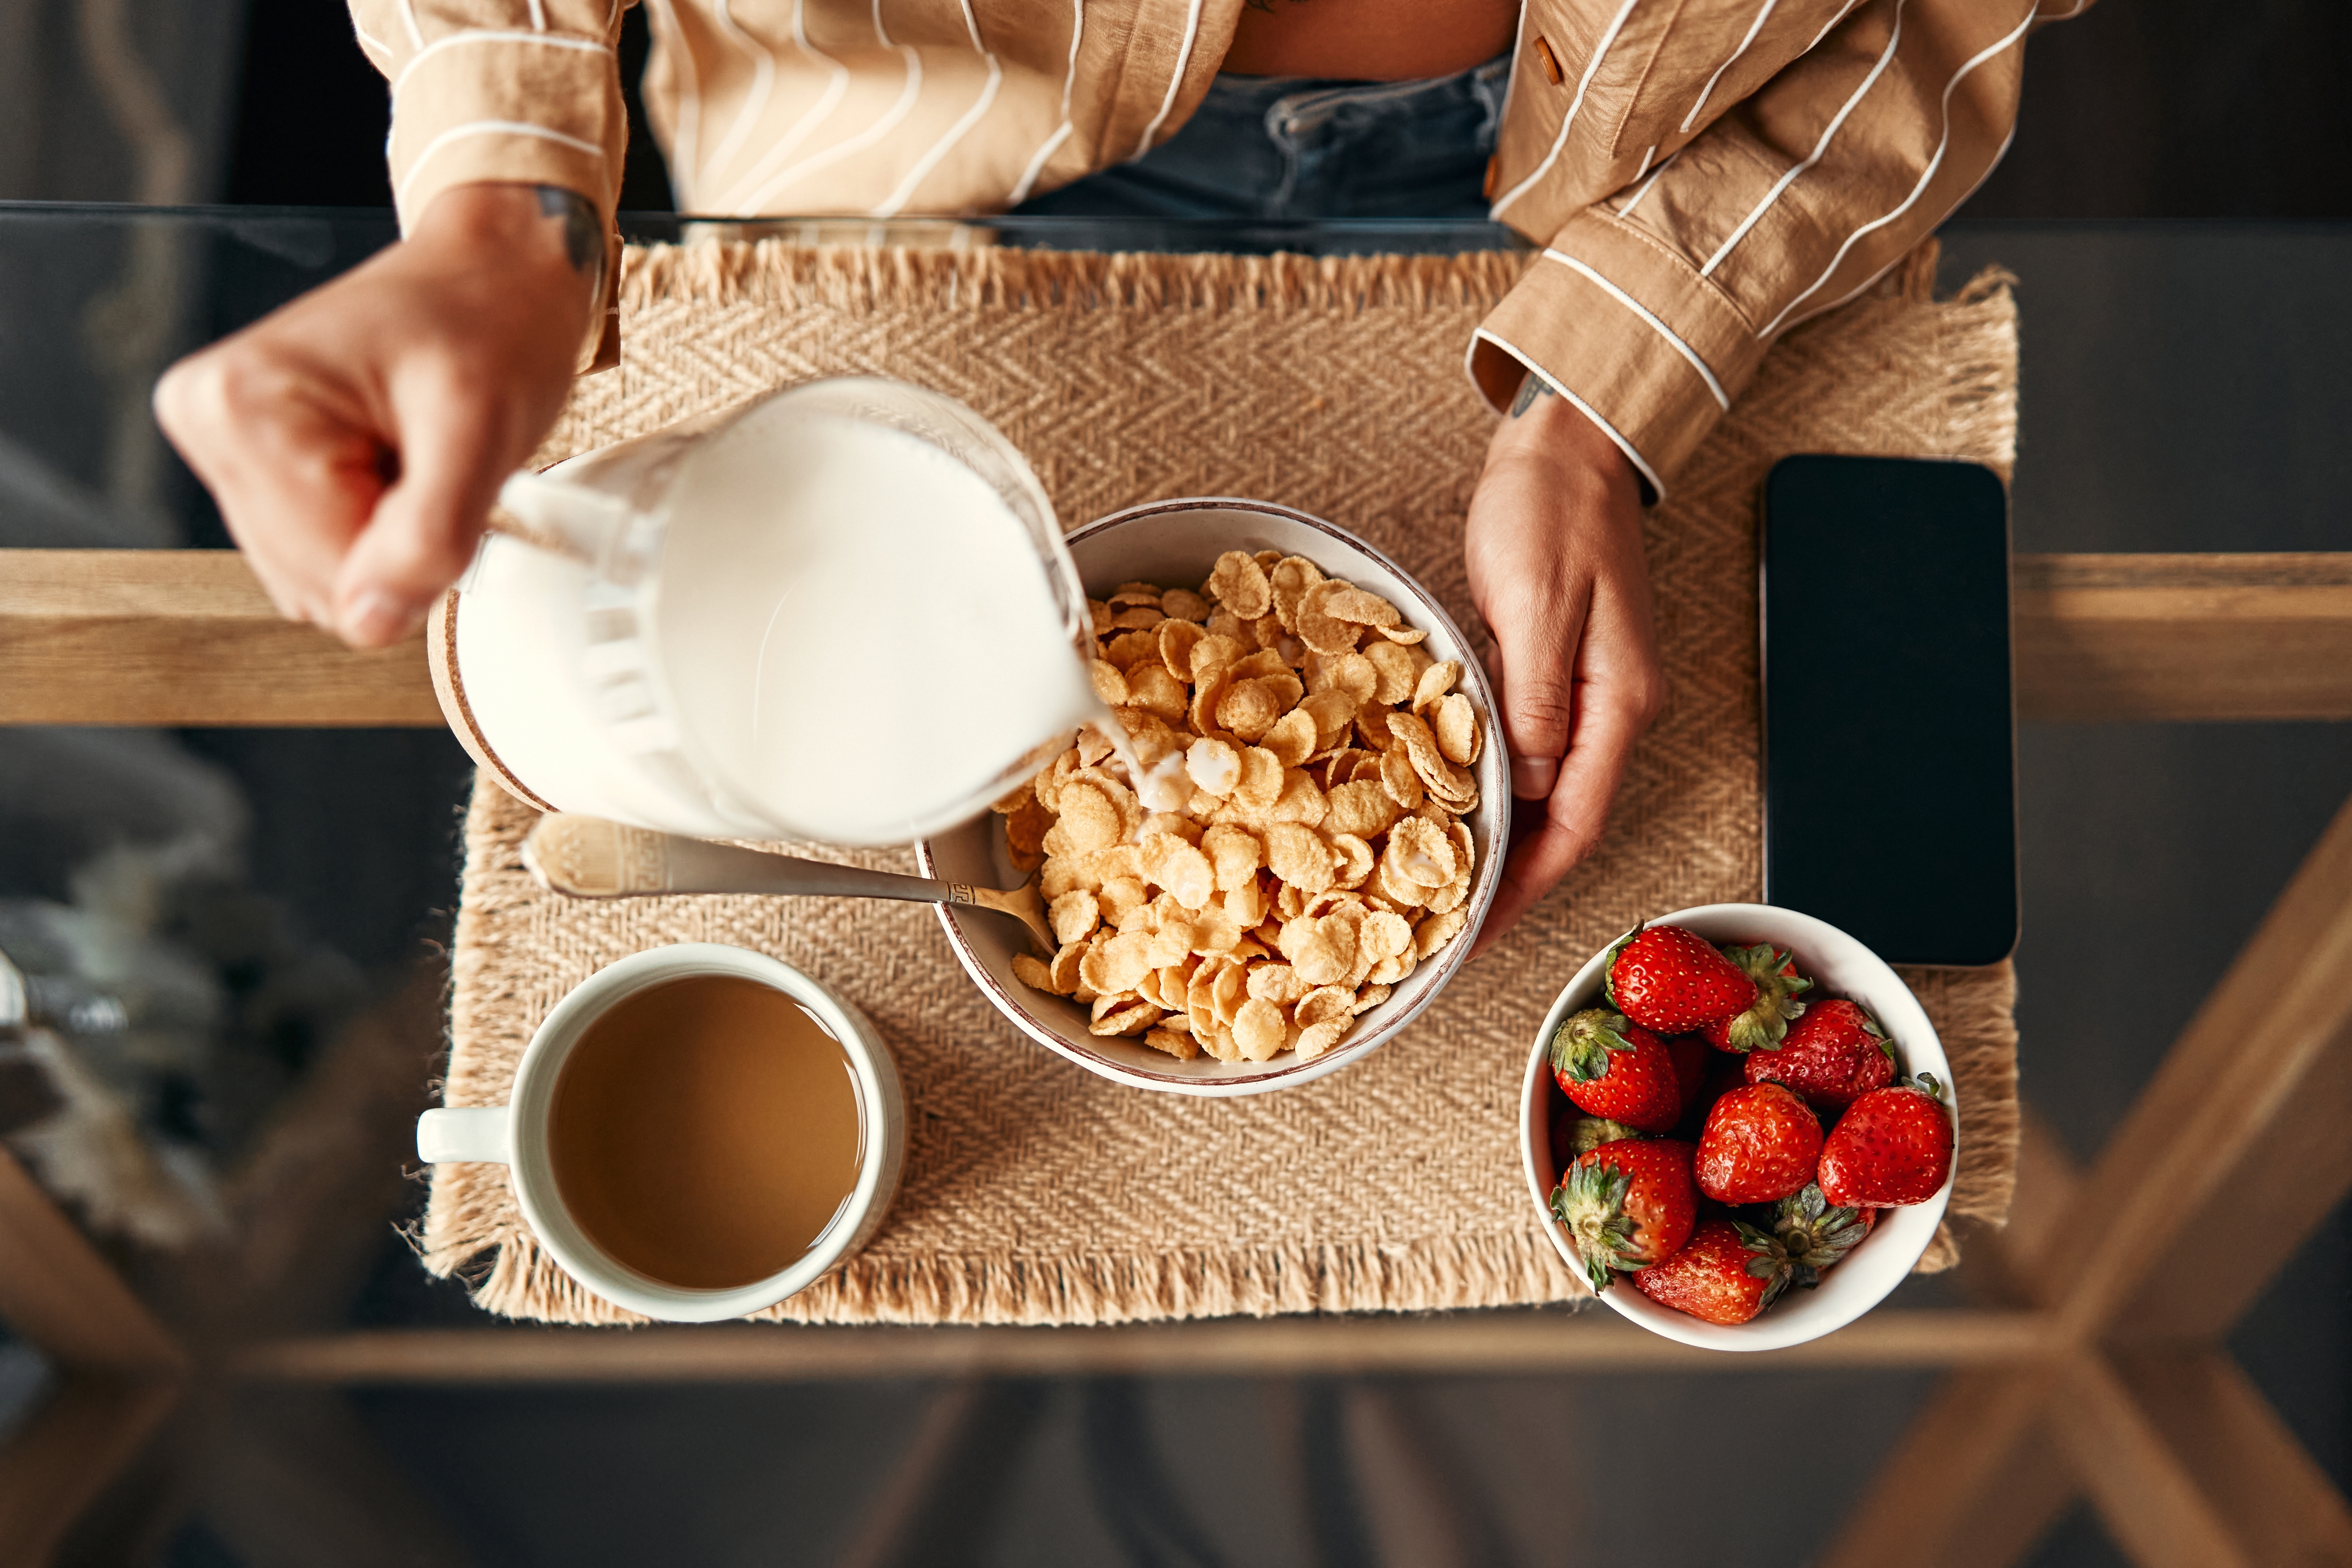
6 of the best British breakfast cereals
6 of the best British…
From hearty porridge oats to crunchy muesli mixes, we dig into the best British cereals to…
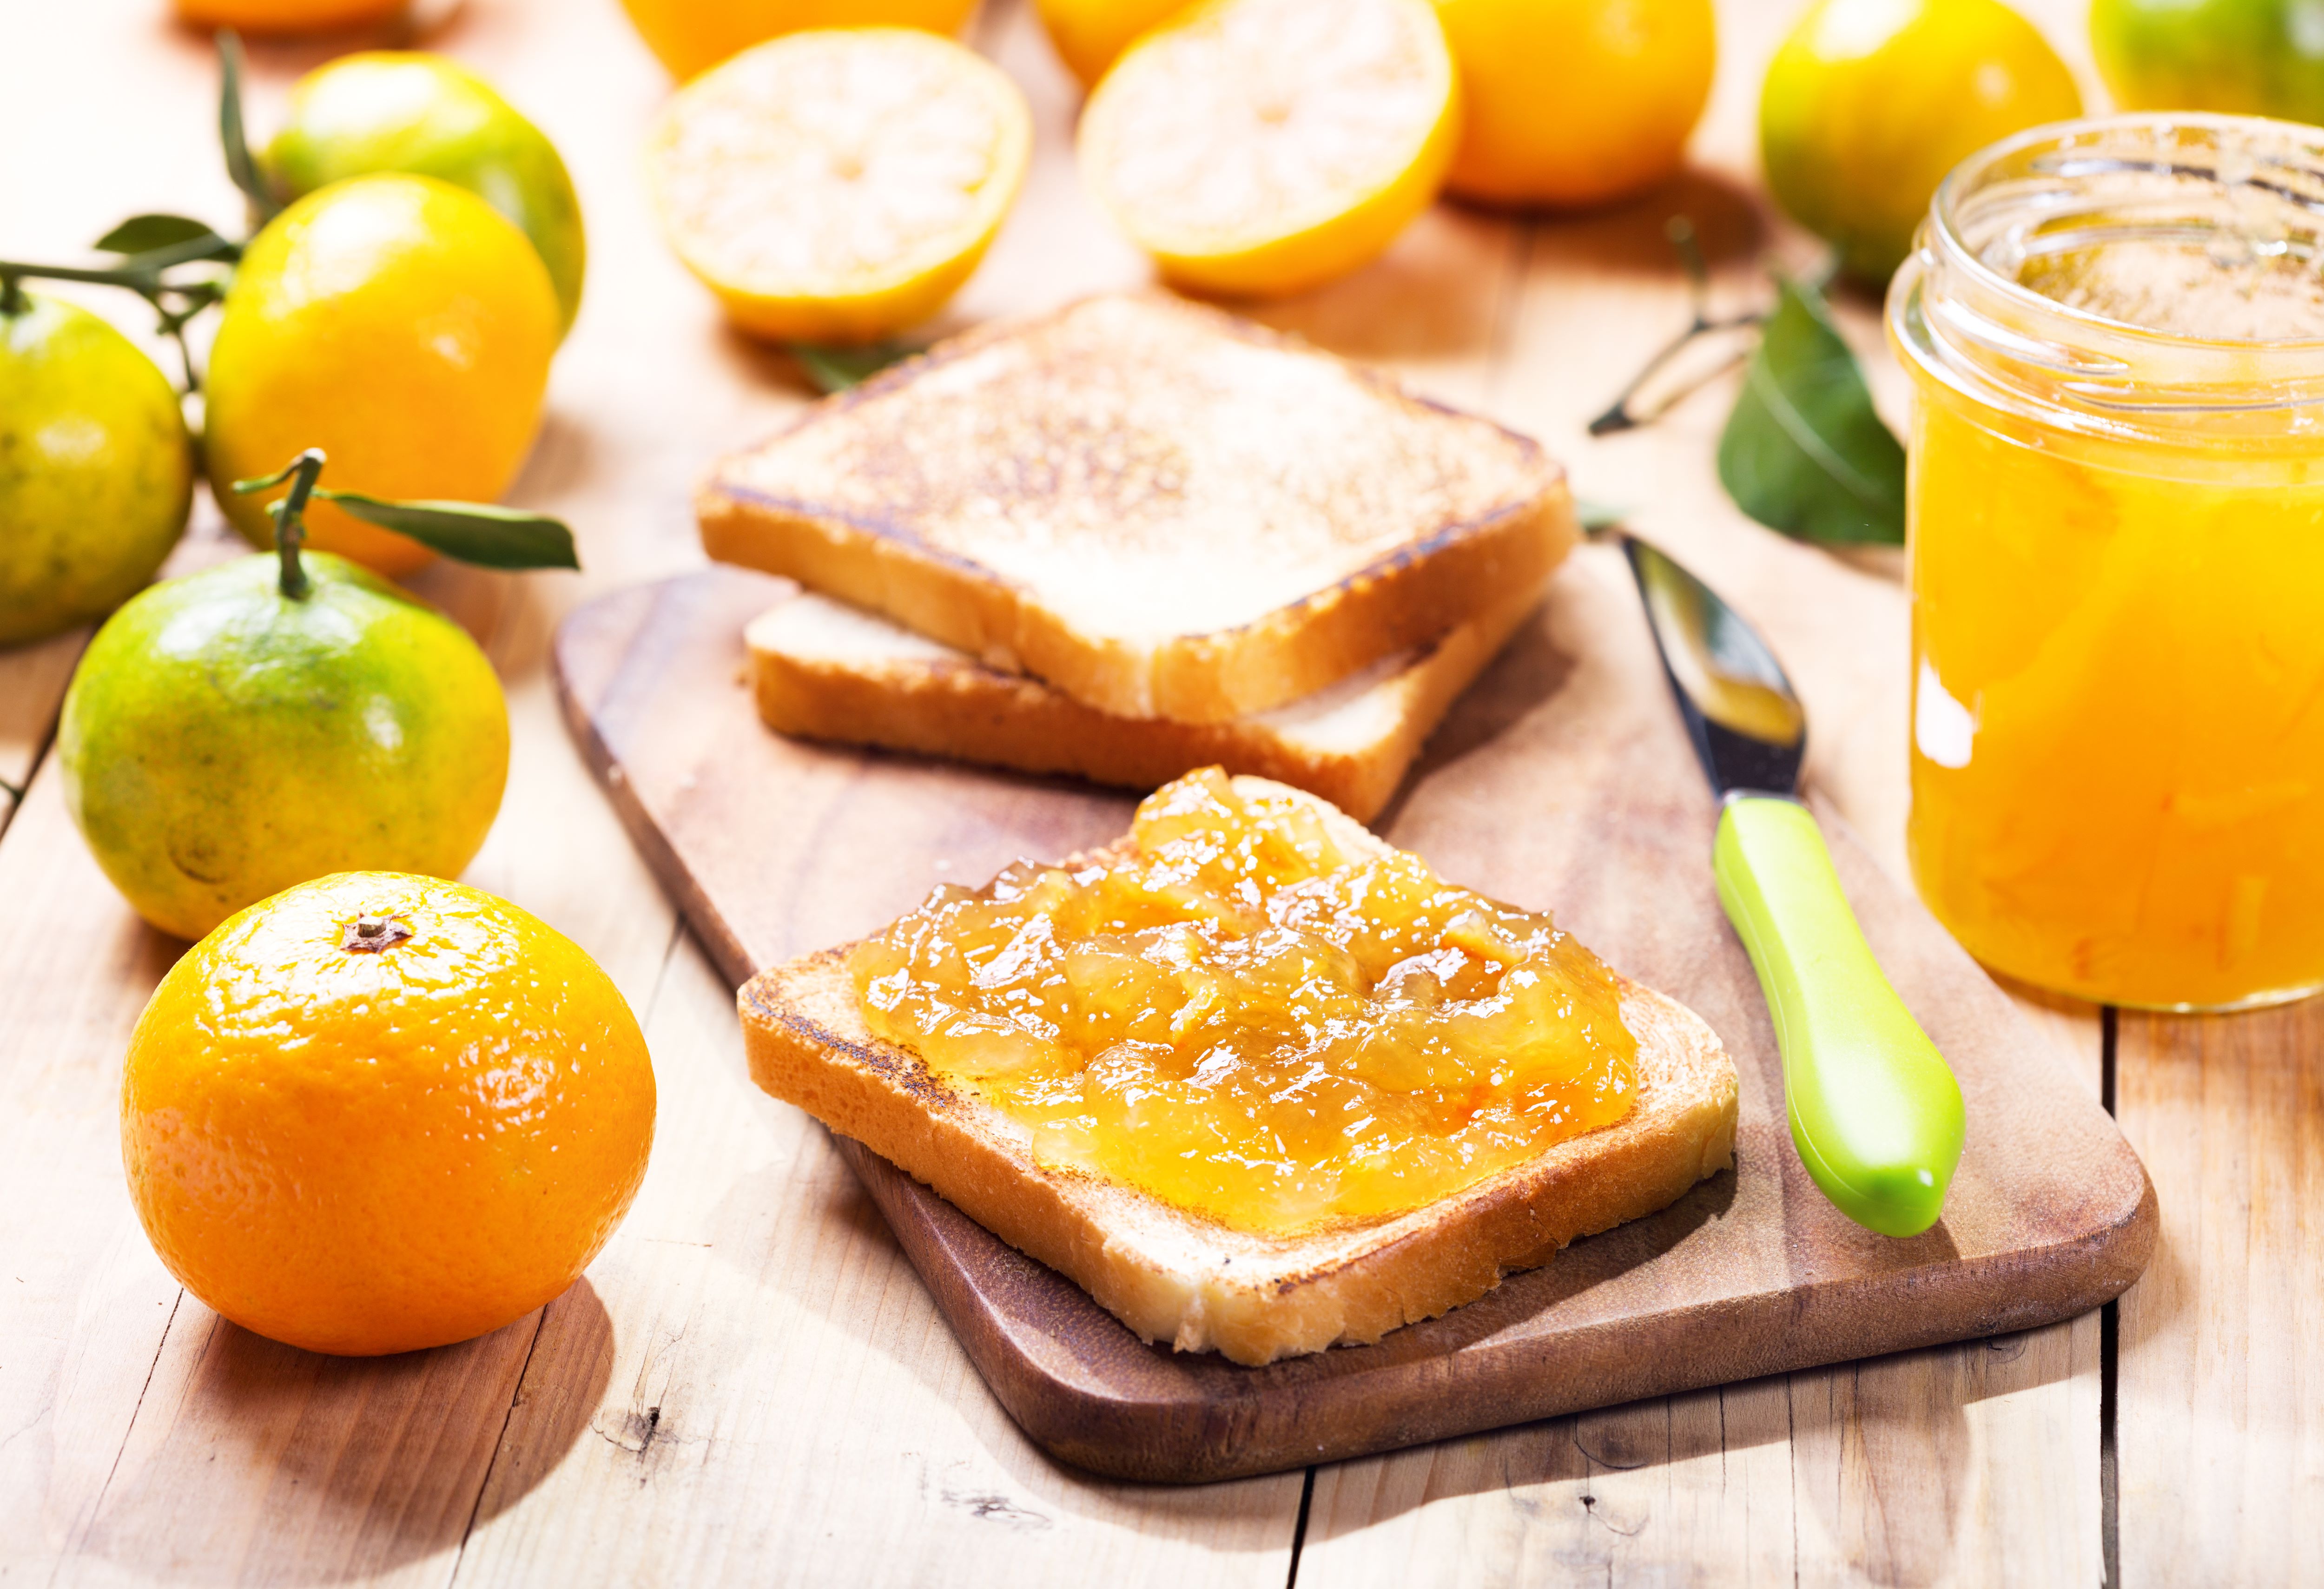
8 of the best British marmalades
8 of the best British…
Are you a fan of this tangy-sweet fruit preserve? We reveal eight of the best marmalades available…
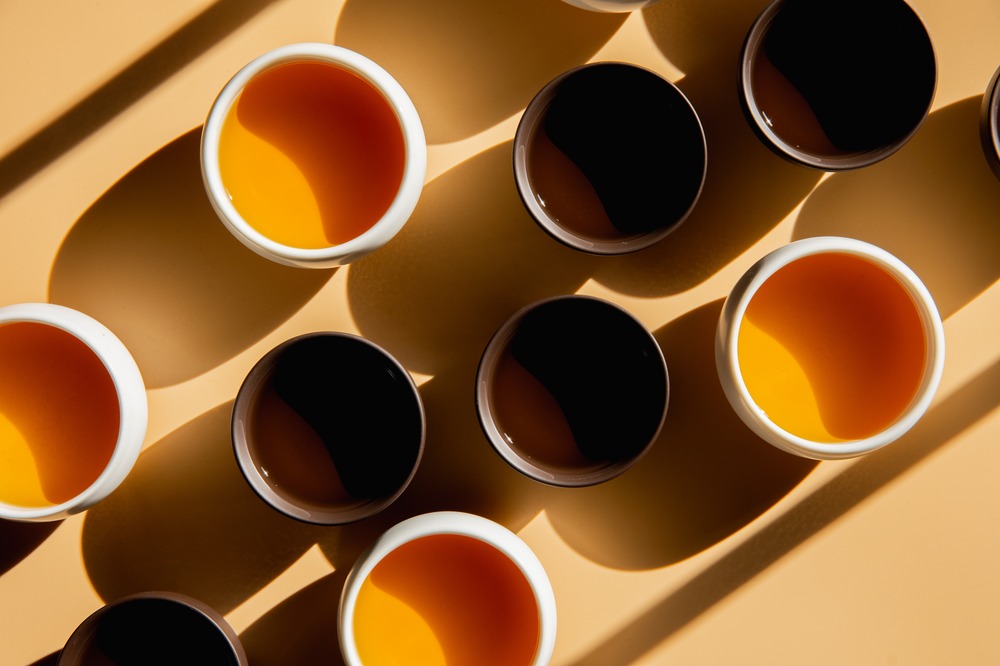
7 of the best British teas
7 of the best British…
From soothing green teas to refreshing peppermint blends, we raise a cup to the best brews…

13 of the best English wines
13 of the best English…
From English sparkling wine to reds and rosés, we raise a toast to the best English wines…