Best of British
Your ultimate resource to the best British food and drink inspiration, from top culinary picks to must-visit foodie locations
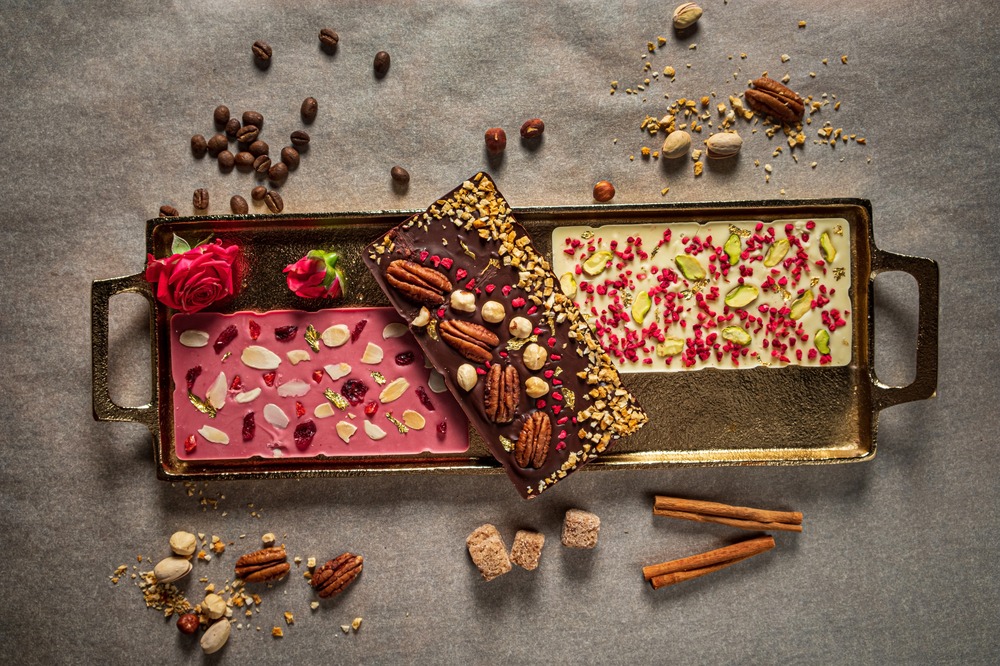
Best British chocolate brands – 7 artisan favourites tried and tested
From rich dark bars to velvety caramel creations, we celebrate the best British craft chocolates to savour today...
Treat yourself by discovering three decadent ways to match award-winning biscuits with tea
Watch this if you're fed up with soggy bacon sandwiches
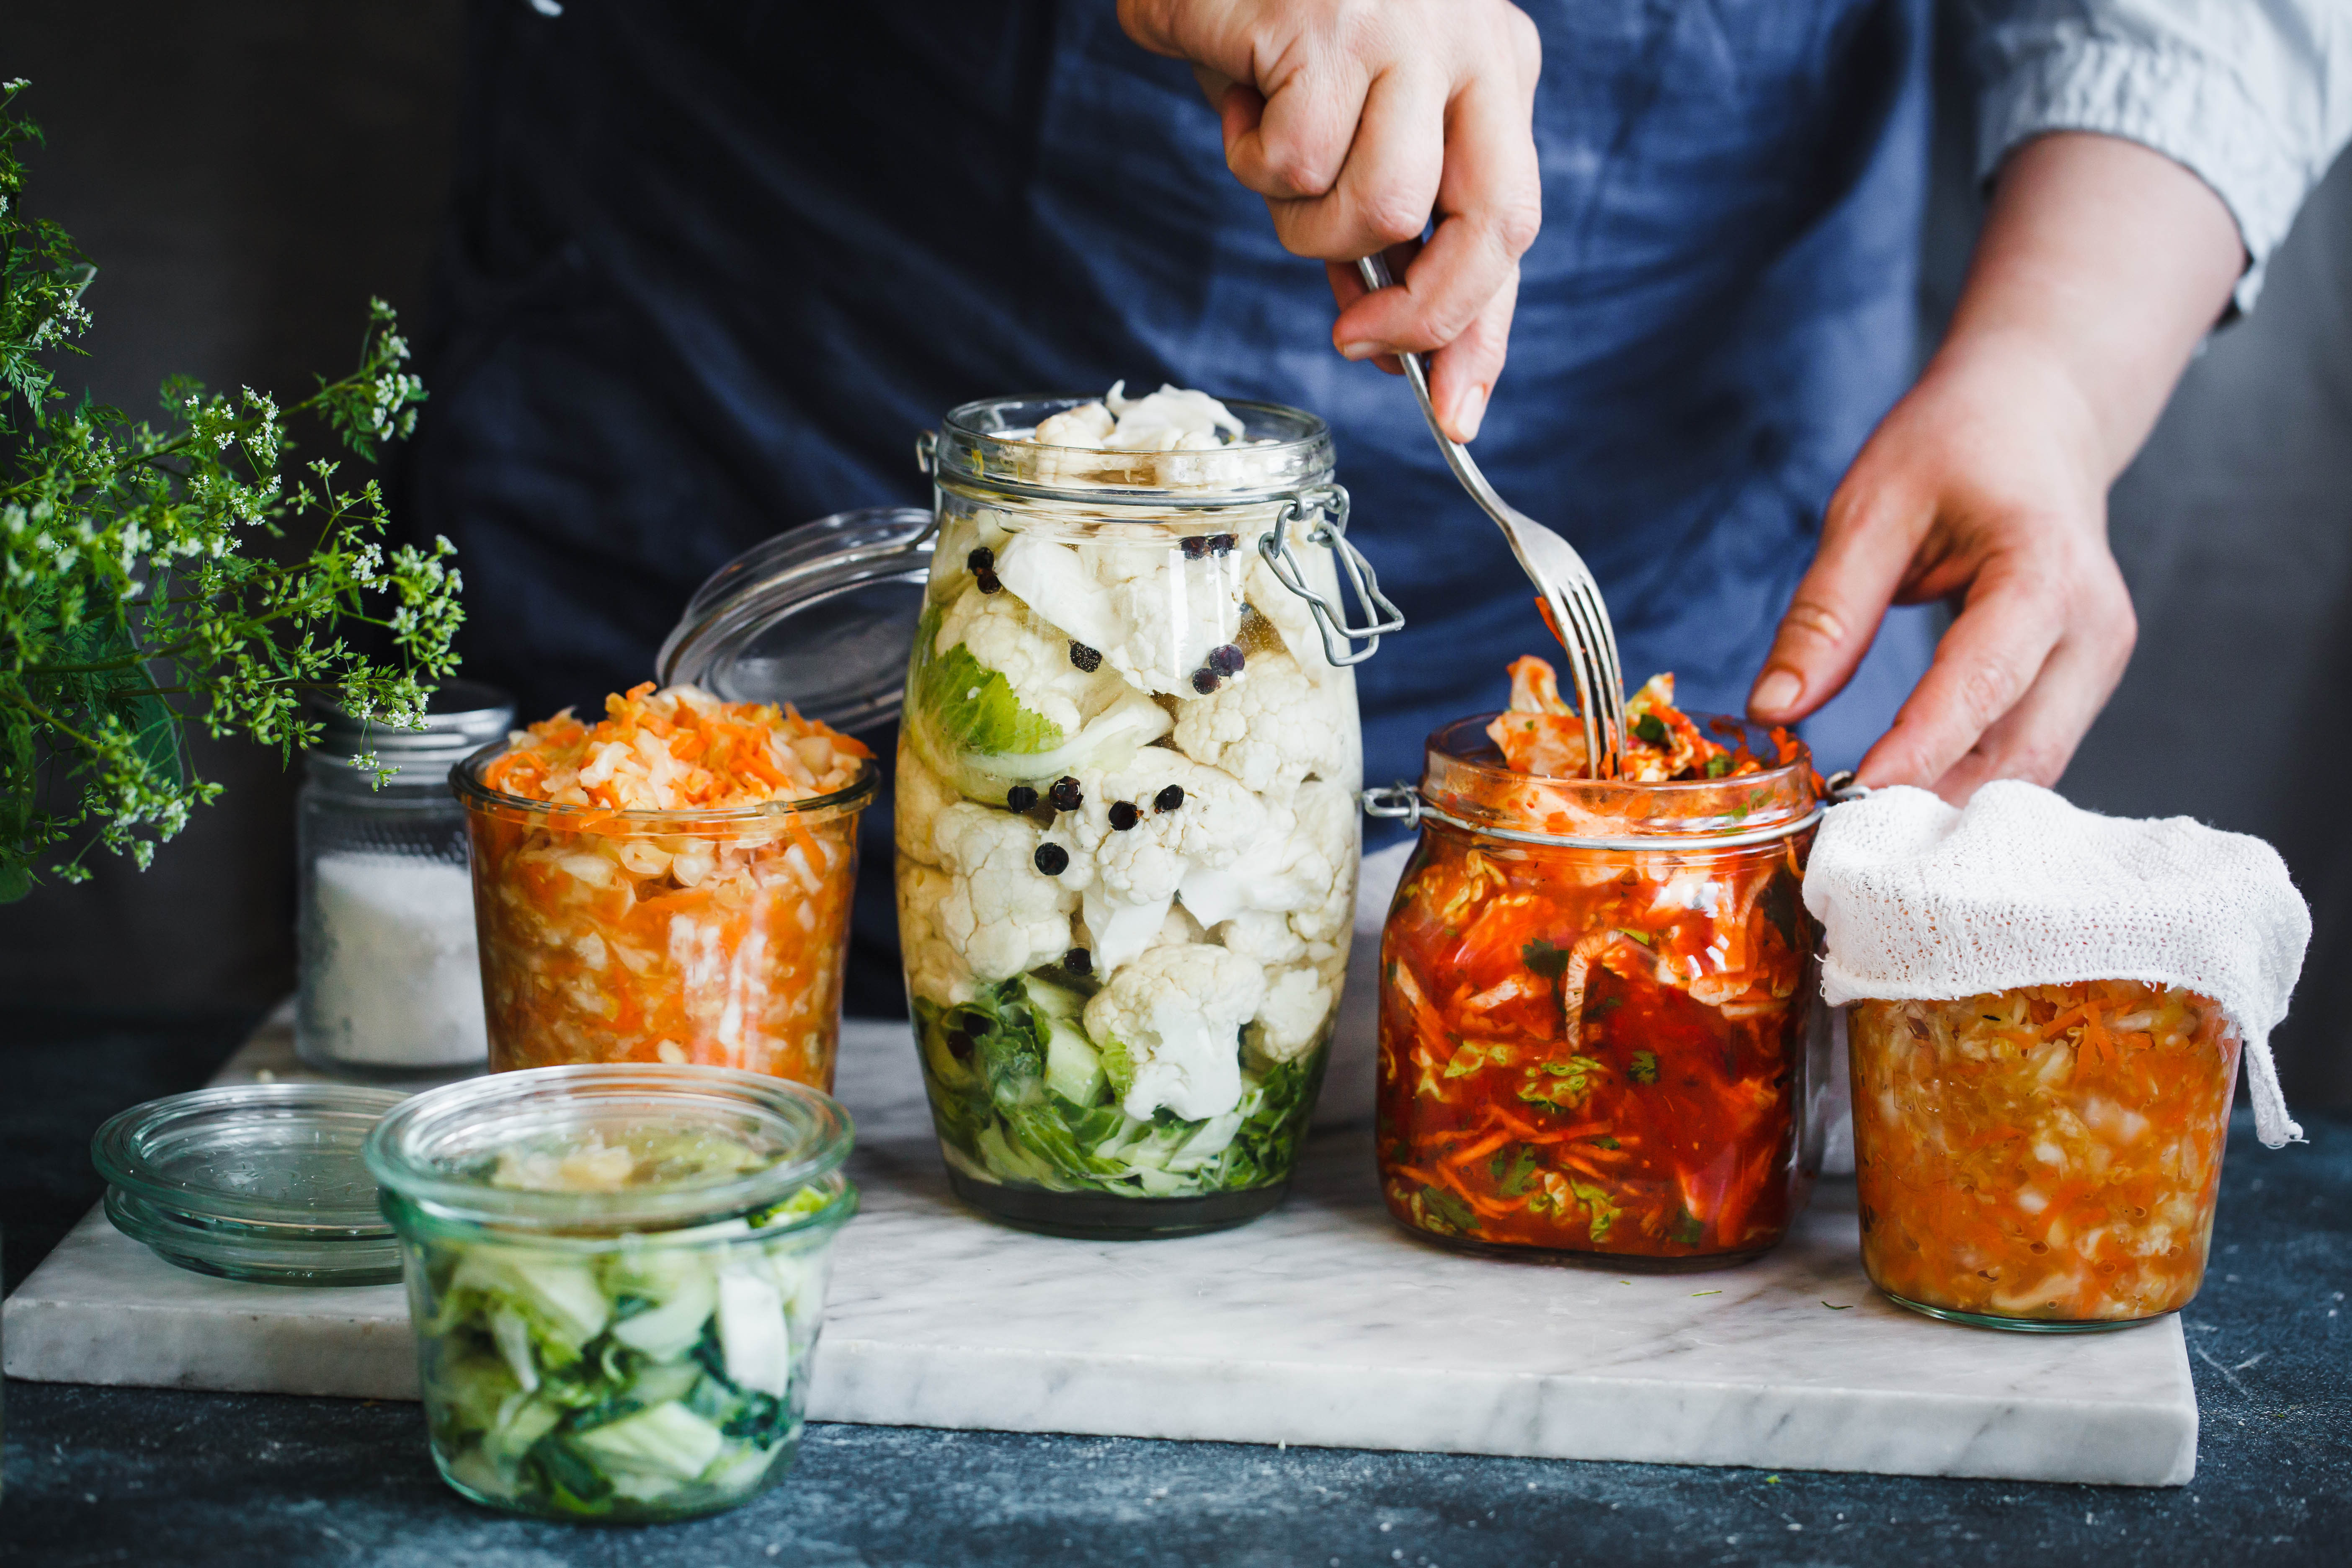
If you've bought a jar of kimchi but have no clue what do to with it, follow our easy suggestions
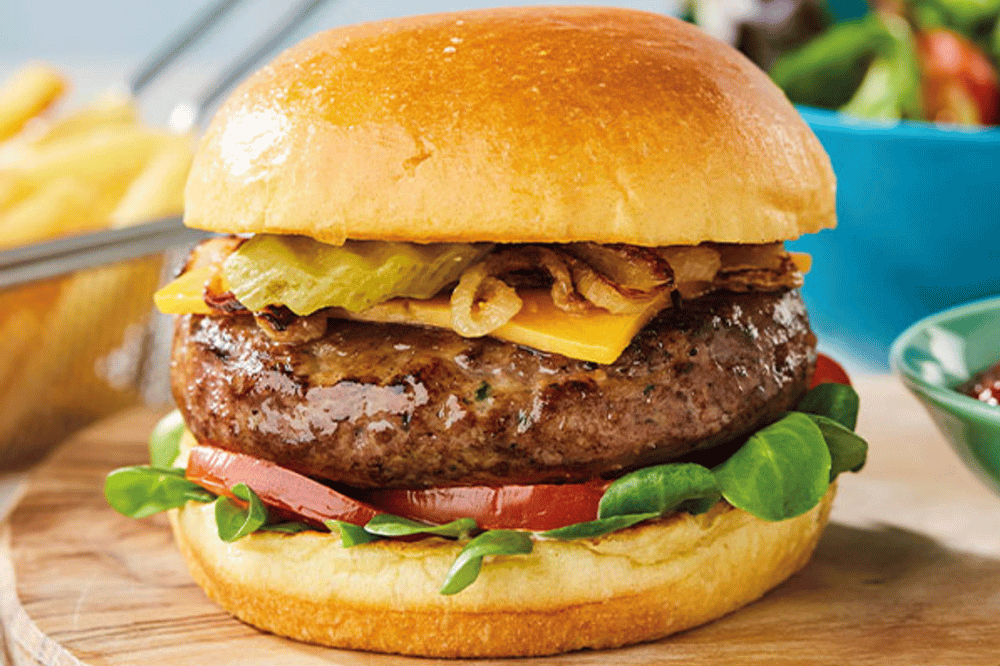
Burgers – 10 juicy & flavour-packed…
Burgers – 10 juicy…
Throw out the takeaway menu and prep the grill – we have you sorted with 10 of the best…
Throw out the takeaway menu and prep the grill – we have…
Free-from – 10 British products that are…
Free-from – 10 British…
The free-from sector is booming, and new British product innovations mean you don’t have…
The free-from sector is booming, and new British product innovations…
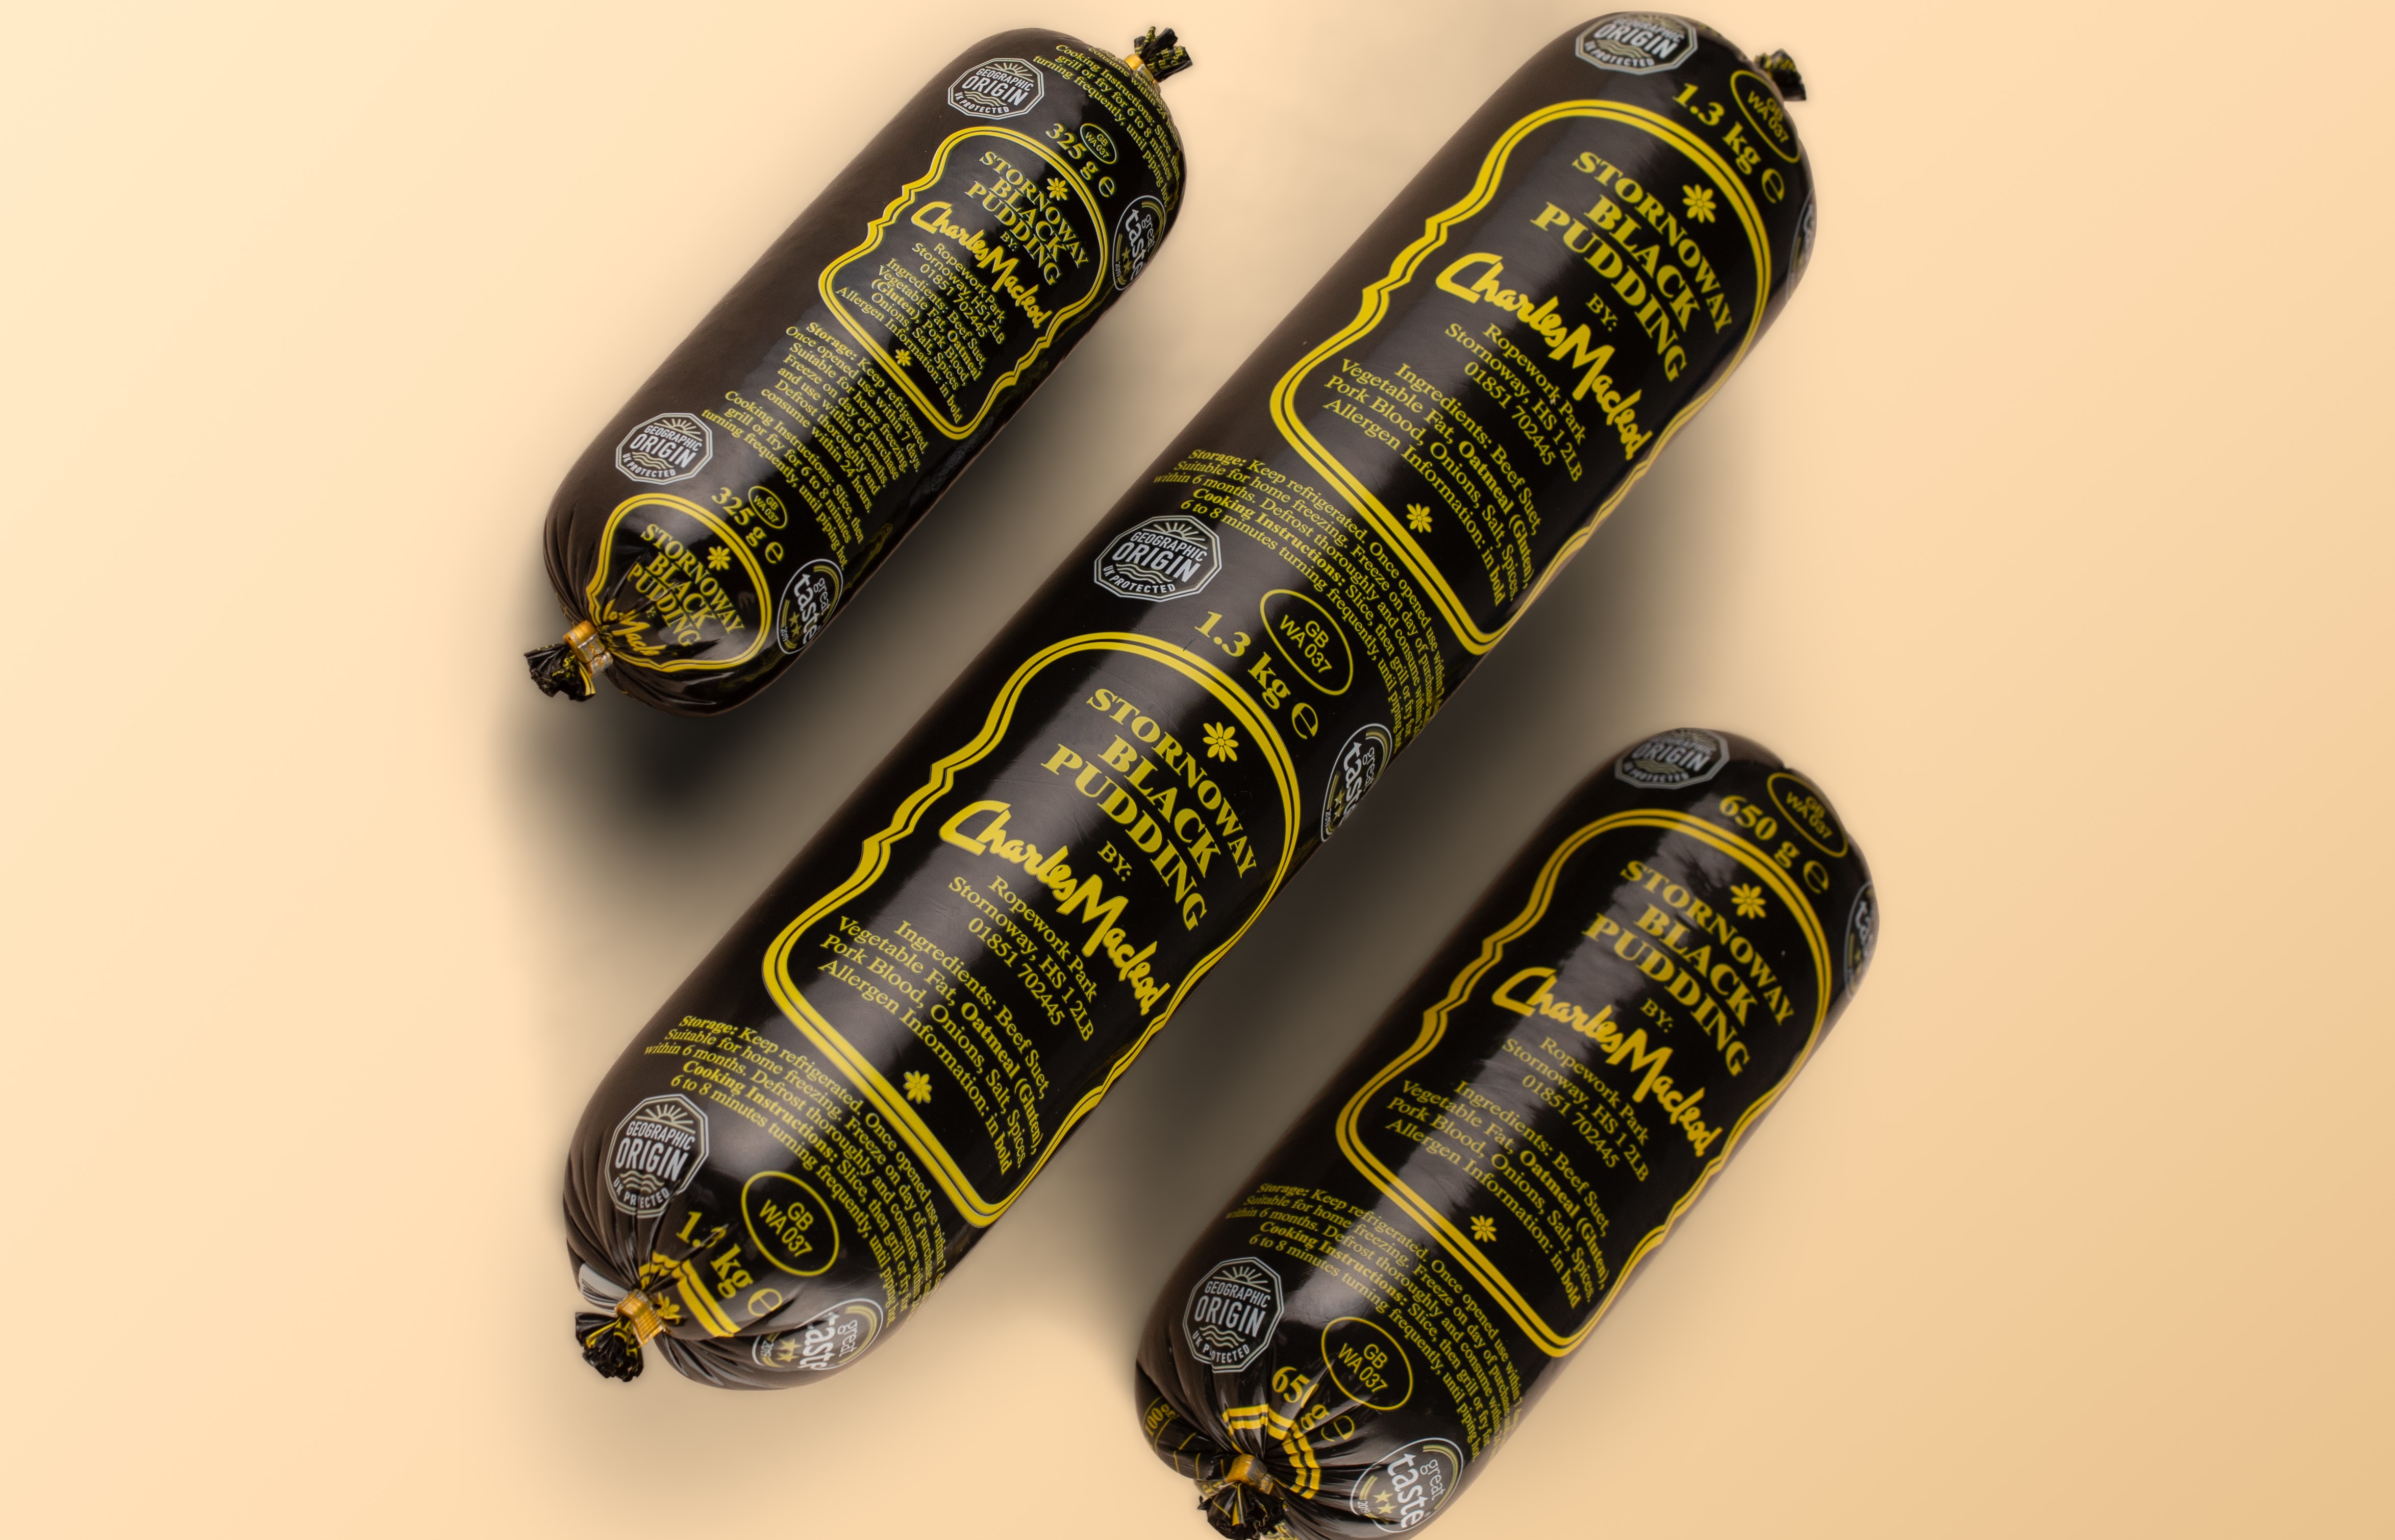
A Taste of the Hebrides – Charles Macleod…
A Taste of the Hebrides…
Looking for a product to liven up your home cooking? Here at…
Looking for a product to liven…
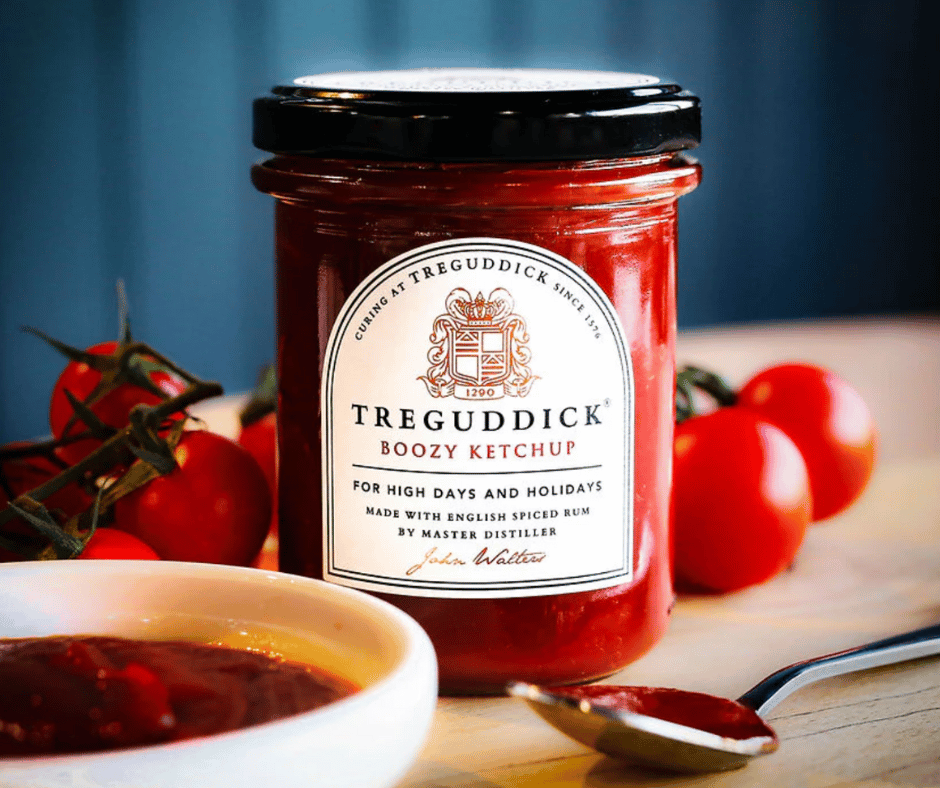
Condiments – Best British condiments for…
Condiments – Best British…
From fiery hot honey to timeless Branston pickle, join us on a tour of the condiments shaping…
From fiery hot honey to timeless Branston pickle, join us…
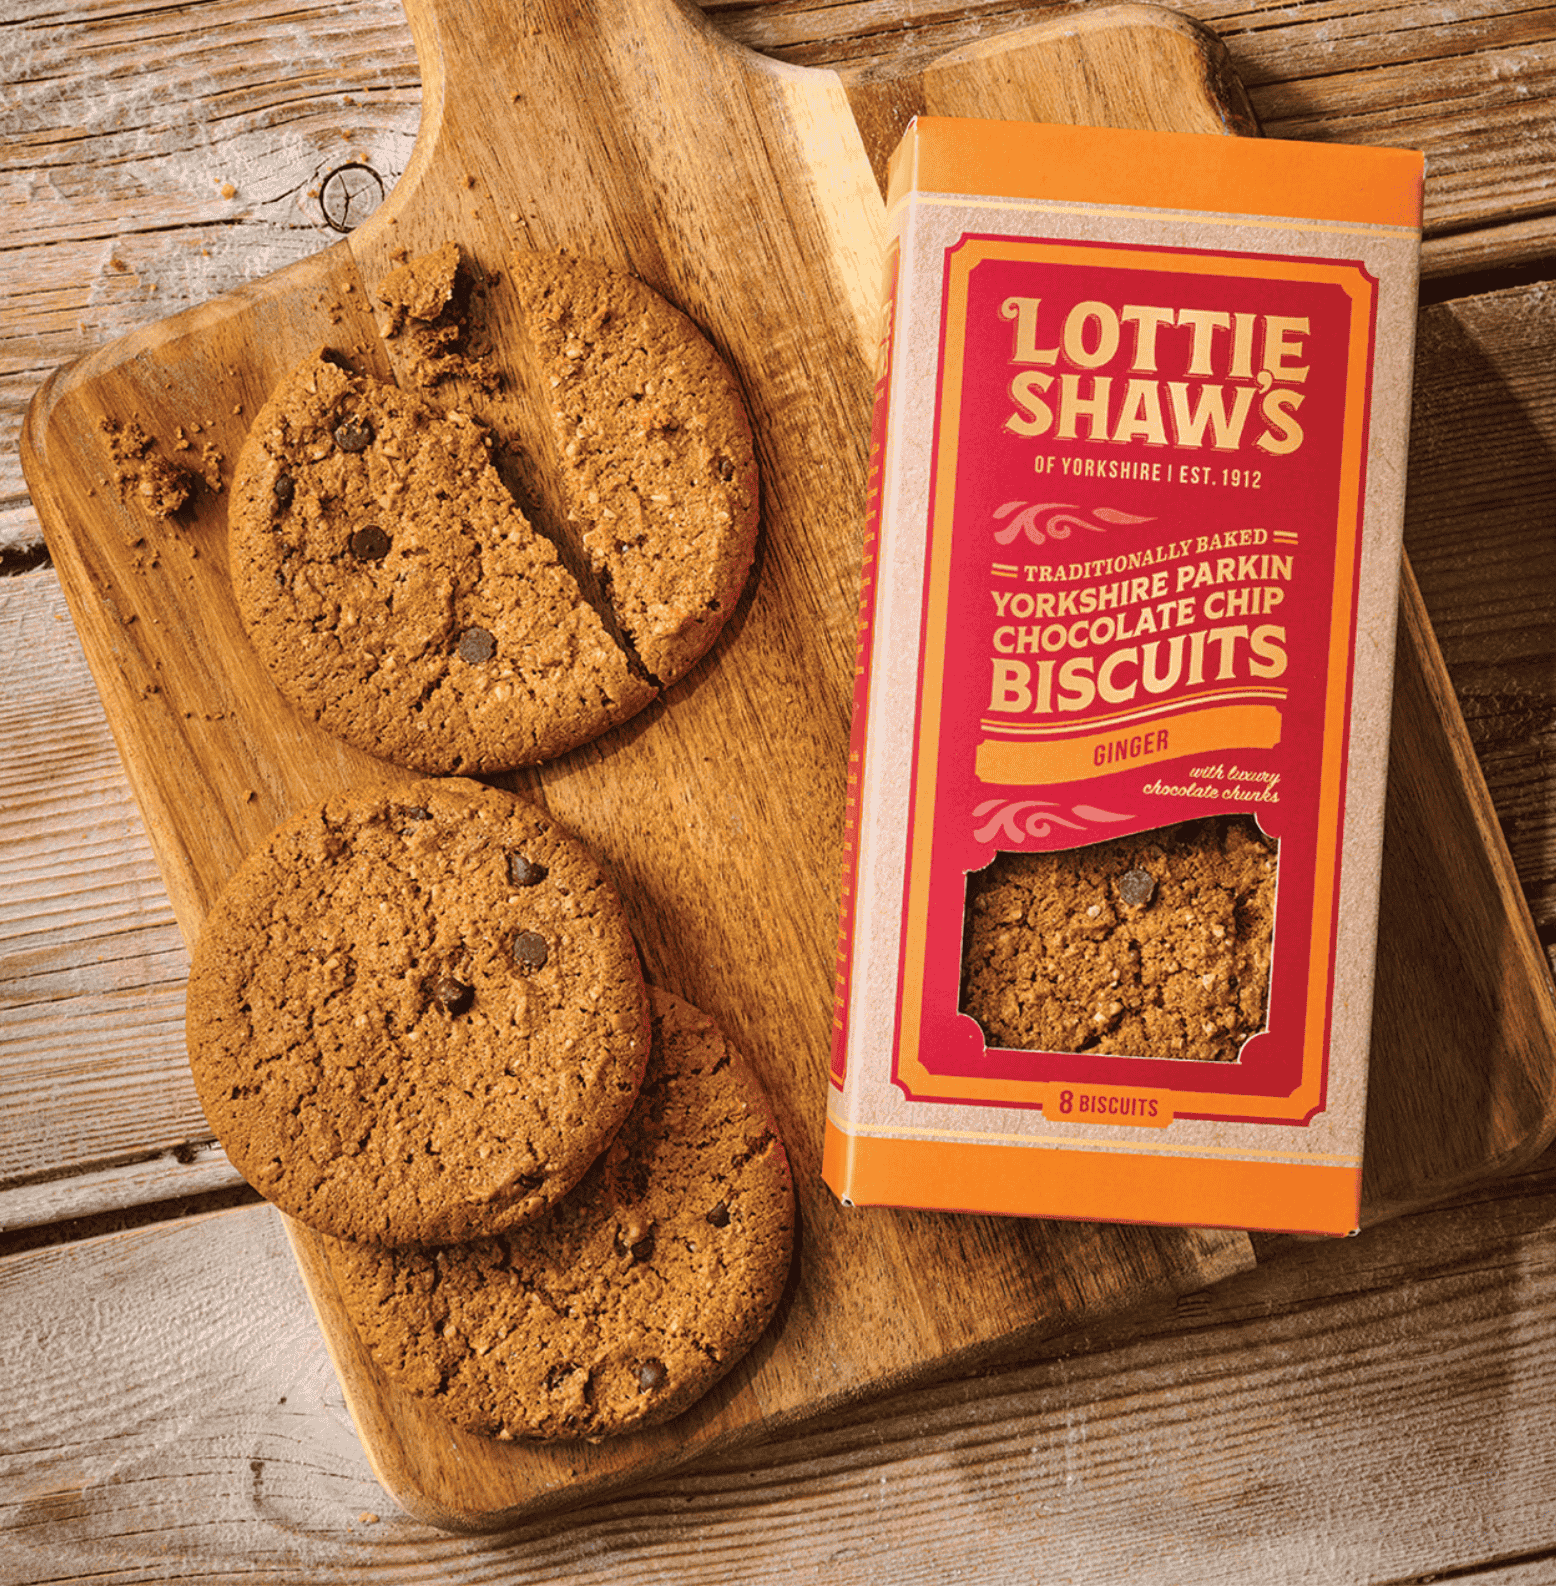
British biscuits – 10 new favourites for…
British biscuits –…
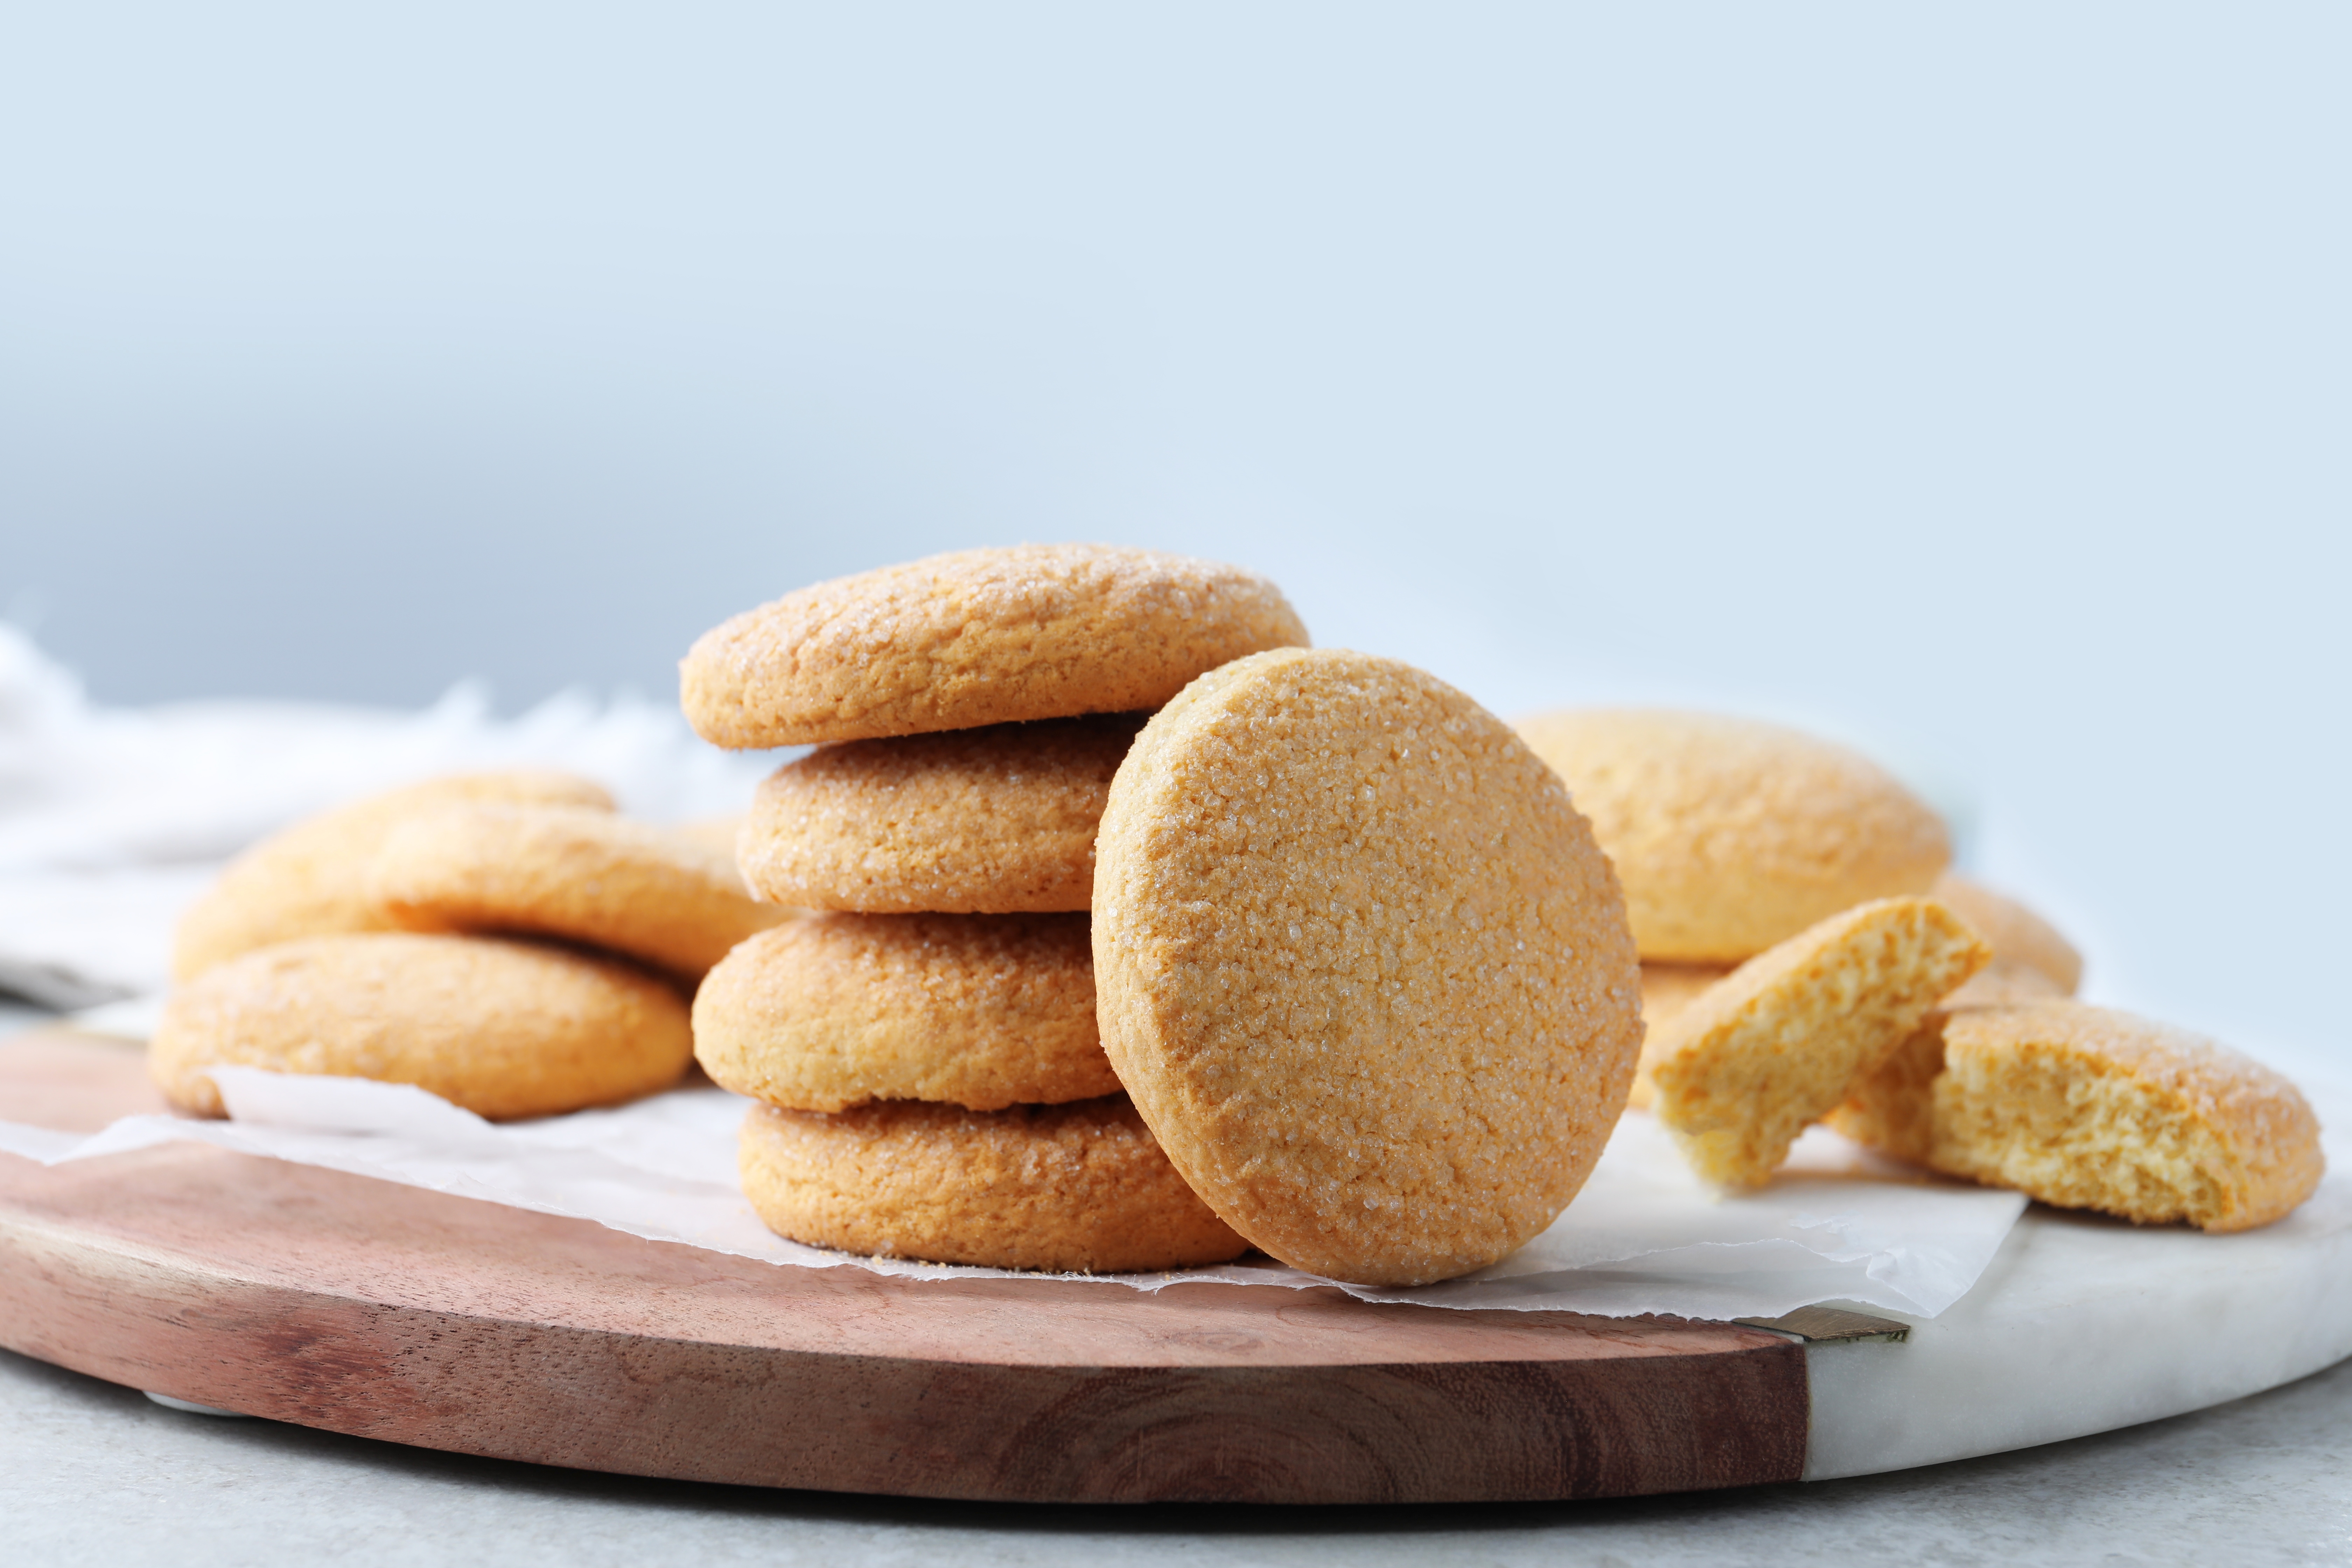
Discover beloved British biscuits, from classic favourites to modern twists, plus ten taste…
Discover beloved British biscuits, from classic favourites…
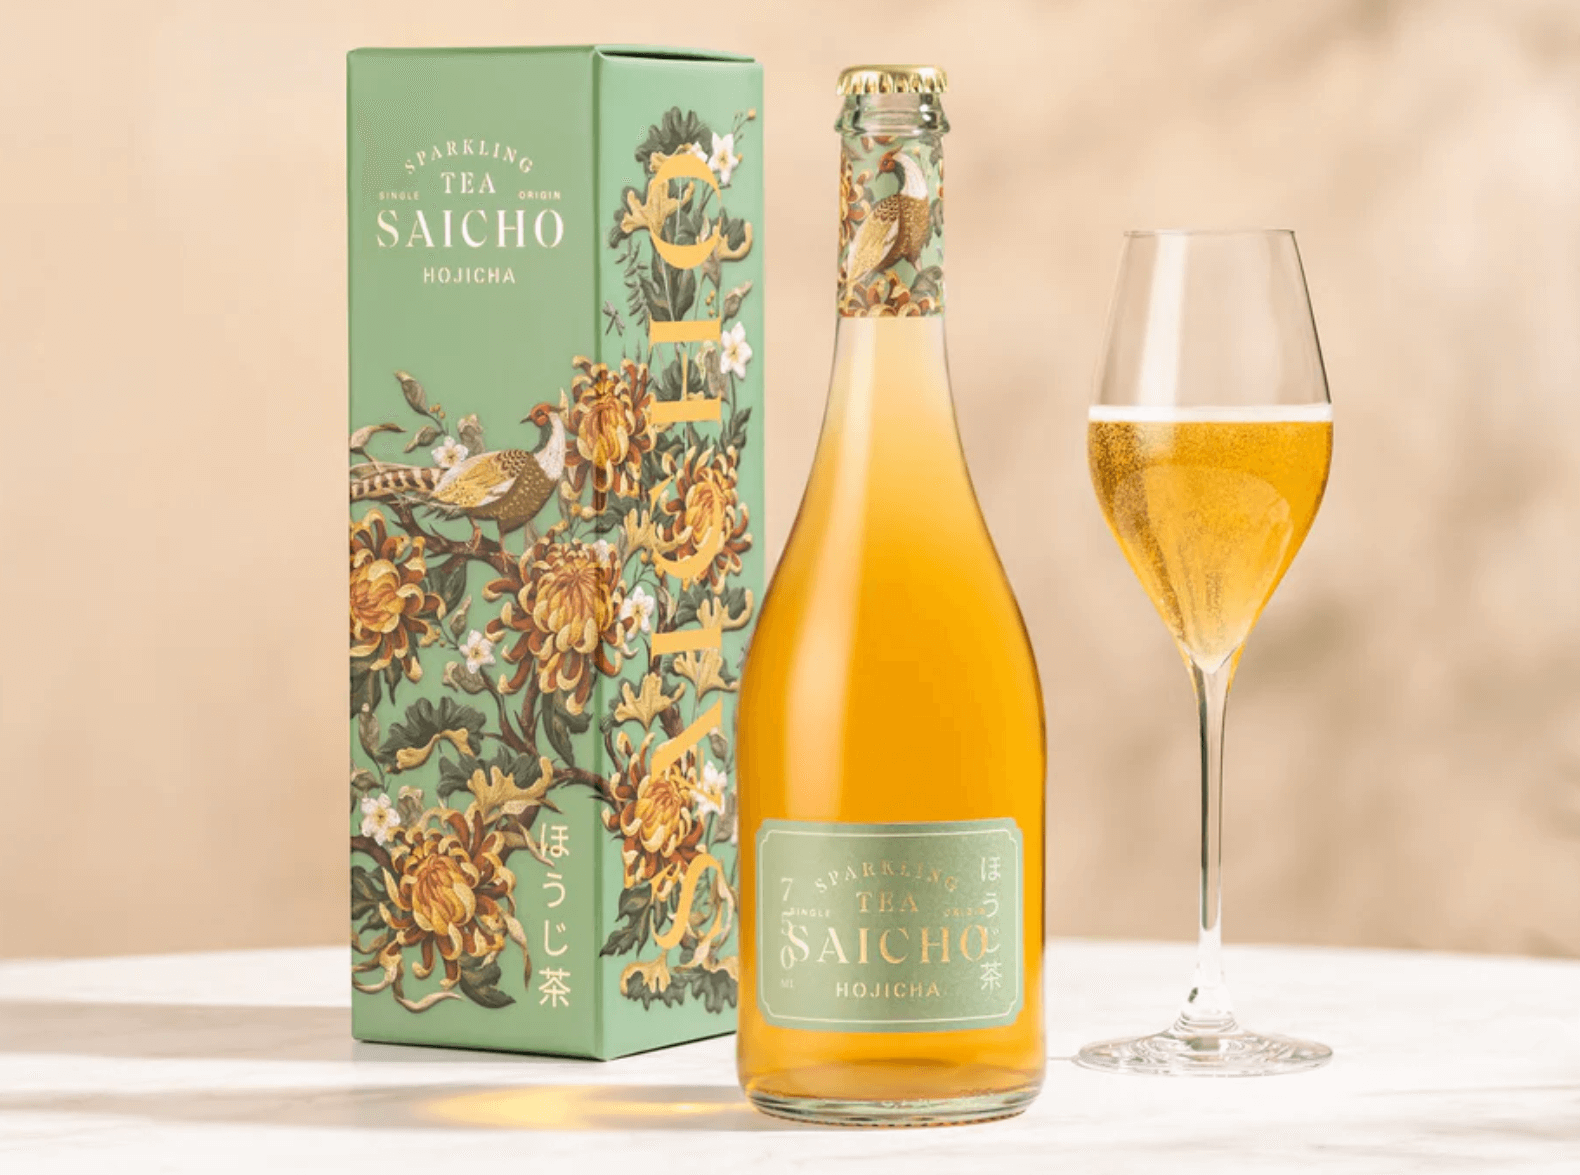
Soft drinks – Raise a glass to these British…
Soft drinks – Raise…
Britain’s soft drinks scene is fizzing with innovation – explore the trends, health-boosting…
Britain’s soft drinks scene is fizzing with innovation –…
Soft cheese – British classics for spreading,…
Soft cheese – British…
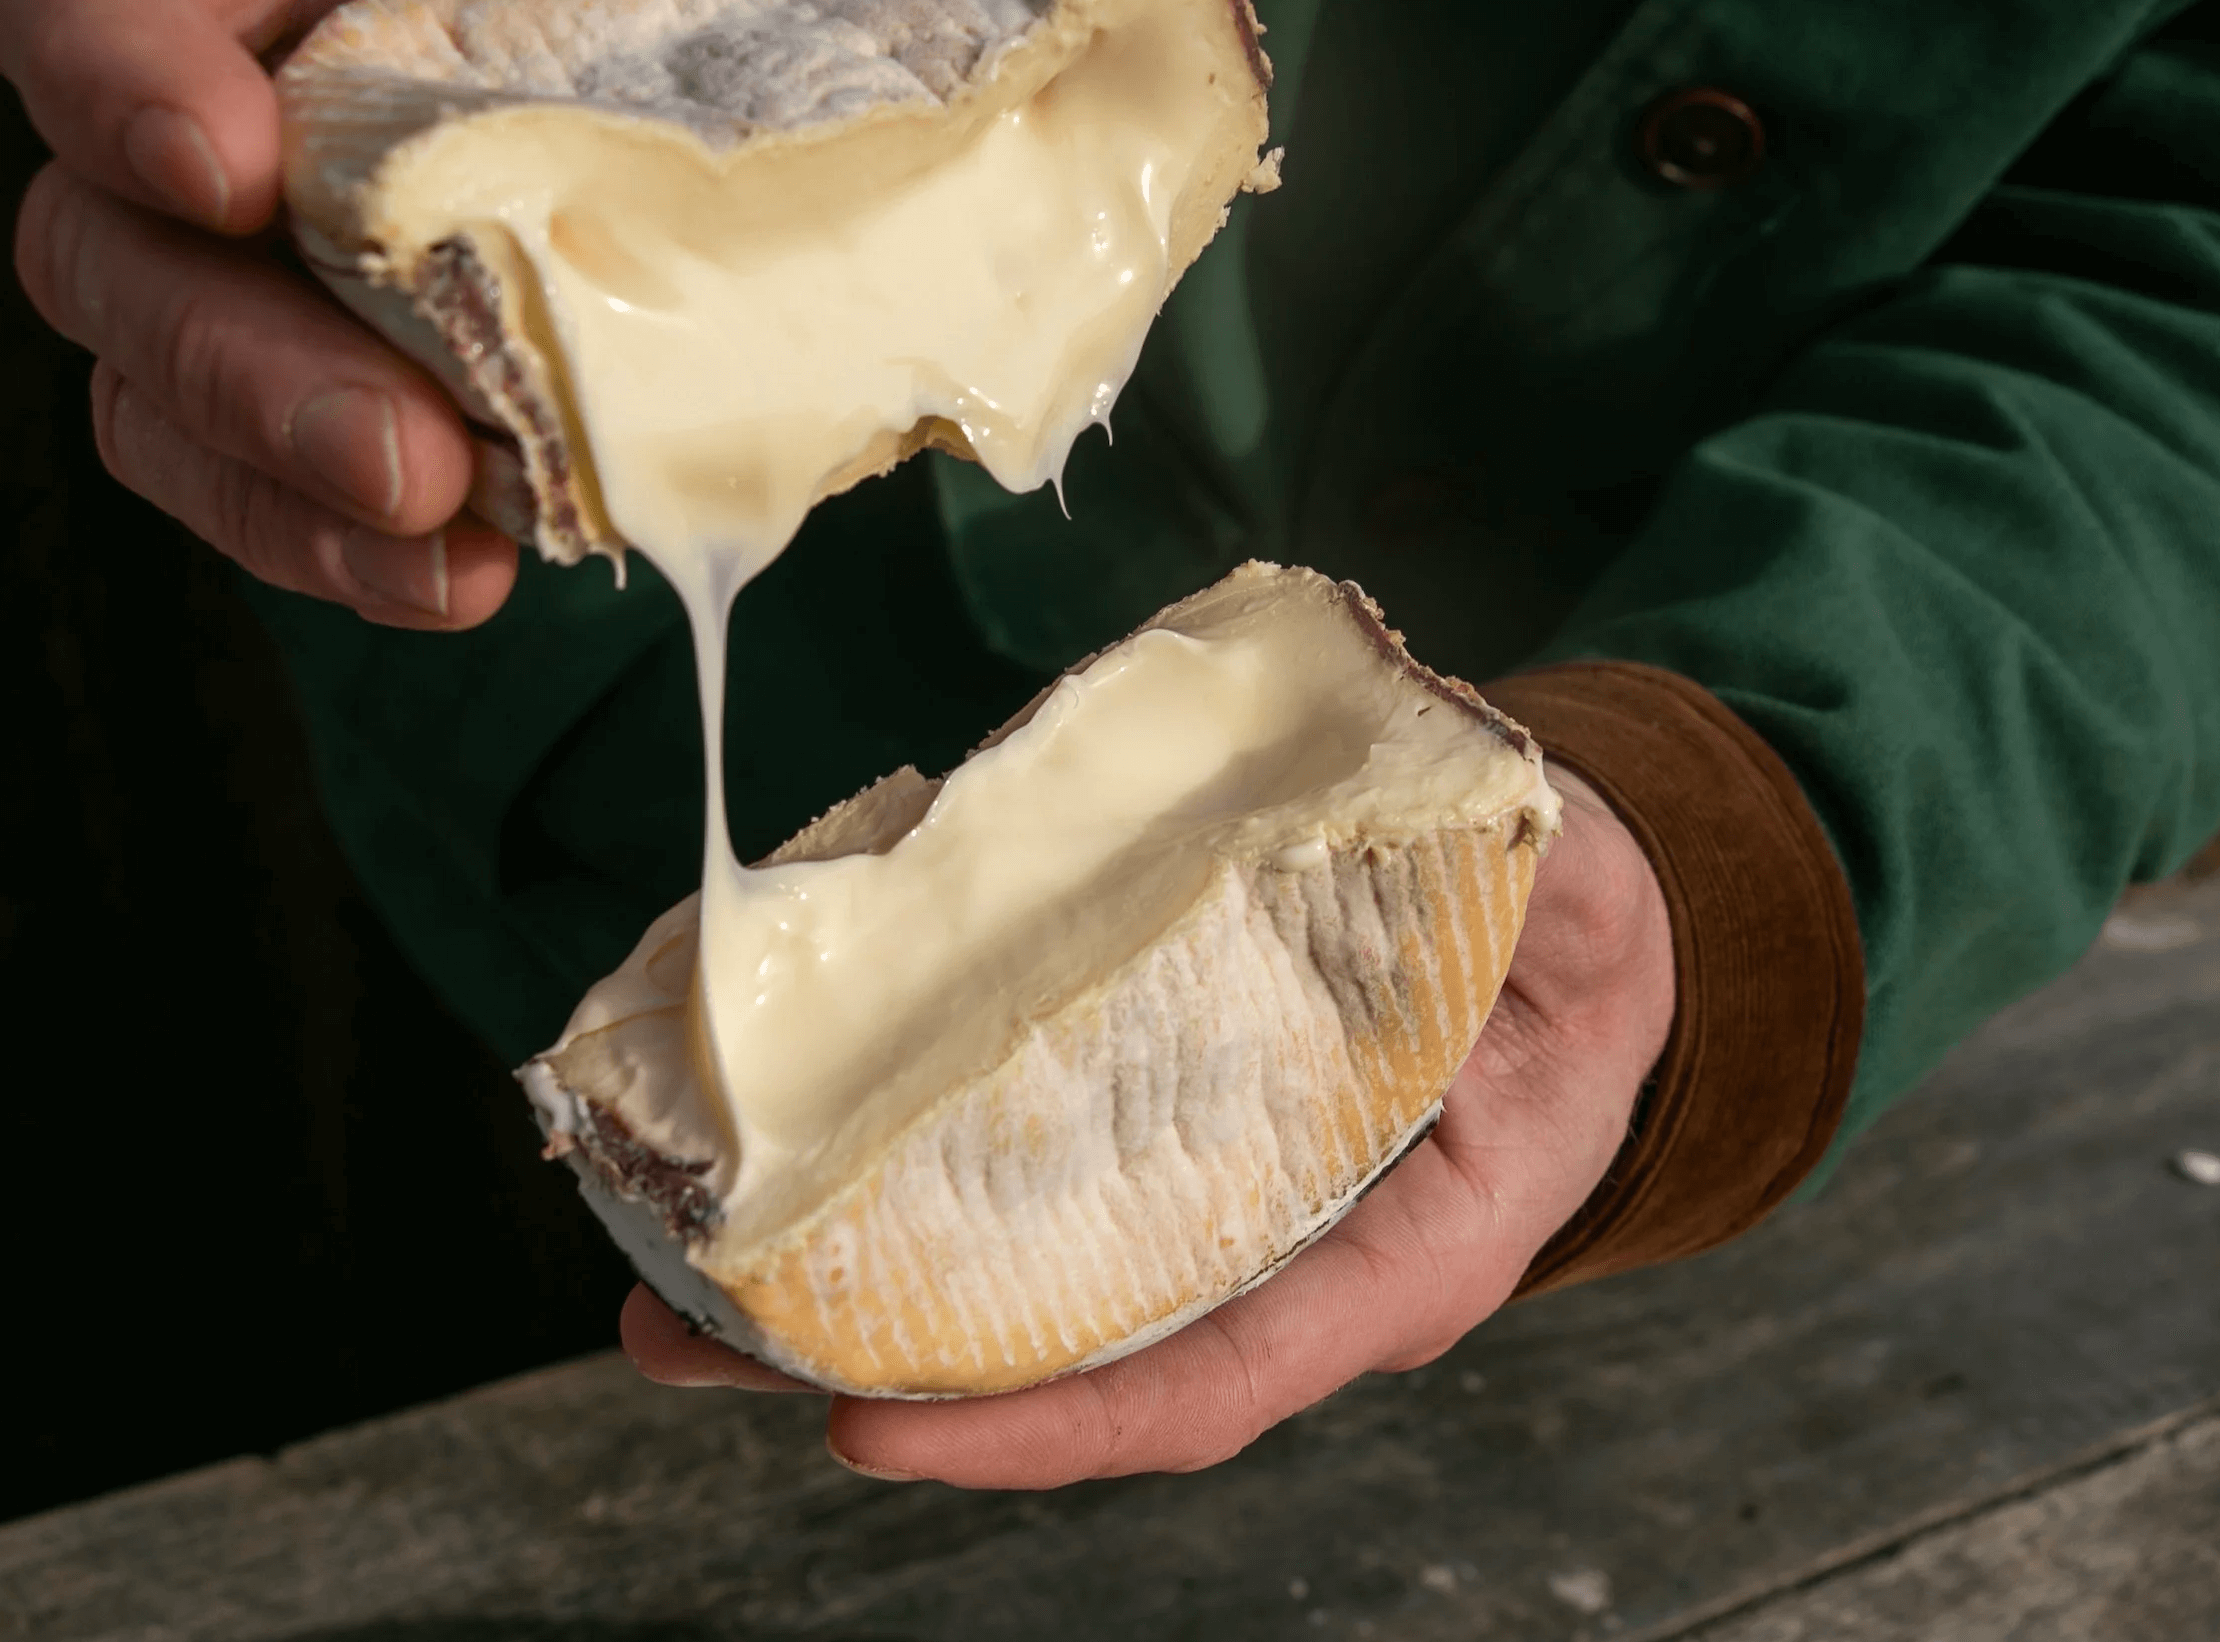
Oozy, creamy and utterly irresistible – explore the story of soft cheese and meet brilliant…
Oozy, creamy and utterly irresistible – explore the story…
The GBF Awards Kitchen Must-haves Shortlist…
The GBF Awards Kitchen…
From free-from and vegan-friendly indulgences to the very tastiest ready meals on the market…
From free-from and vegan-friendly indulgences to the very tastiest…
The GBF Awards Store Cupboard Essentials…
The GBF Awards Store…
From rich consommés and flavour-packed stocks to gourmet nut butters, artisan vinegars…
From rich consommés and flavour-packed stocks to gourmet…
The GBF Awards Drinks Shortlist 2025
The GBF Awards Drinks…
From artisan teas and small-batch coffees to award-worthy wines and smooth single malts, these…
From artisan teas and small-batch coffees to award-worthy wines…
The GBF Meat & Veg Shortlist 2025
The GBF Meat & Veg…
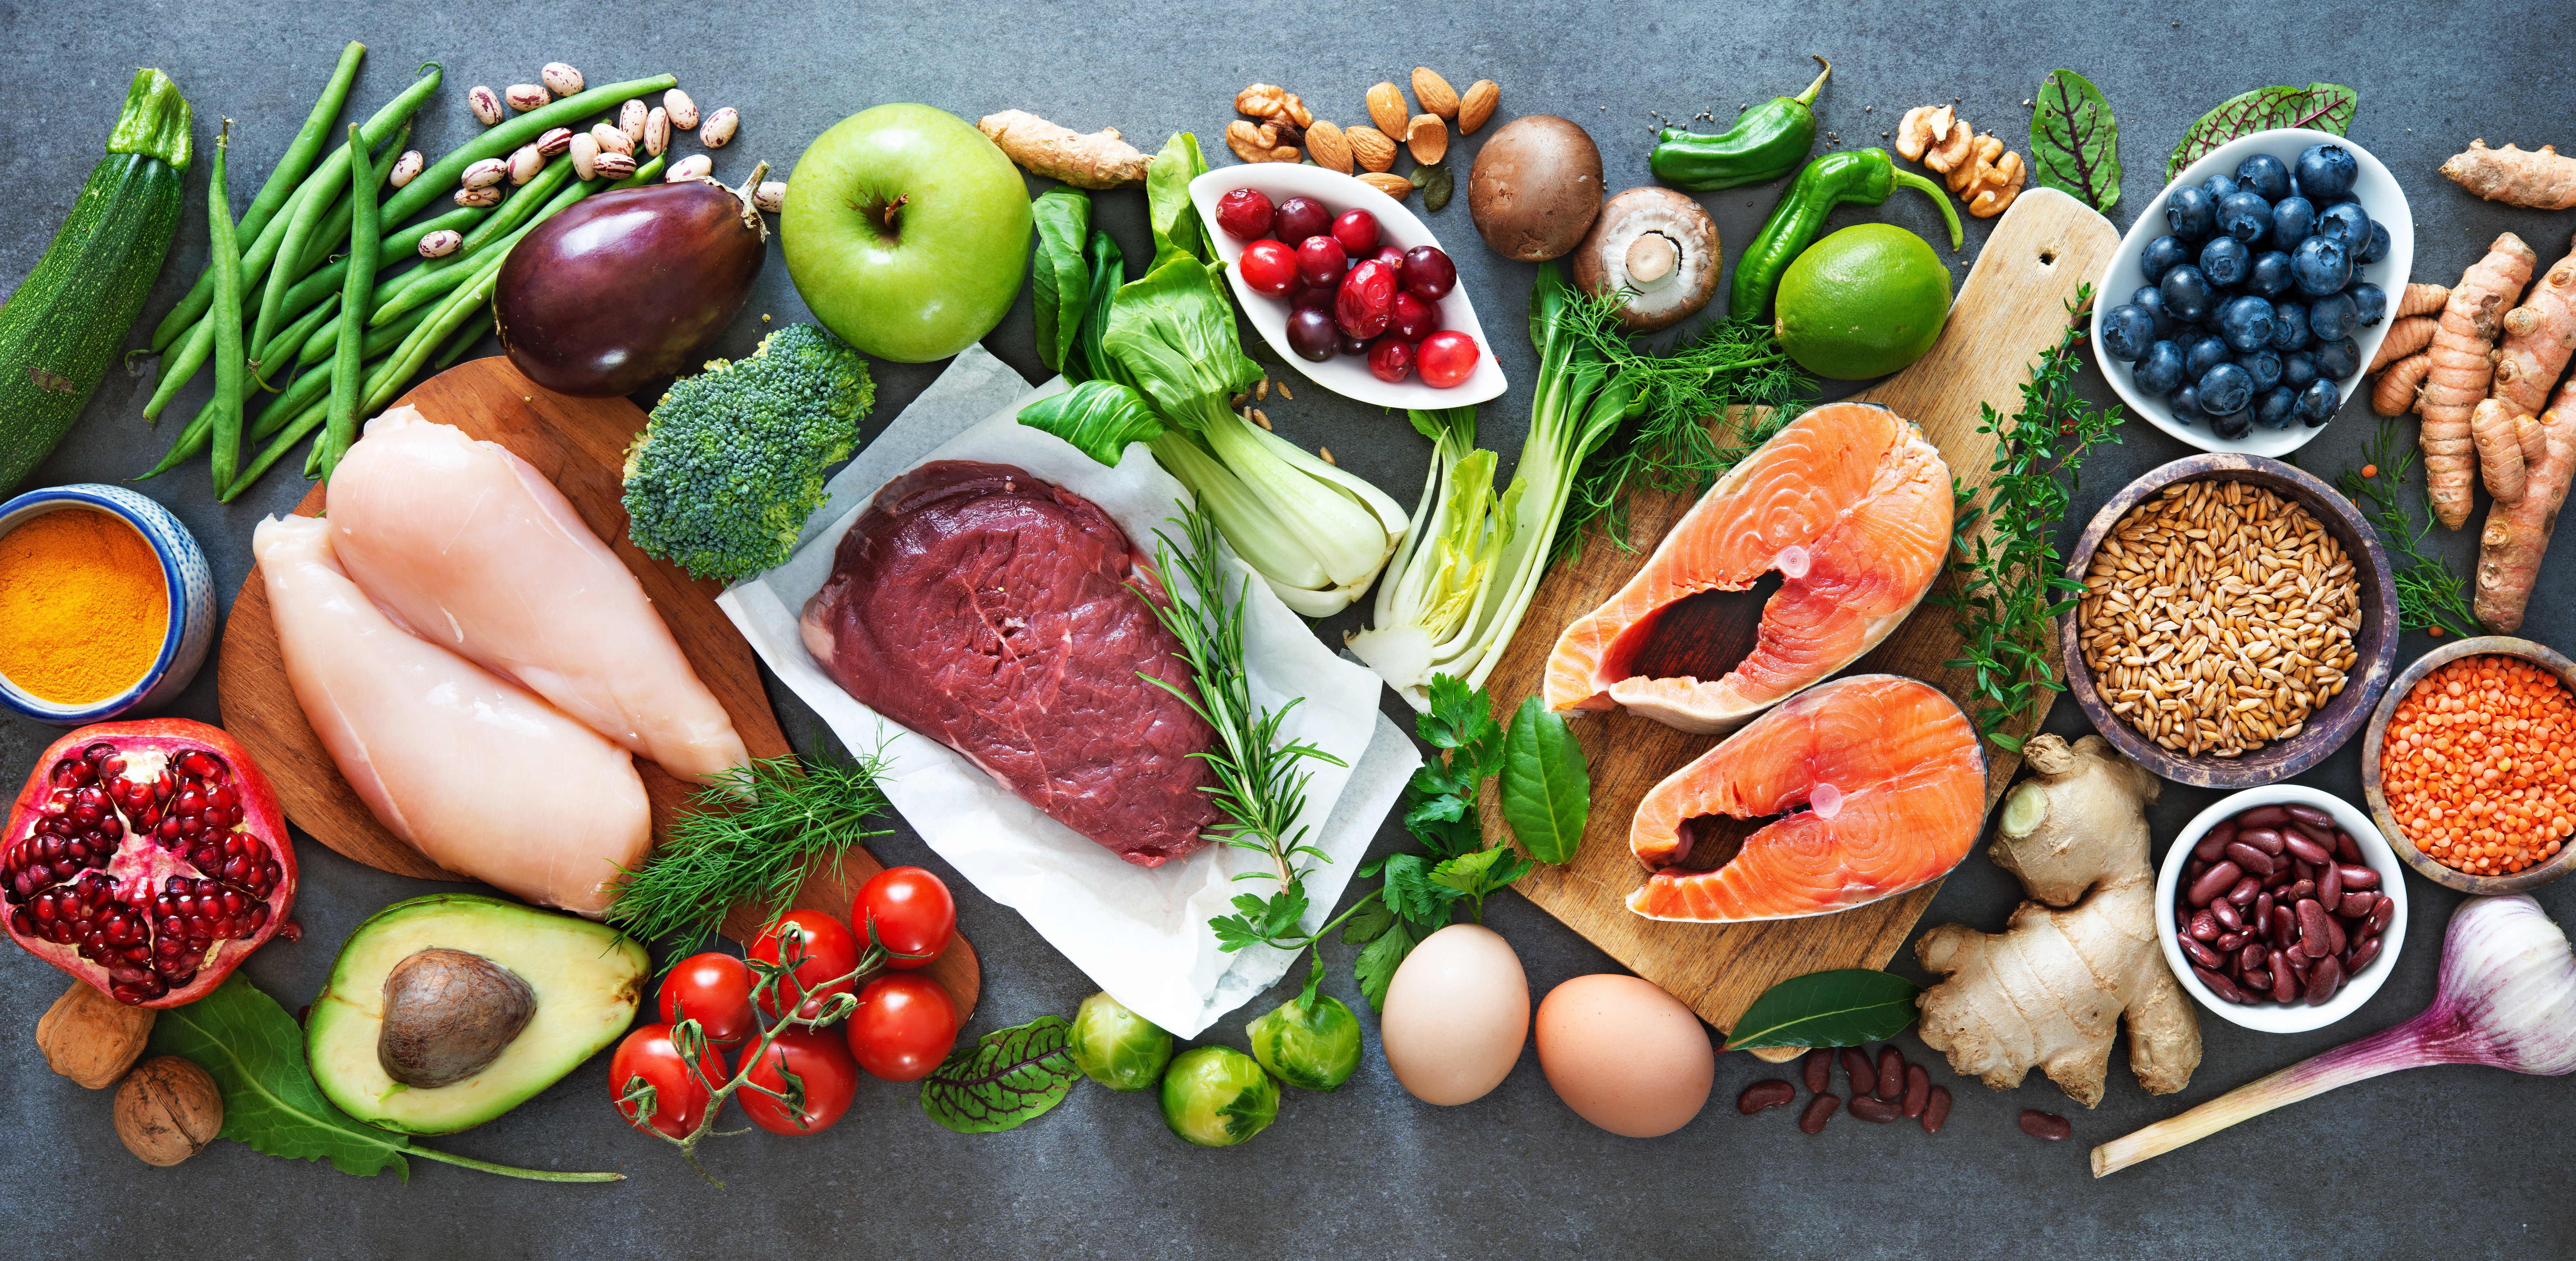
From melt-in-the-mouth Wagyu beef to sun-sweet British strawberries, these Meat & Veg…
From melt-in-the-mouth Wagyu beef to sun-sweet British strawberries,…
The GBF Cheese & Dairy Shortlist 2025
The GBF Cheese &…
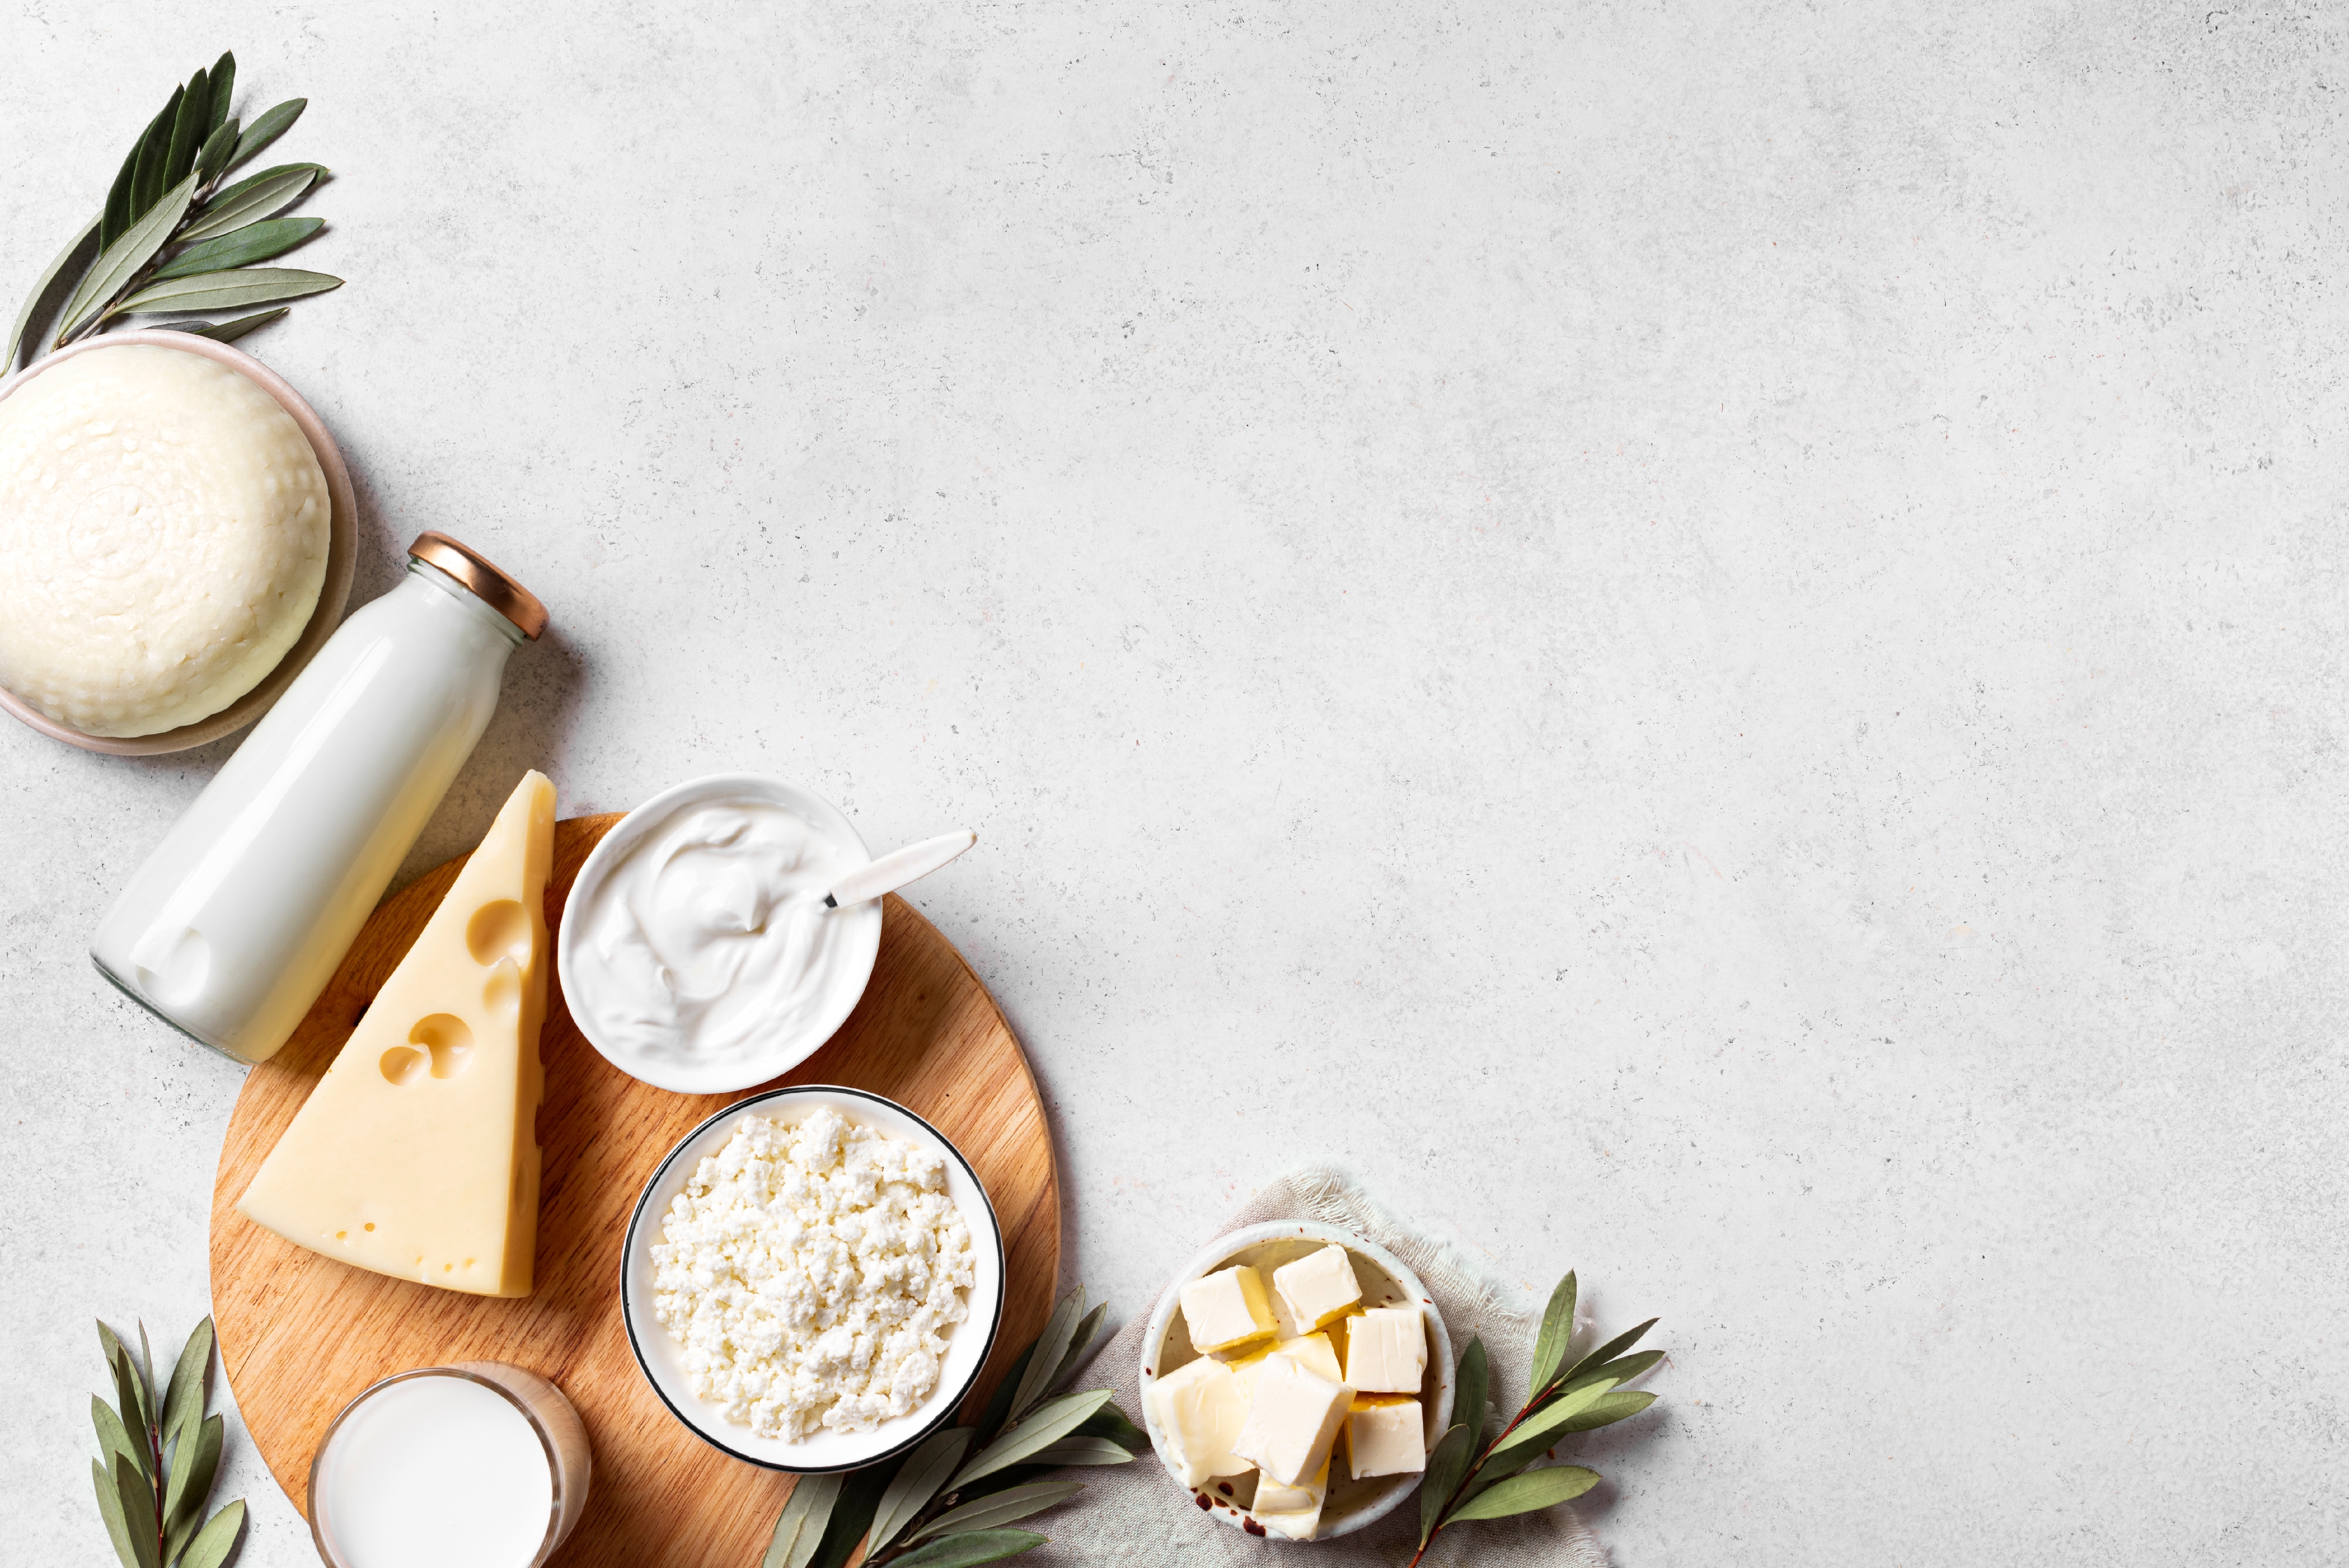
From creamy blues to artisan butters and creative ice creams, the list below celebrates the…
From creamy blues to artisan butters and creative ice creams,…
The GBF Awards Sweet & Savoury Shortlist…
The GBF Awards Sweet…
If you're looking for a superb treat to tempt your sweet tastebuds, you're in the right place.…
If you're looking for a superb treat to tempt your sweet tastebuds,…
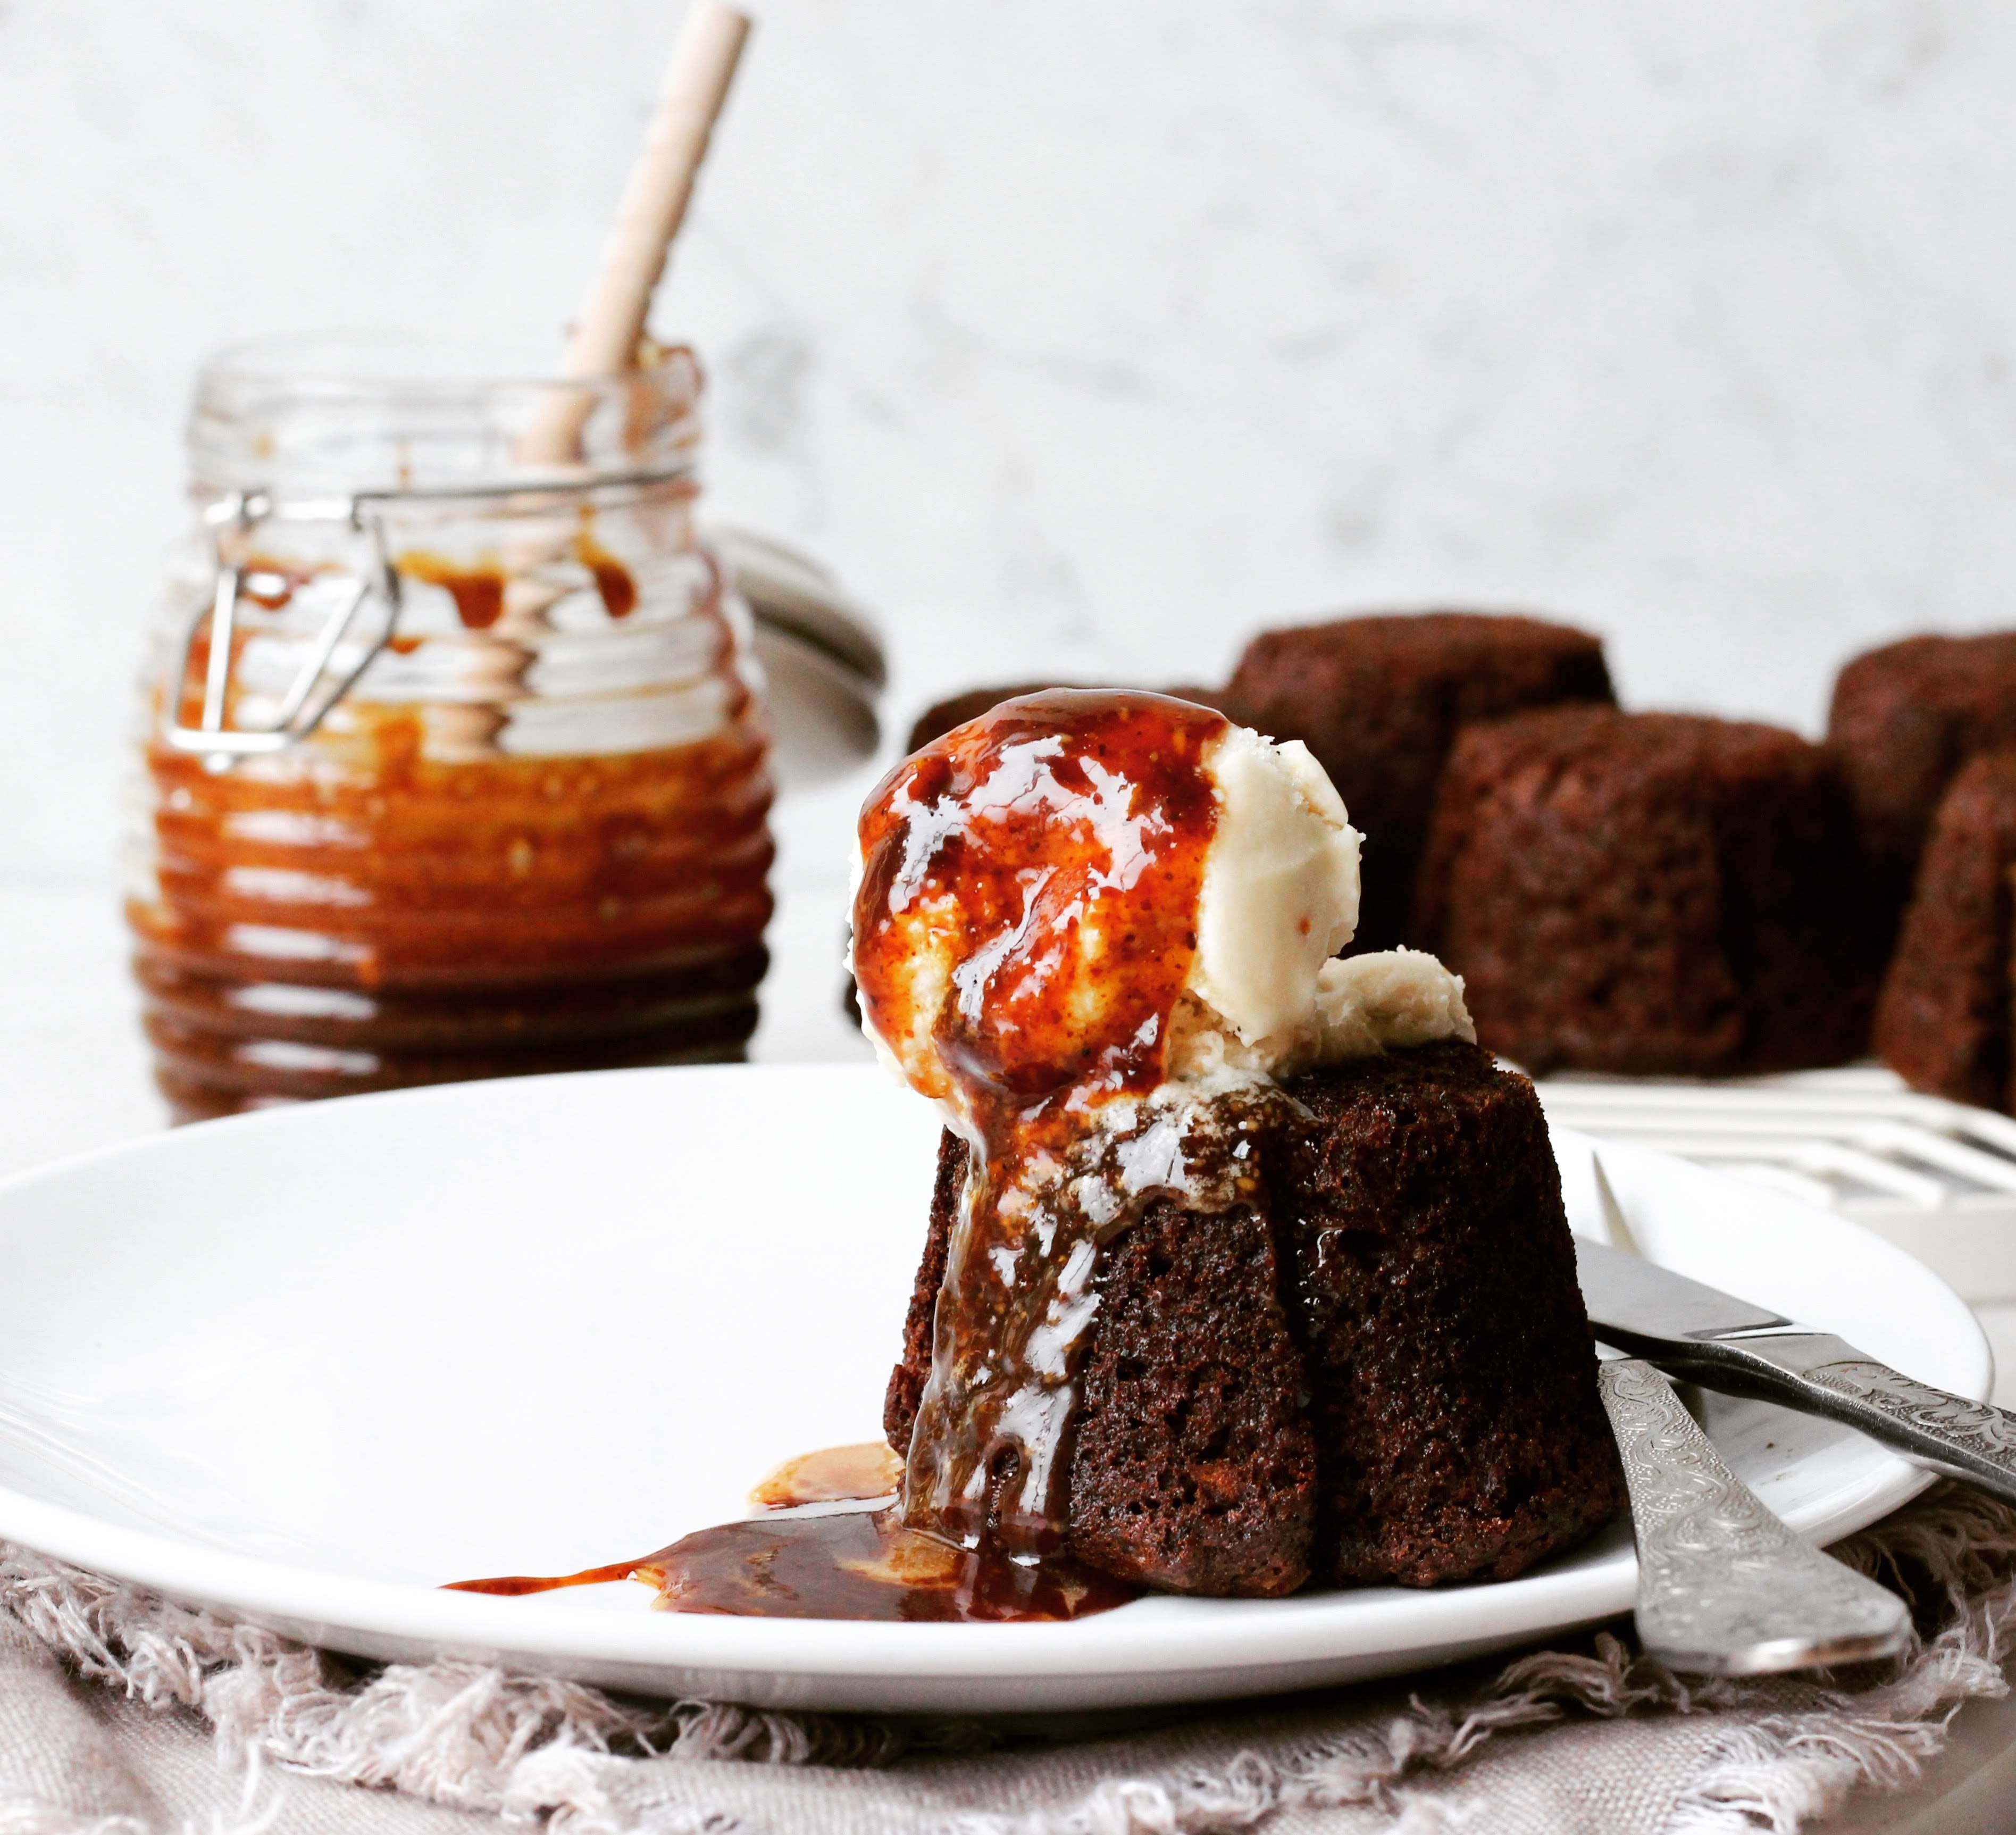
Pancake toppings – Award-winning sweet…
Pancake toppings –…
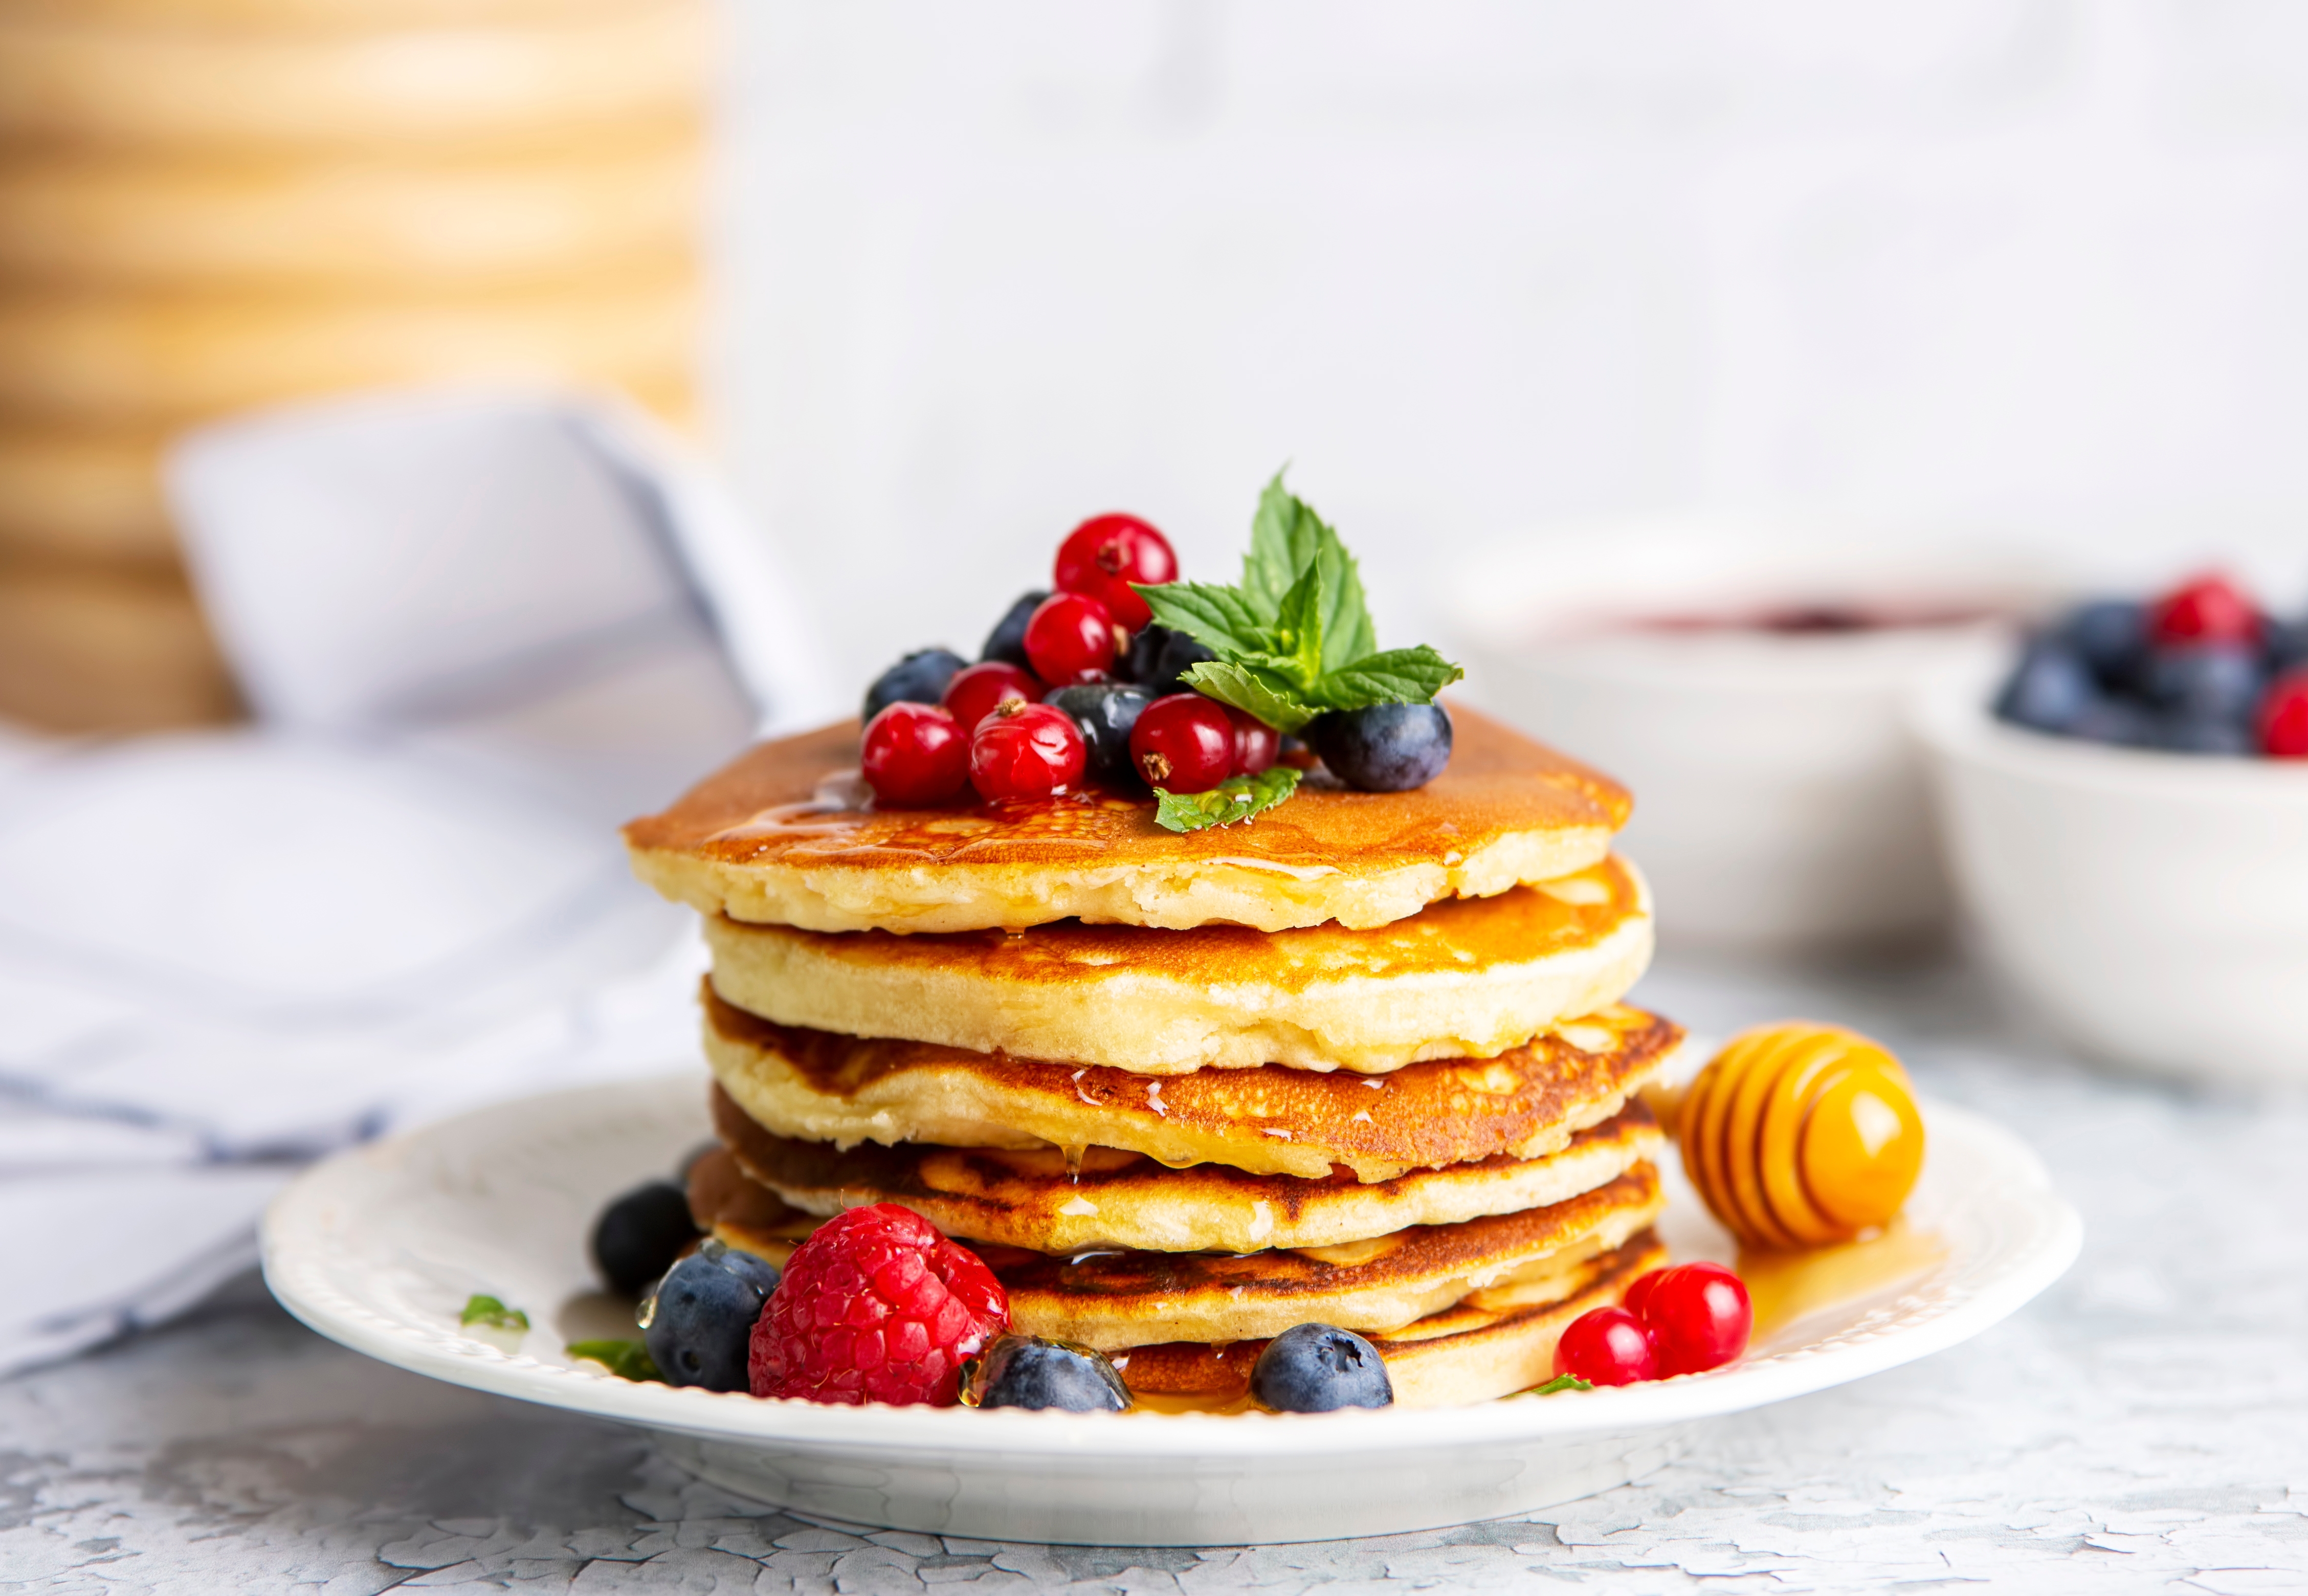
Pancake Day is just around the corner and to help you celebrate we’ve rounded up some of…
Pancake Day is just around the corner and to help you celebrate…
10 of the best Valentine’s Day dessert…
10 of the best Valentine’s…
Love is in the air and panic may have set in. Whether you’re planning a crowd-pleasing pudding…
Love is in the air and panic may have set in. Whether you’re…
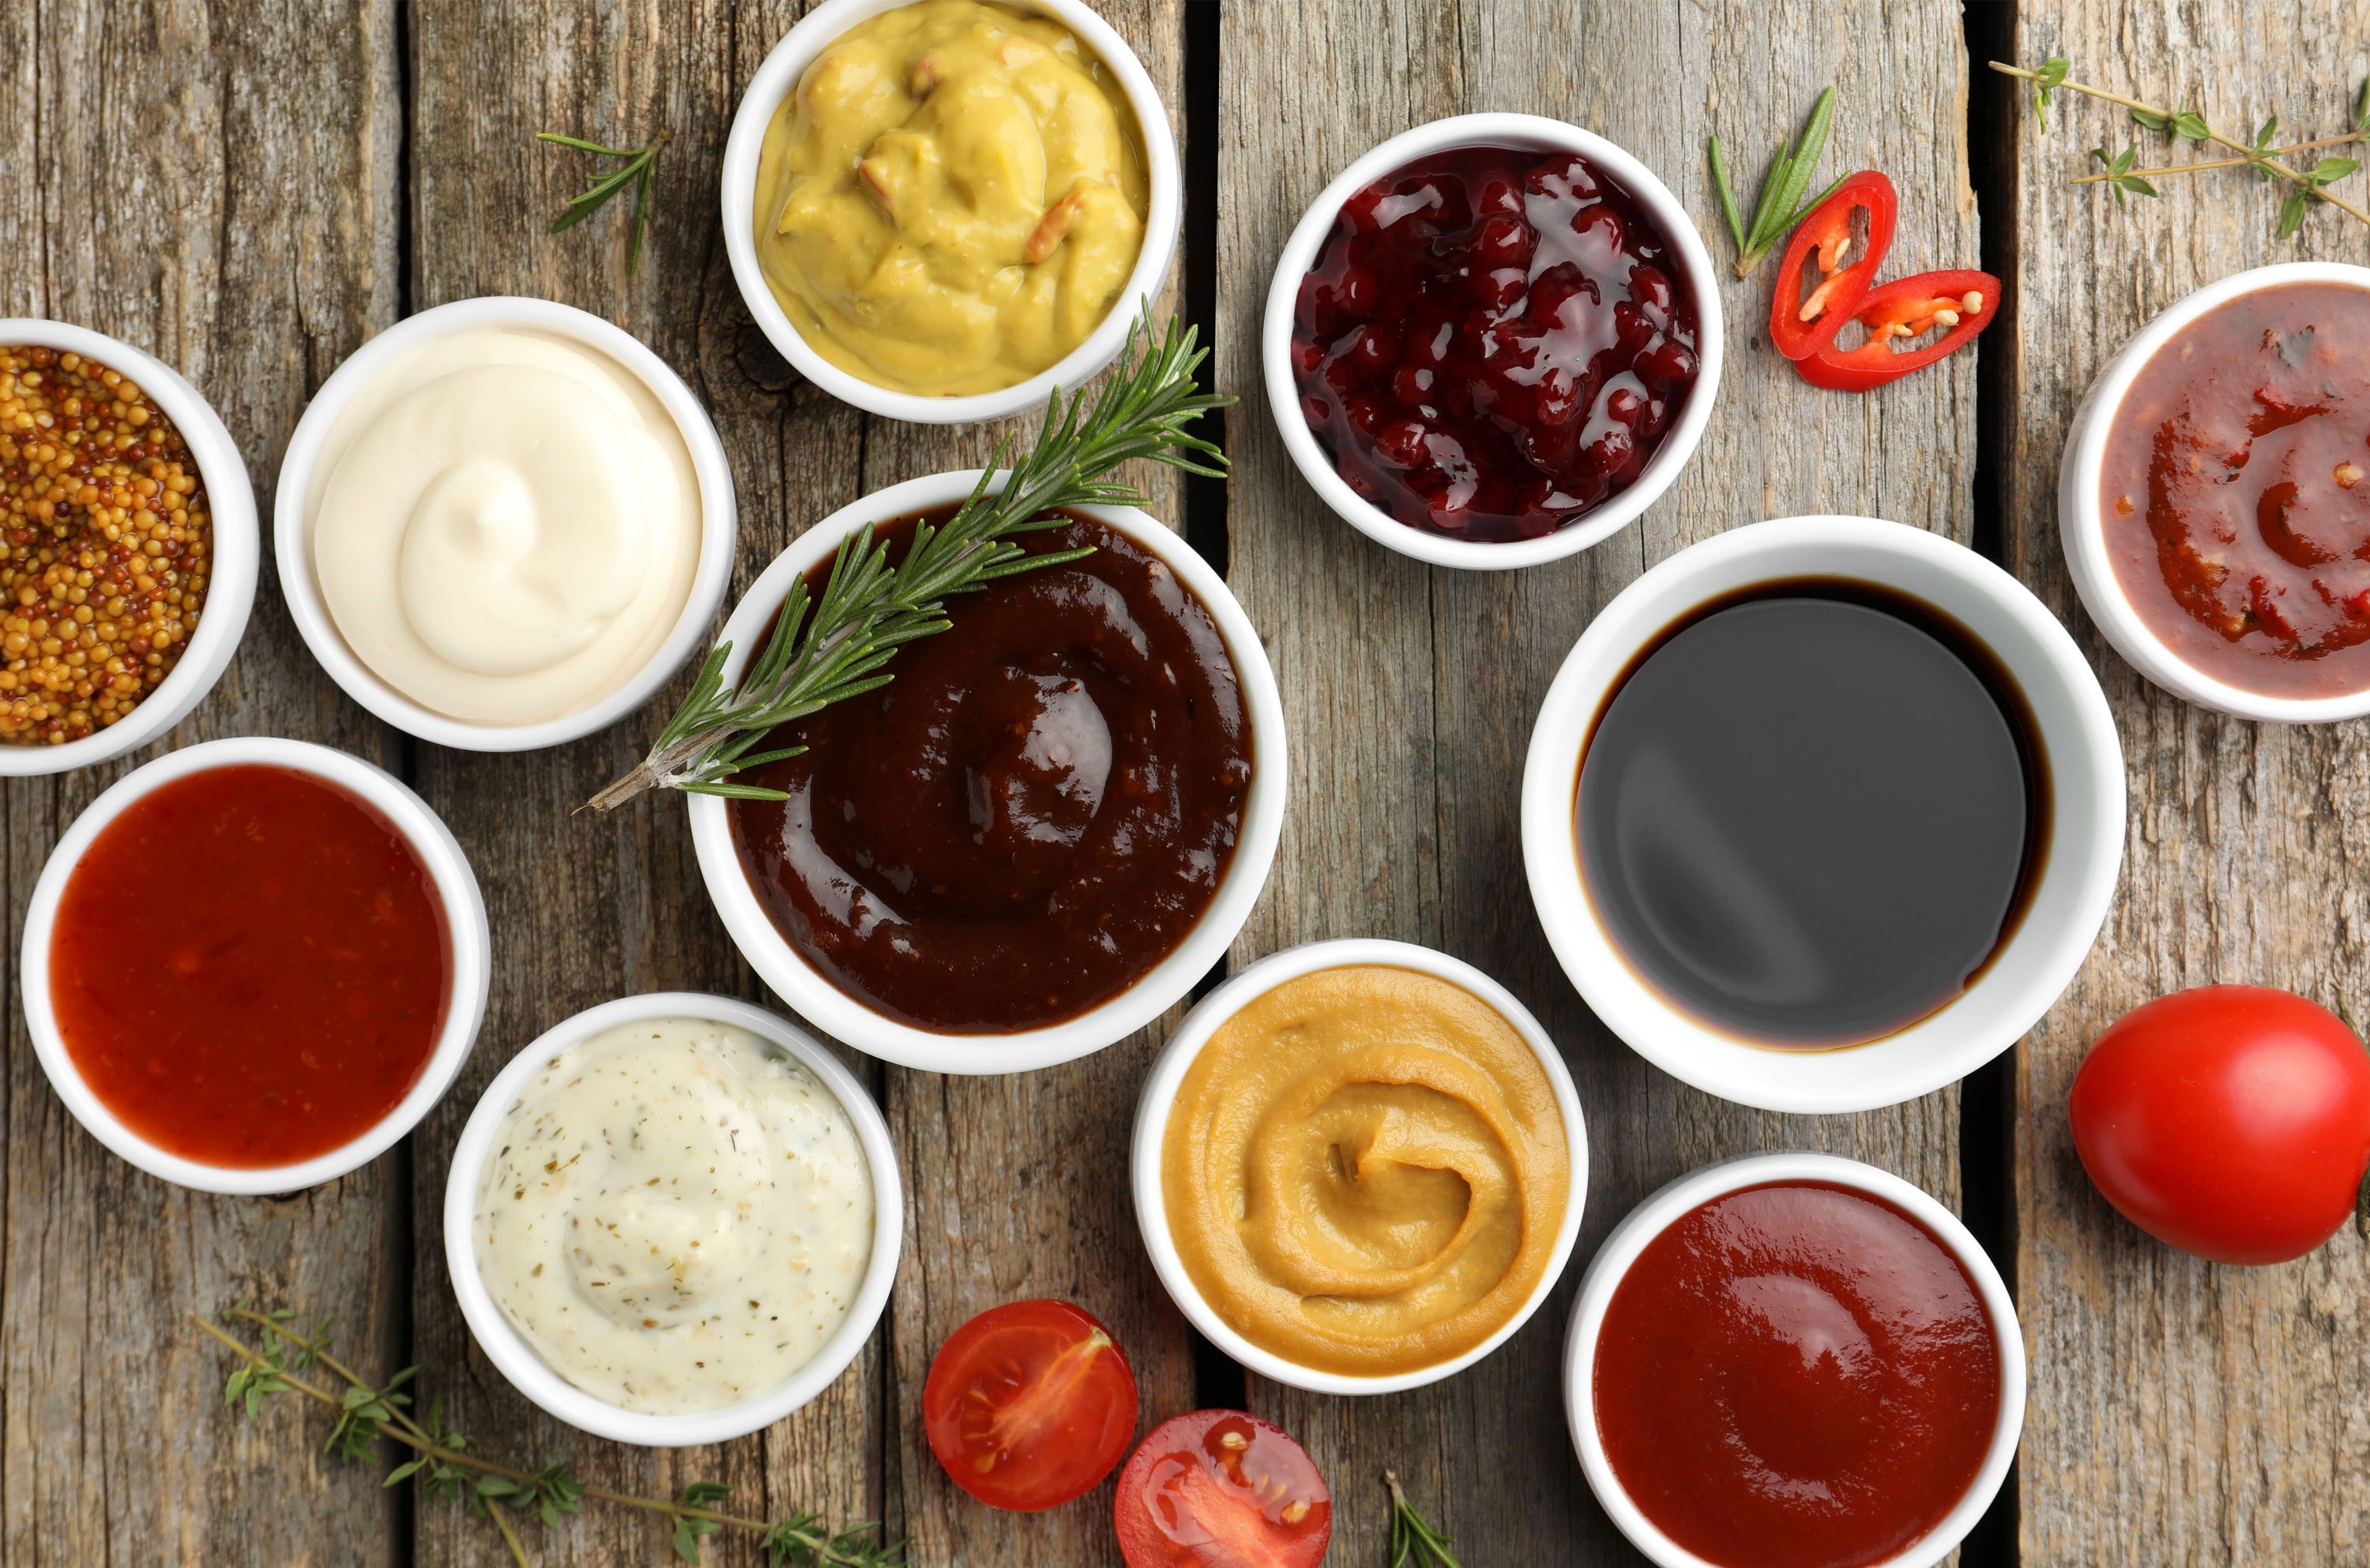
13 of the best British condiments to transform…
13 of the best British…
Whether you’re on the hunt for an artisan tomato ketchup, an unusual smoked salt or a blow-your-socks-off…
Whether you’re on the hunt for an artisan tomato ketchup, an…
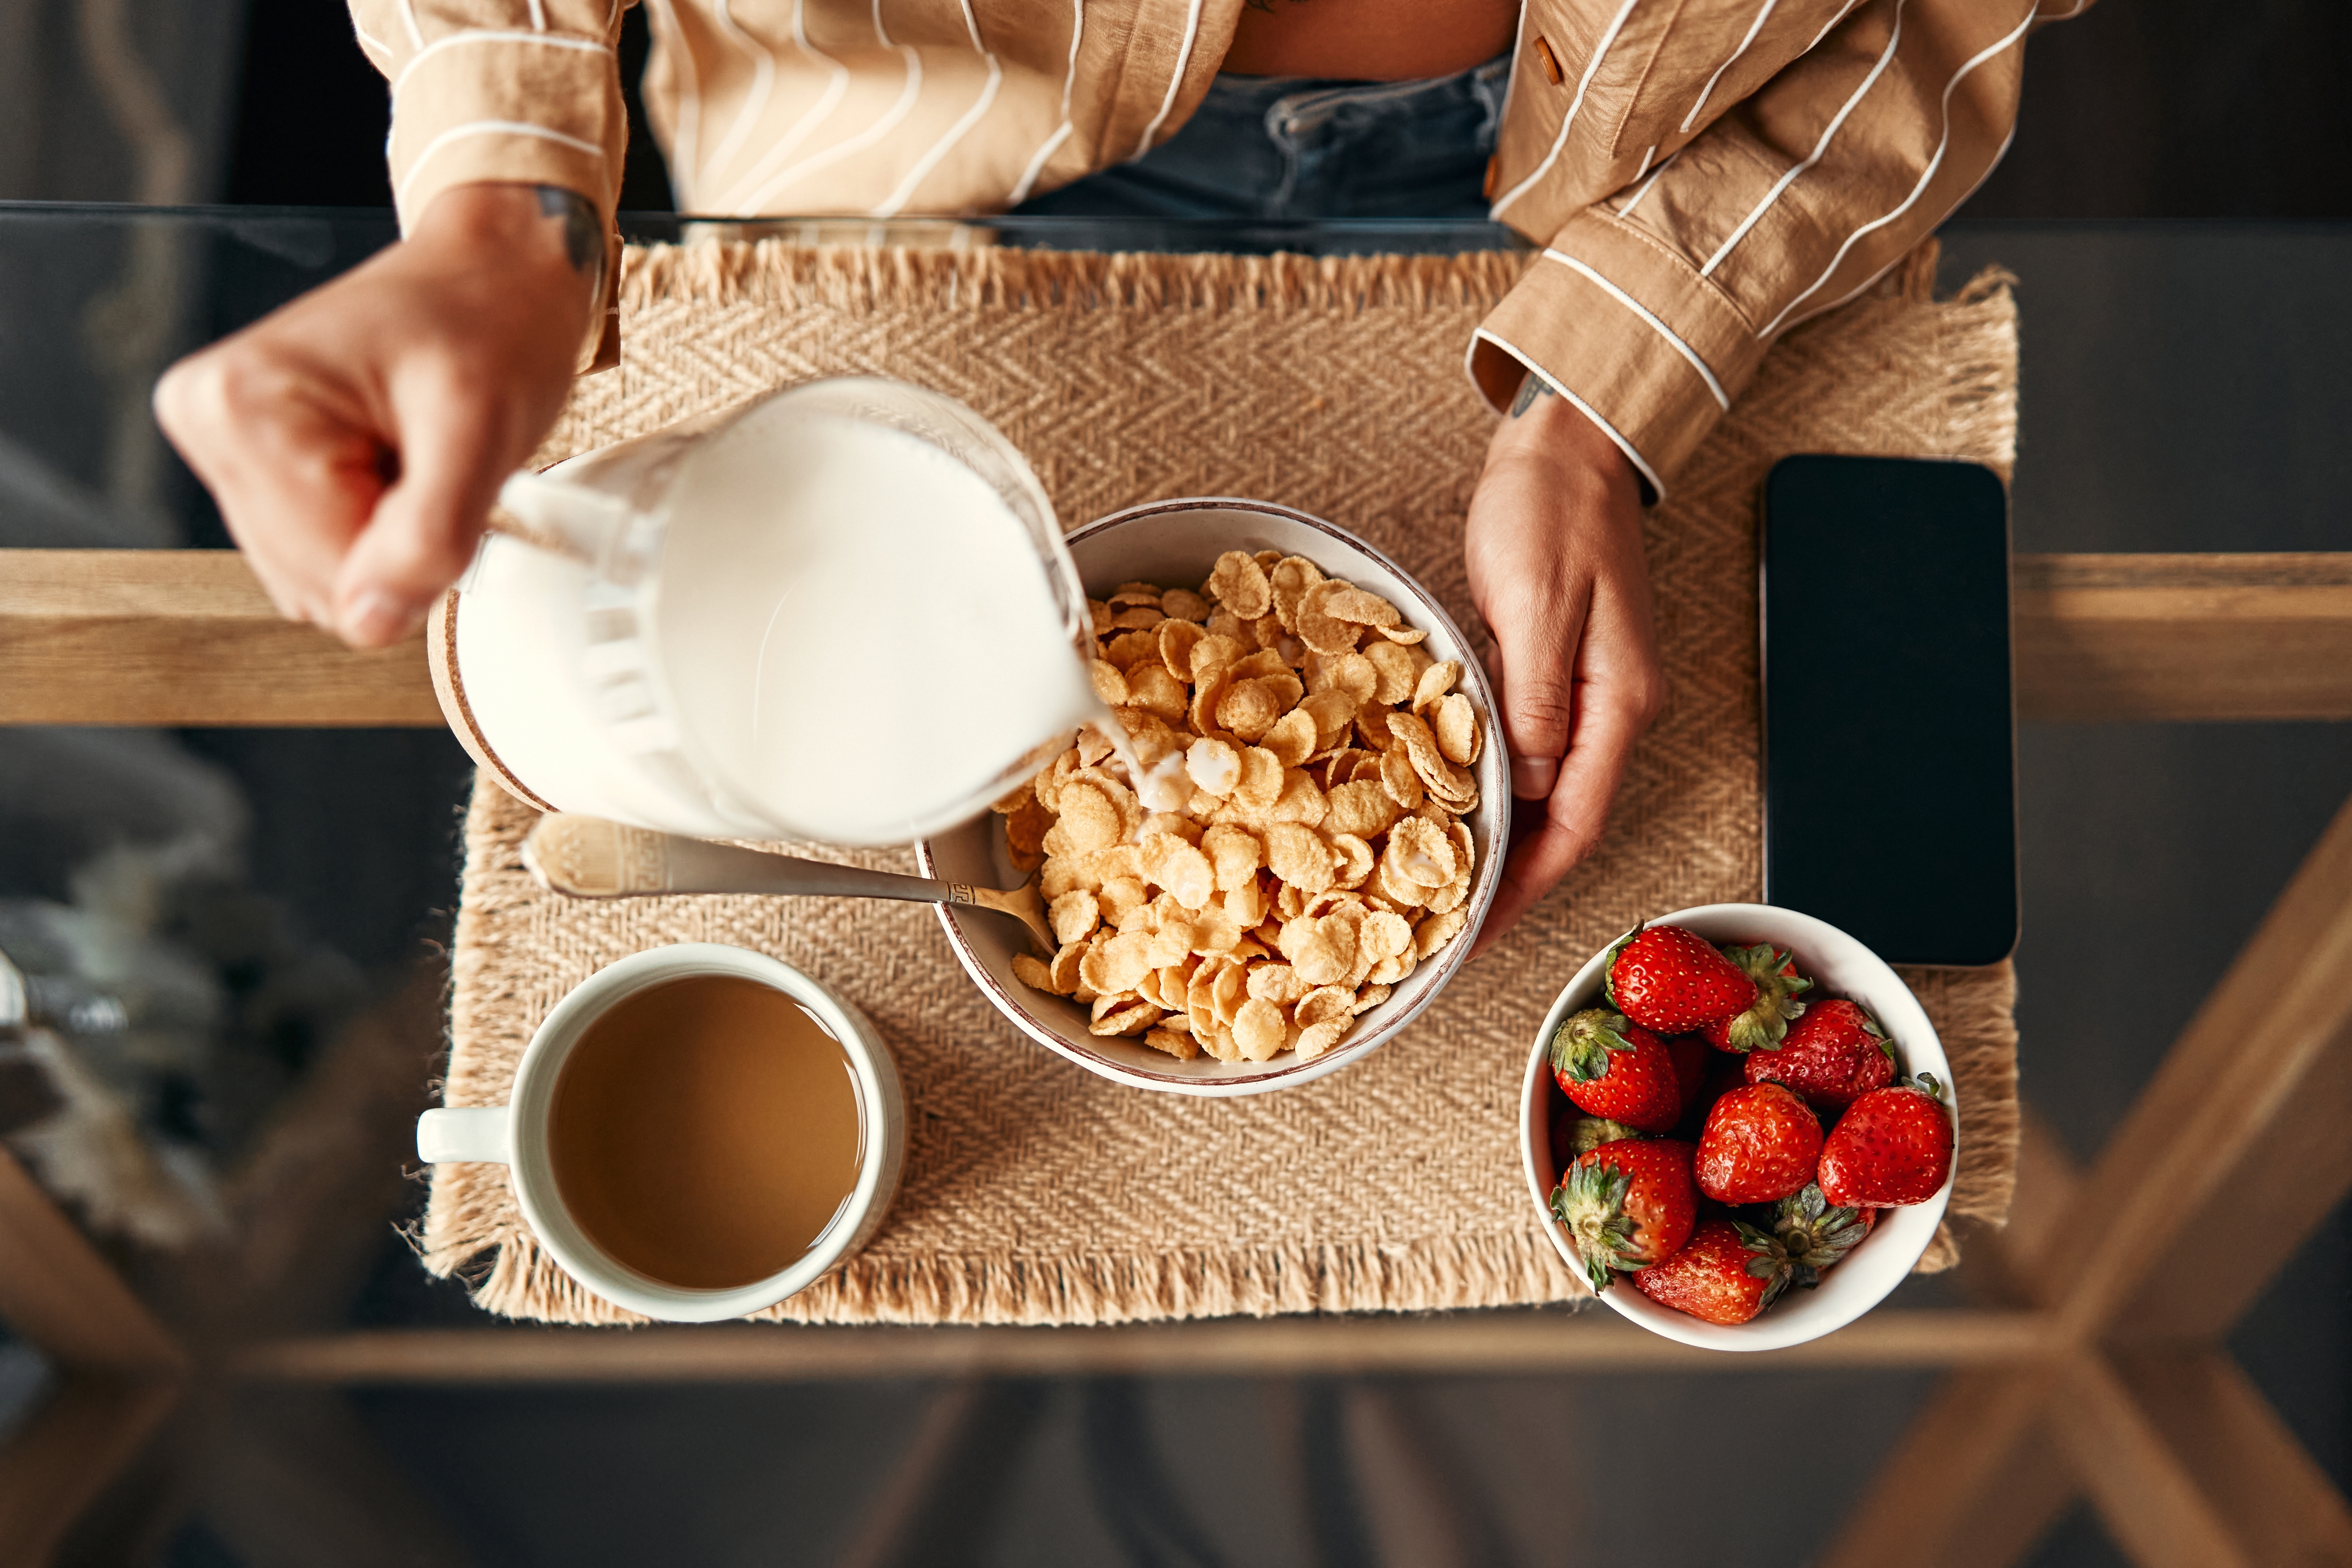
6 of the best British breakfast cereals
6 of the best British…
From hearty porridge oats to crunchy muesli mixes, we dig into the best British cereals to…
From hearty porridge oats to crunchy muesli mixes, we dig into…
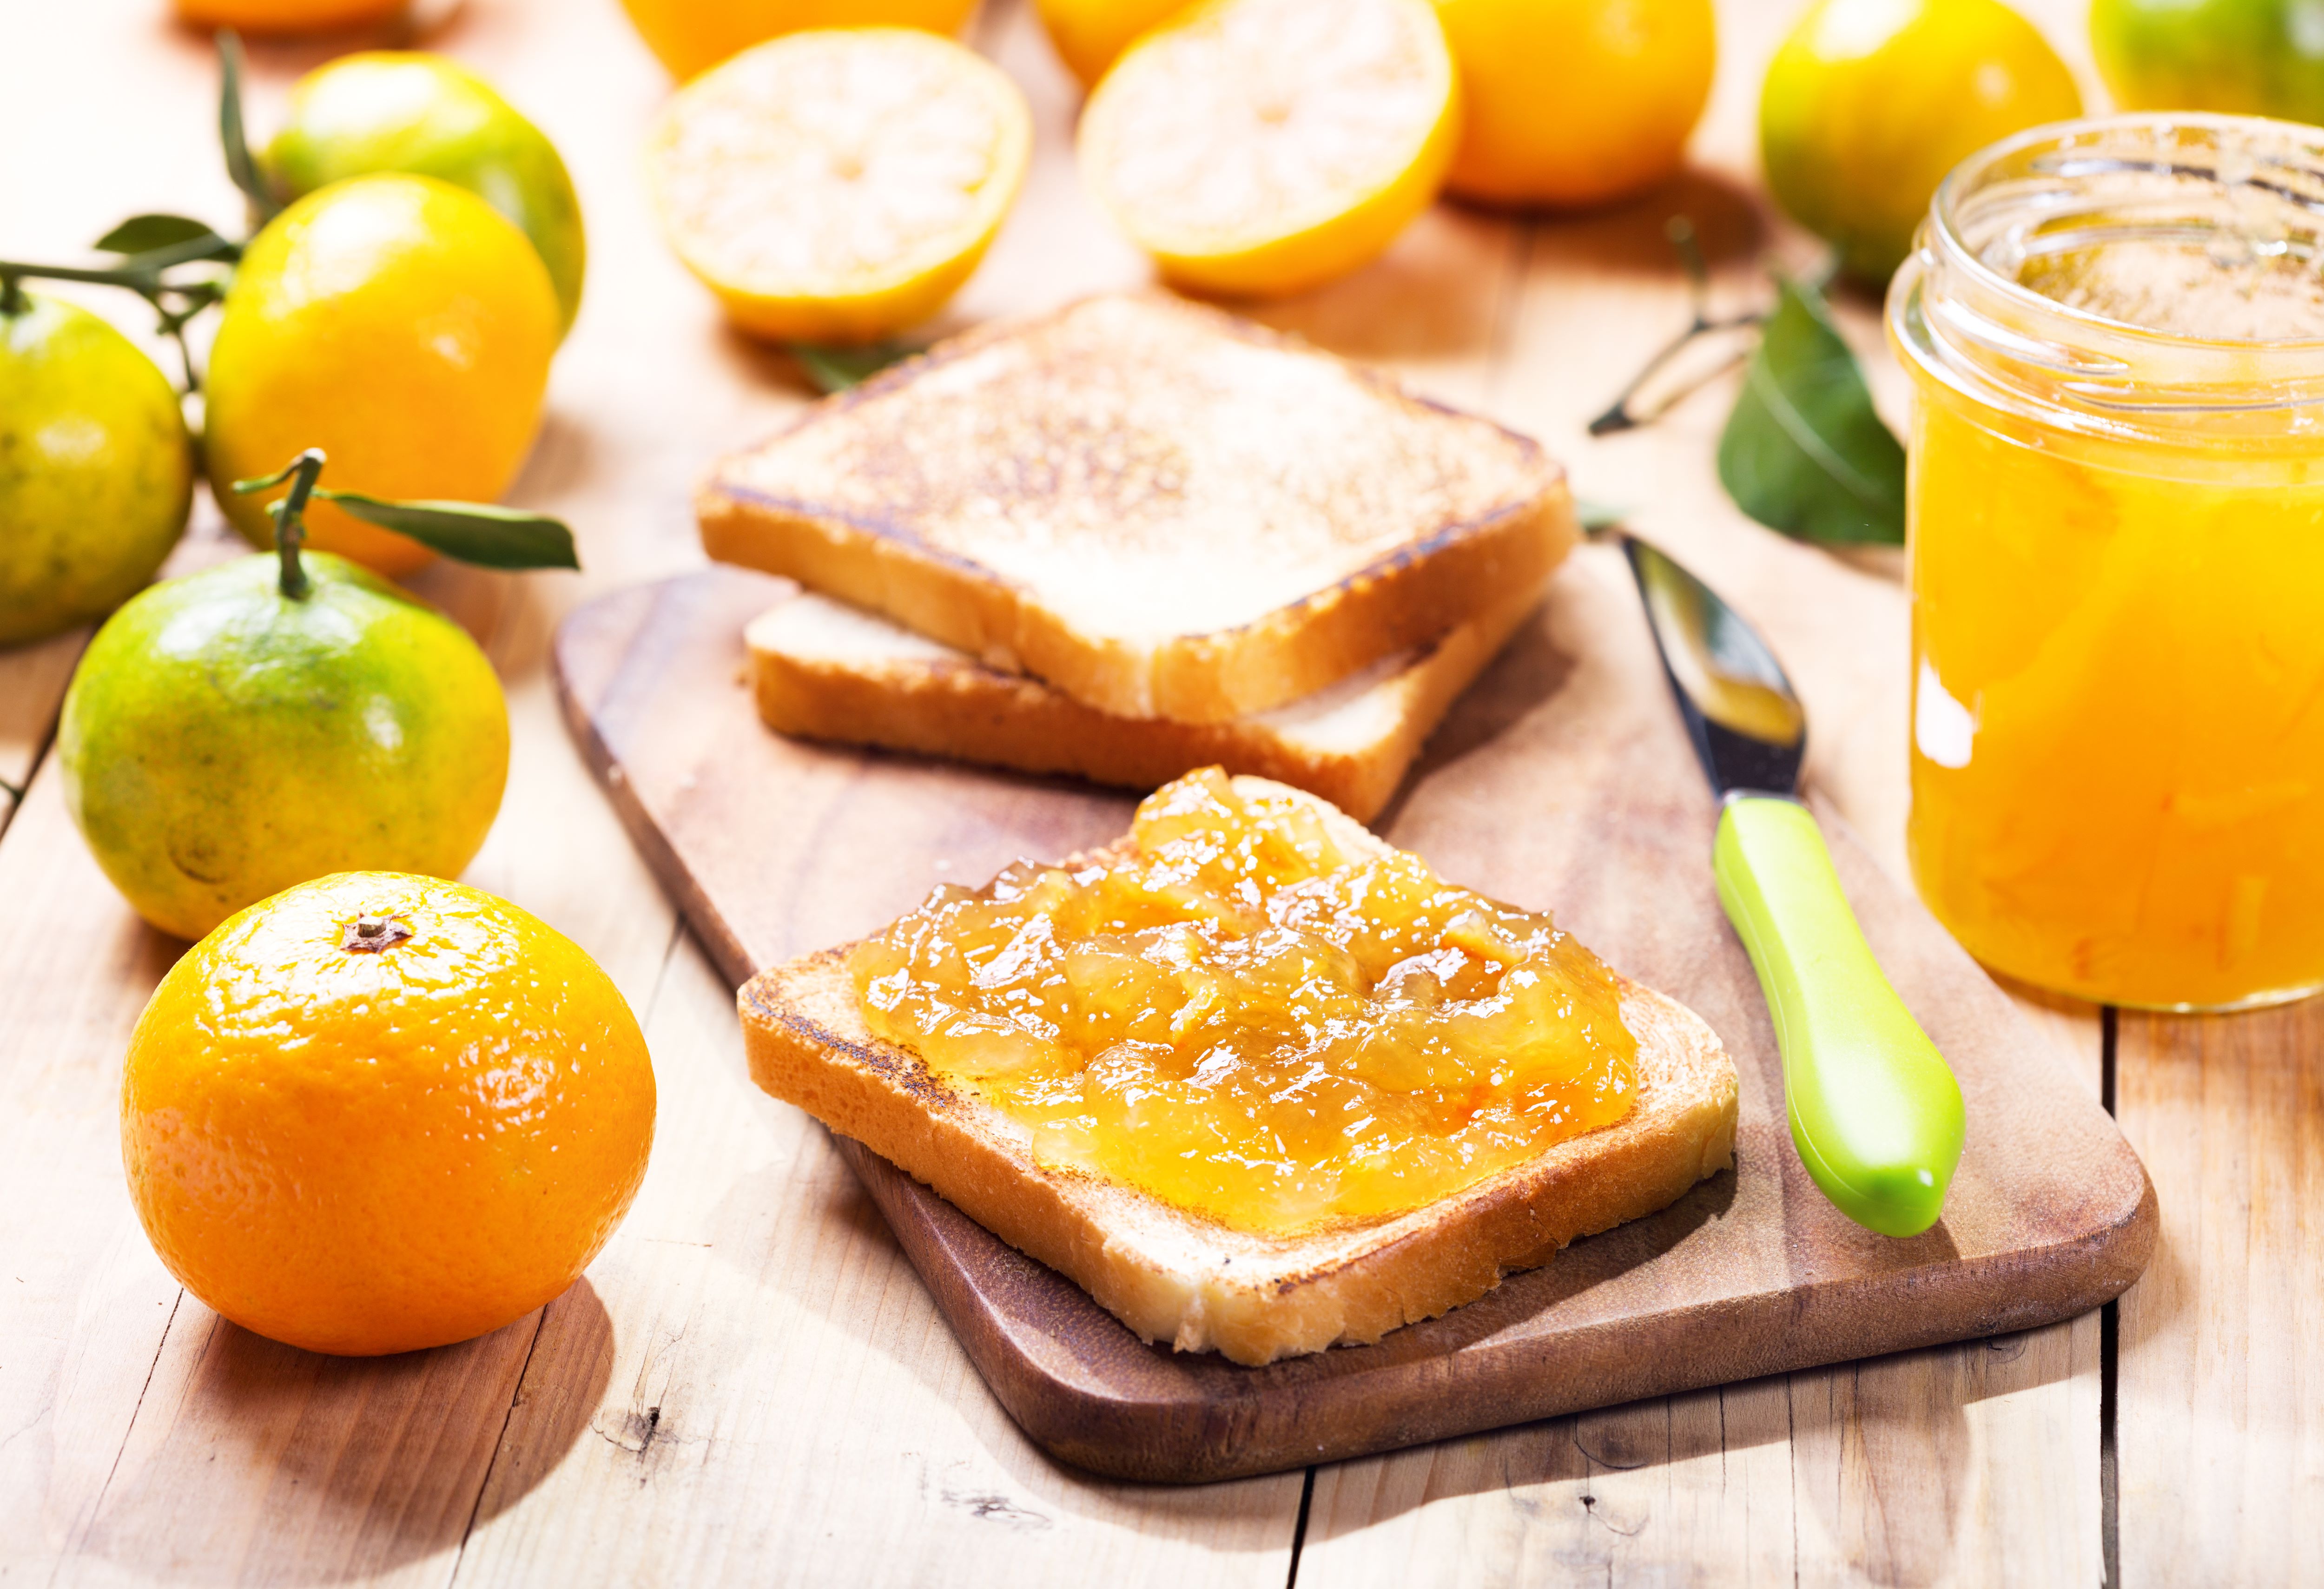
8 of the best British marmalades
8 of the best British…
Are you a fan of this tangy-sweet fruit preserve? We reveal eight of the best marmalades available…
Are you a fan of this tangy-sweet fruit preserve? We reveal eight…
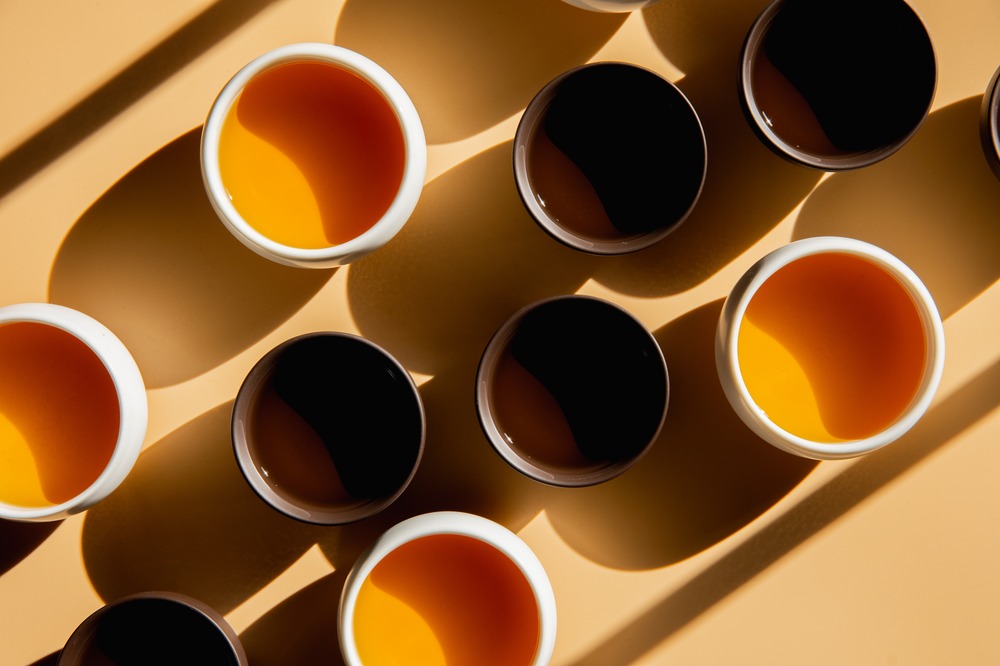
7 of the best British teas
7 of the best British…
From soothing green teas to refreshing peppermint blends, we raise a cup to the best brews…
From soothing green teas to refreshing peppermint blends, we…
13 of the best English wines
13 of the best English…
From English sparkling wine to reds and rosés, we raise a toast to the best English wines…
From English sparkling wine to reds and rosés, we raise a toast…
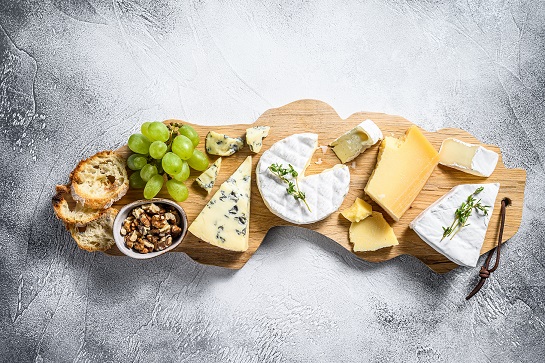
27 of the best British cheeses
27 of the best British…
From blues to Cheddars, washed rinds to territorials, Great British Food reveals some of the…
From blues to Cheddars, washed rinds to territorials, Great British…
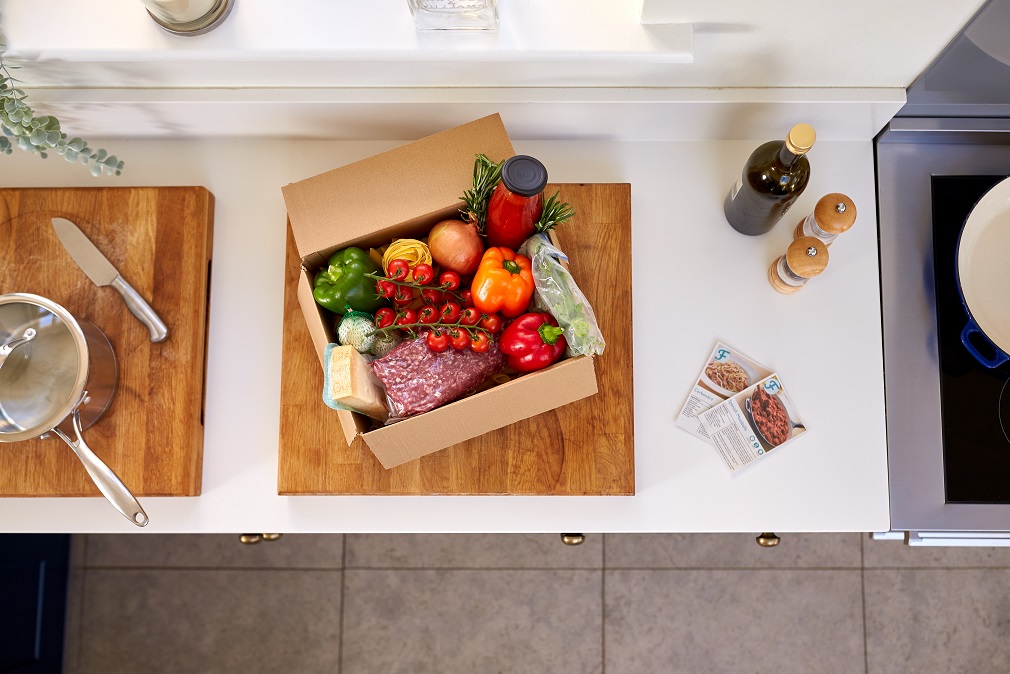
6 of the best food delivery box schemes in…
6 of the best food delivery…
From exquisite quality Welsh lamb to the freshest bread, you can get all manner of tasty British…
From exquisite quality Welsh lamb to the freshest bread, you…
The best British gins - tried and tested
The best British gins…
Our round-up of the best gins made in the UK today - from craft gins to innovative tipples
Our round-up of the best gins made in the UK today - from craft…
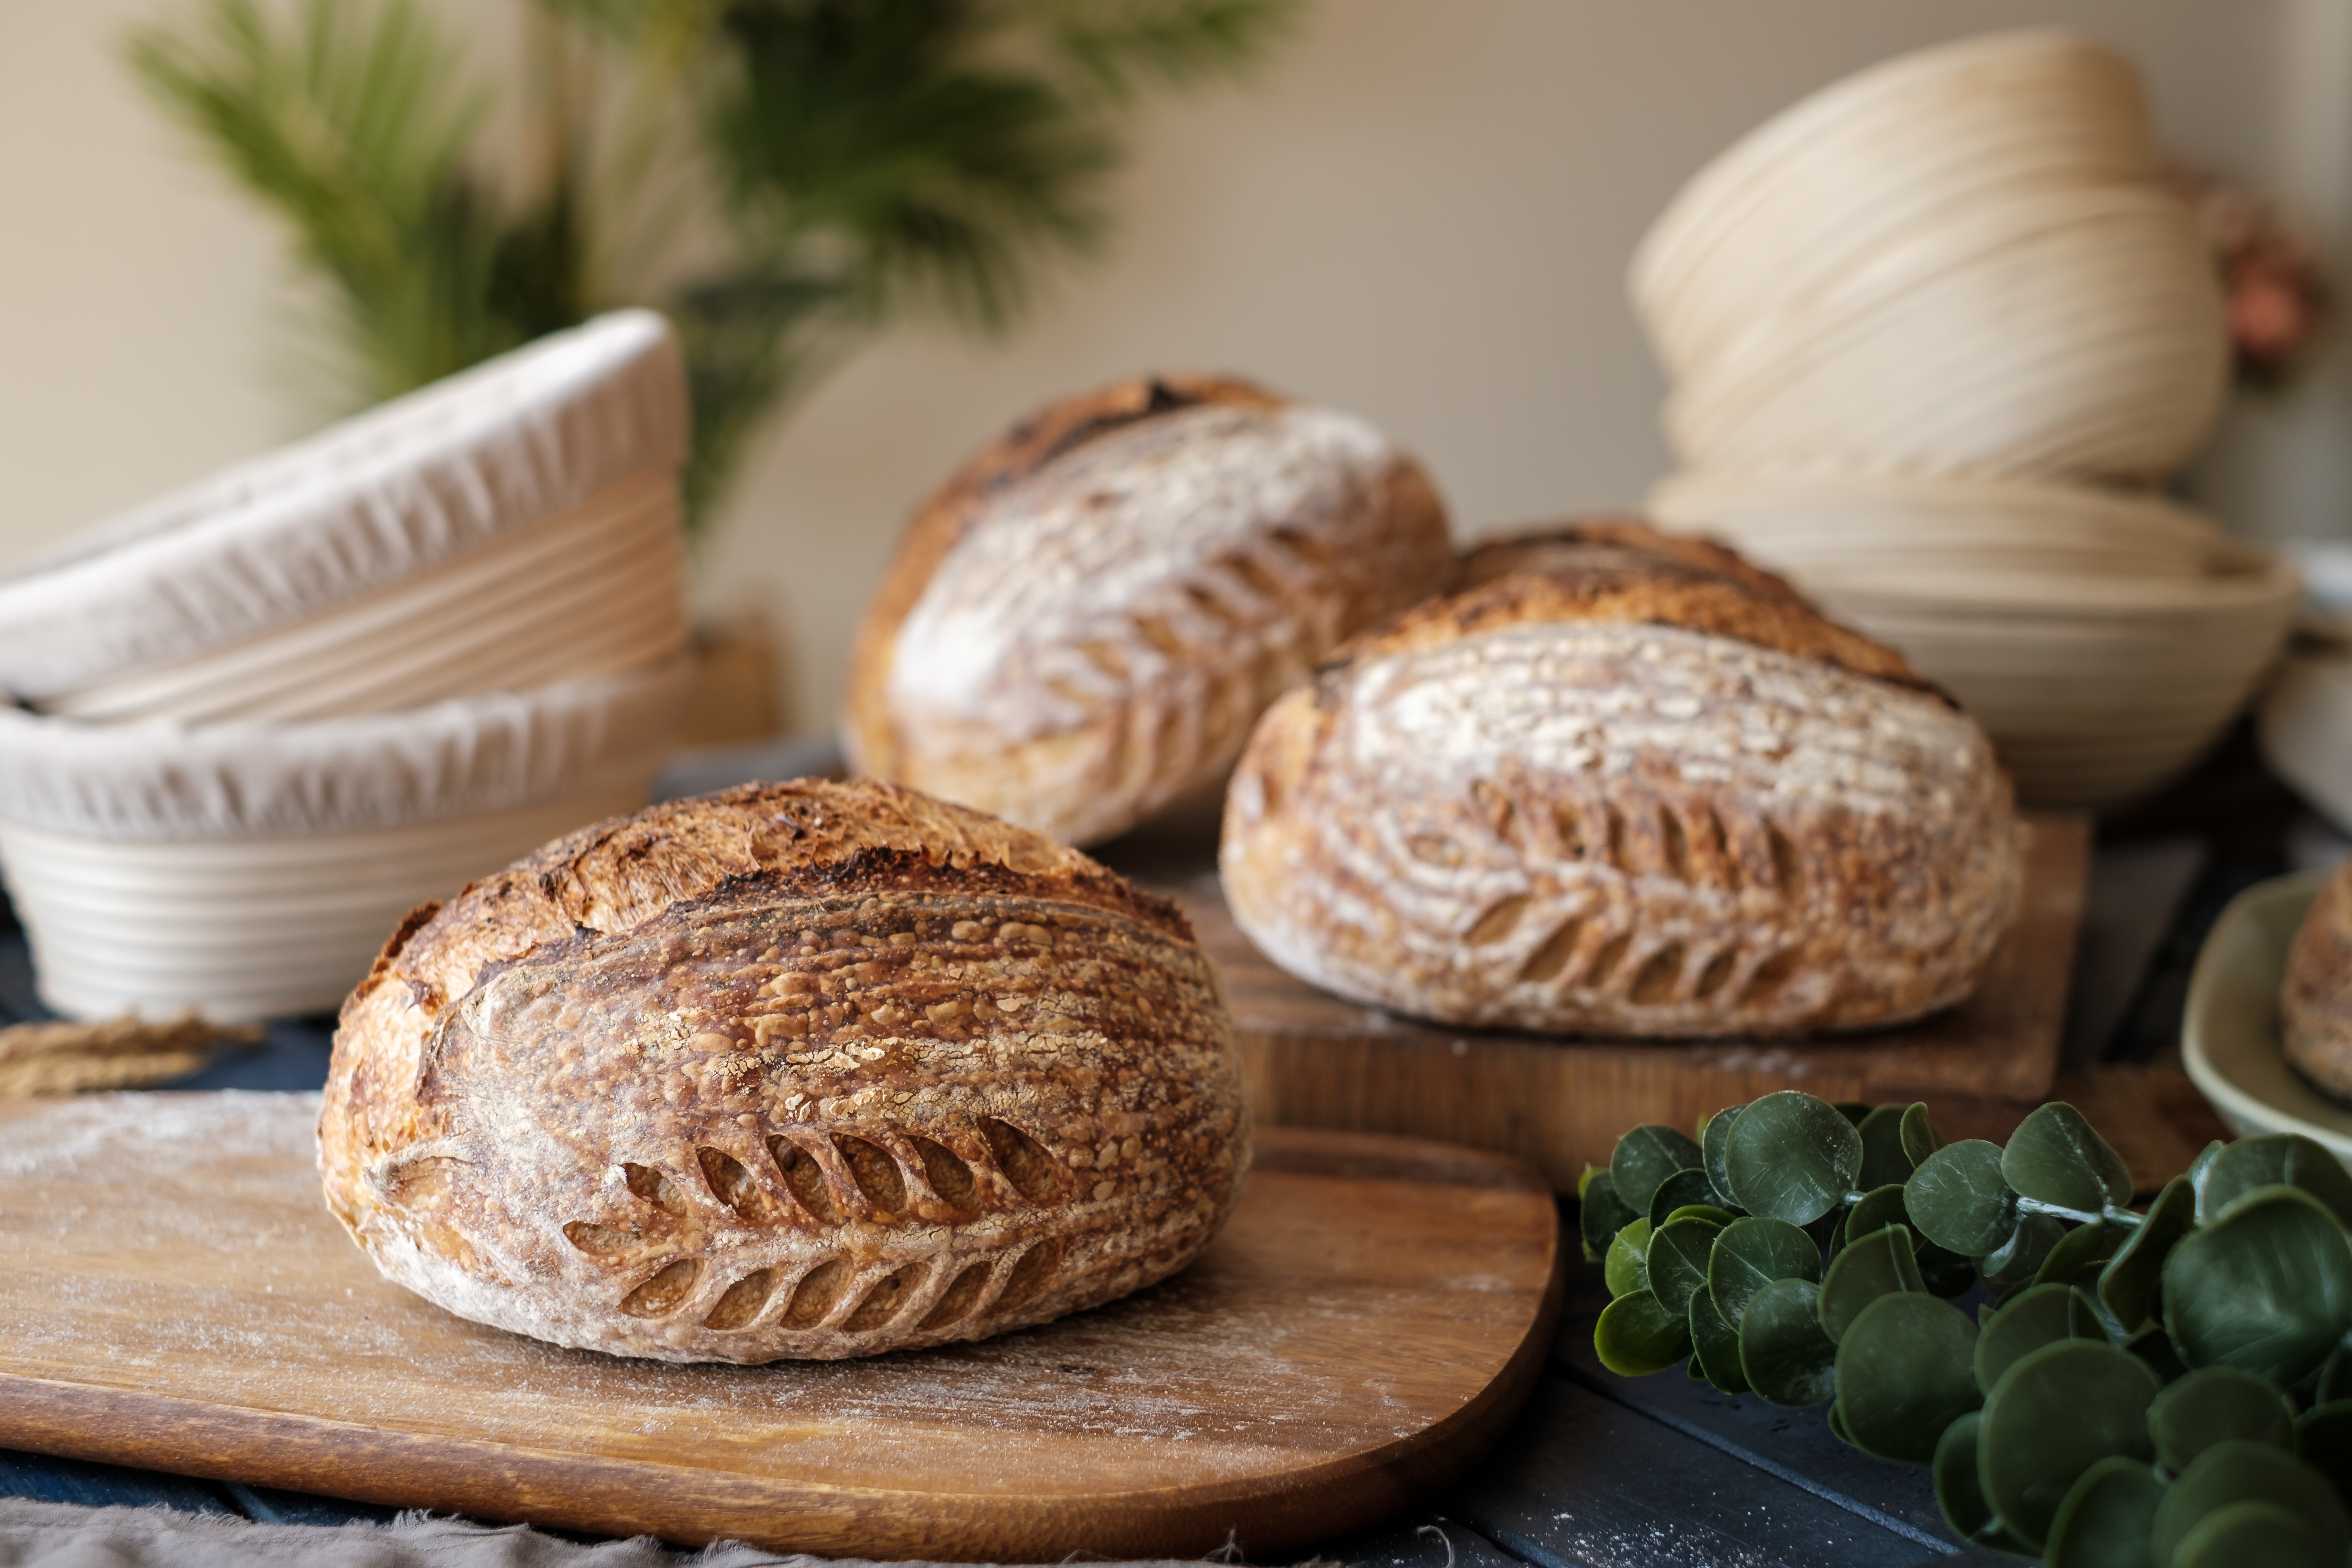
How to make perfect sourdough bread
How to make perfect sourdough…
Baker Vanessa Kimbell talks through how to achieve the perfect loaf of sourdough bread every…
Baker Vanessa Kimbell talks through how to achieve the perfect…
How to cook the perfect steak
How to cook the perfect…
So you want to cook the perfect steak? Ben Ebrell of SORTEDFood has plenty of tips and tricks…
So you want to cook the perfect steak? Ben Ebrell of SORTEDFood…
10 ways to reduce plastic in the kitchen
10 ways to reduce plastic…
We're all about living life with just a little less plastic. And the kitchen is the perfect…
We're all about living life with just a little less plastic.…
What does squirrel meat taste like?
What does squirrel meat…
Lean, free range and low in food miles. Should we all be eating grey squirrel?
Lean, free range and low in food miles. Should we all be eating…
