Minestrone Sourdough Bread

This sourdough recipe requires an active starter. Your homemade sourdough starter might consist only of flour and water, but it is crammed full of wild yeasts which provide natural fermentation and give your bread a lovely tangy flavour. This filling sourdough bread is infused with an array of flavours – potato, celeriac/celery root, carrot, leek, red onion, garlic and oregano – all the components of a minestrone soup. Fantastic for a winter's day!
40 minutes, plus 6-8 hours for autolysing and proofing prep, 35 minutes cook
Serves 4 mini loaves of sourdough bread
Ingredients
300g white bread flour, plus extra for dusting
5g celery salt
3g salt
20g coarsely grated fresh potato
30g coarsely grated fresh carrot
30g coarsely grated fresh celeriac/celery root
30g finely chopped fresh leek
10g finely sliced red onion
2g dried oregano
40g tomato purée
180ml lukewarm water
200g white sourdough starter
15g olive oil
Special equipment:
2 large mixing bowls
2 small mixing bowls
Cheese grater
Shower cap
4 proofing baskets (800-g/1¾ -lbs. capacity) or colander, floured
Deep roasting tray
Small peel, floured
Pastry brush
Method
In a small mixing bowl, mix the 300 grams bread flour and the two types of salt together thoroughly and set aside. This is the dry mixture for your sourdough bread.
In a separate small mixing bowl, add the grated potato, grated celeriac/celery root, grated carrot, chopped leek (just the green part), sliced red onion and the dried oregano and make sure all the ingredients are thoroughly mixed together.
In one of the large mixing bowls, dissolve the tomato purée in the lukewarm water, add the active sourdough starter and mix until dissolved (if the sourdough is stiff, break it into little pieces). This is the wet mixture.
Put the olive oil in the other large mixing bowl and set aside.
Mix the dry mixture with the vegetable mixture.
Add the wet mixture to the combined dry mixture and vegetable mixture and mix until it comes together and forms a rough bread dough.
Coat the sides of the bowl containing the olive oil with the oil, take the rough dough and place it in the bowl. Cover this bowl with a shower cap or with the bowl that contained the dry mixture and leave to stand for 10 minutes. This is called the autolyse stage.
Knead the bread dough for 10 seconds or until the dough resists. Leave to stand for 10 minutes.
Knead the dough another 3 times, covering the bowl with a shower cap or with the small mixing bowl between kneading and leaving it to stand for 10 minutes between each time. This allows for gluten development. After the final time, cover and allow the ball of dough to rest for 1 hour. Flour the proofing baskets.
Remove the dough from the large bowl, lightly sprinkle it with flour and divide it into 4 portions, shaped into balls. Place each ball of dough into a floured bread proofing basket.
Allow the dough to proof (rise) until it has doubled in size, which should take between 3 and 6 hours. Sourdough bread rises more slowly than bread made with commercial yeast. If your kitchen is fairly warm, you can just leave the proofing baskets on your work surface. If your kitchen isn’t that warm, you’ll need to follow the instructions as in recipe above, but leave the proofing baskets in the turned-off oven for 3–6 hours rather than 1-2 hours.
When it has risen, place the minestrone sourdough bread loaves in the refrigerator for 30 minutes. Meanwhile, preheat the oven to 250°C / Fan 230°C/ Gas 9 and place a deep roasting tray on the bottom surface of the oven.
Remove the loaves from the refrigerator, carefully remove each one from its bread proofing basket and place it on the lightly floured peel.
Place the loaves on a baking tray lined with a piece of parchment. Place them in the preheated oven and pour a cup of water onto the hot tray to create steam. Lower the oven temperature to 220°C/ Fan 200°C/Gas 7.
Bake the loaves for about 35 minutes until golden brown. You’ll know when they’re baked properly when you get a hollow sound when tapping it on the bottom with your knuckles. Allow the baked bread to cool on a wire rack before serving. And there you go - perfect sourdough bread!
Recipe taken from The First-Time Bread Baker by Emmanuel Hadjiandreou, published by Ryland Peters & Small (£18.99) Photography by Steve Painter © Ryland Peters & Small
Visit websiteMore recipes to try
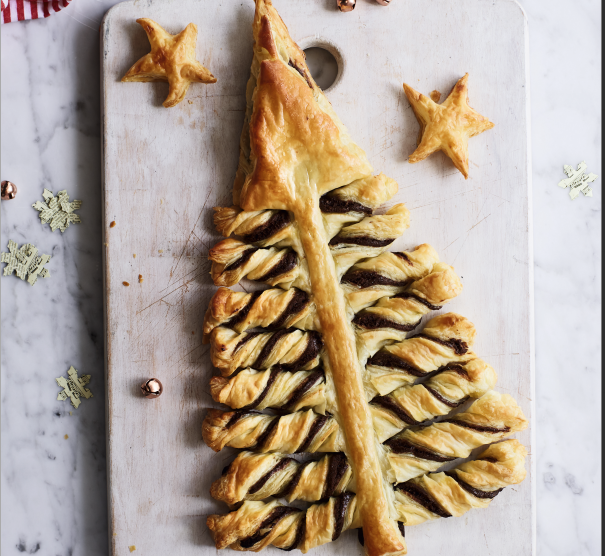
25 minutes
Serves 8

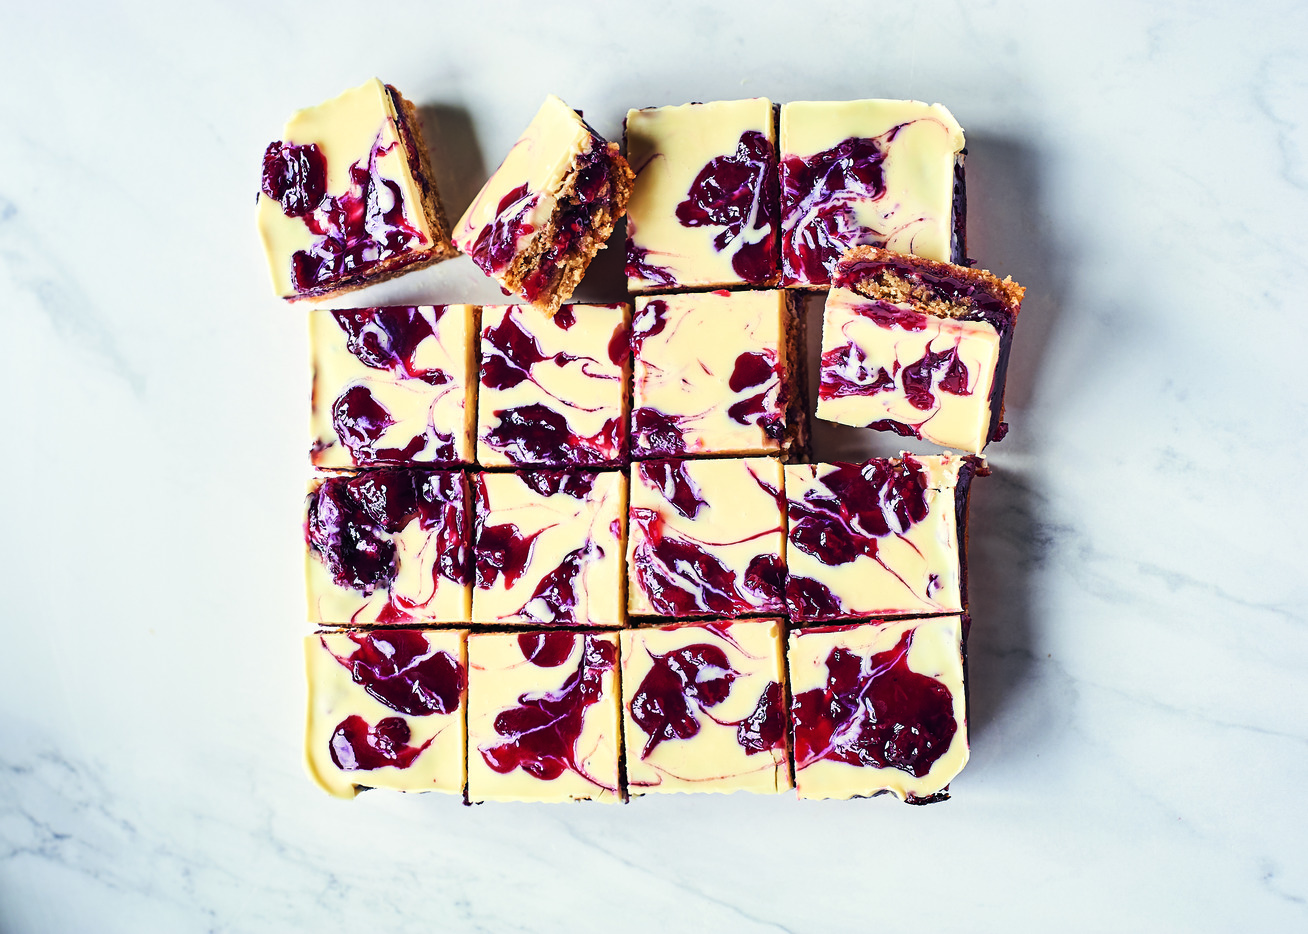
20 minutes plus chilling time
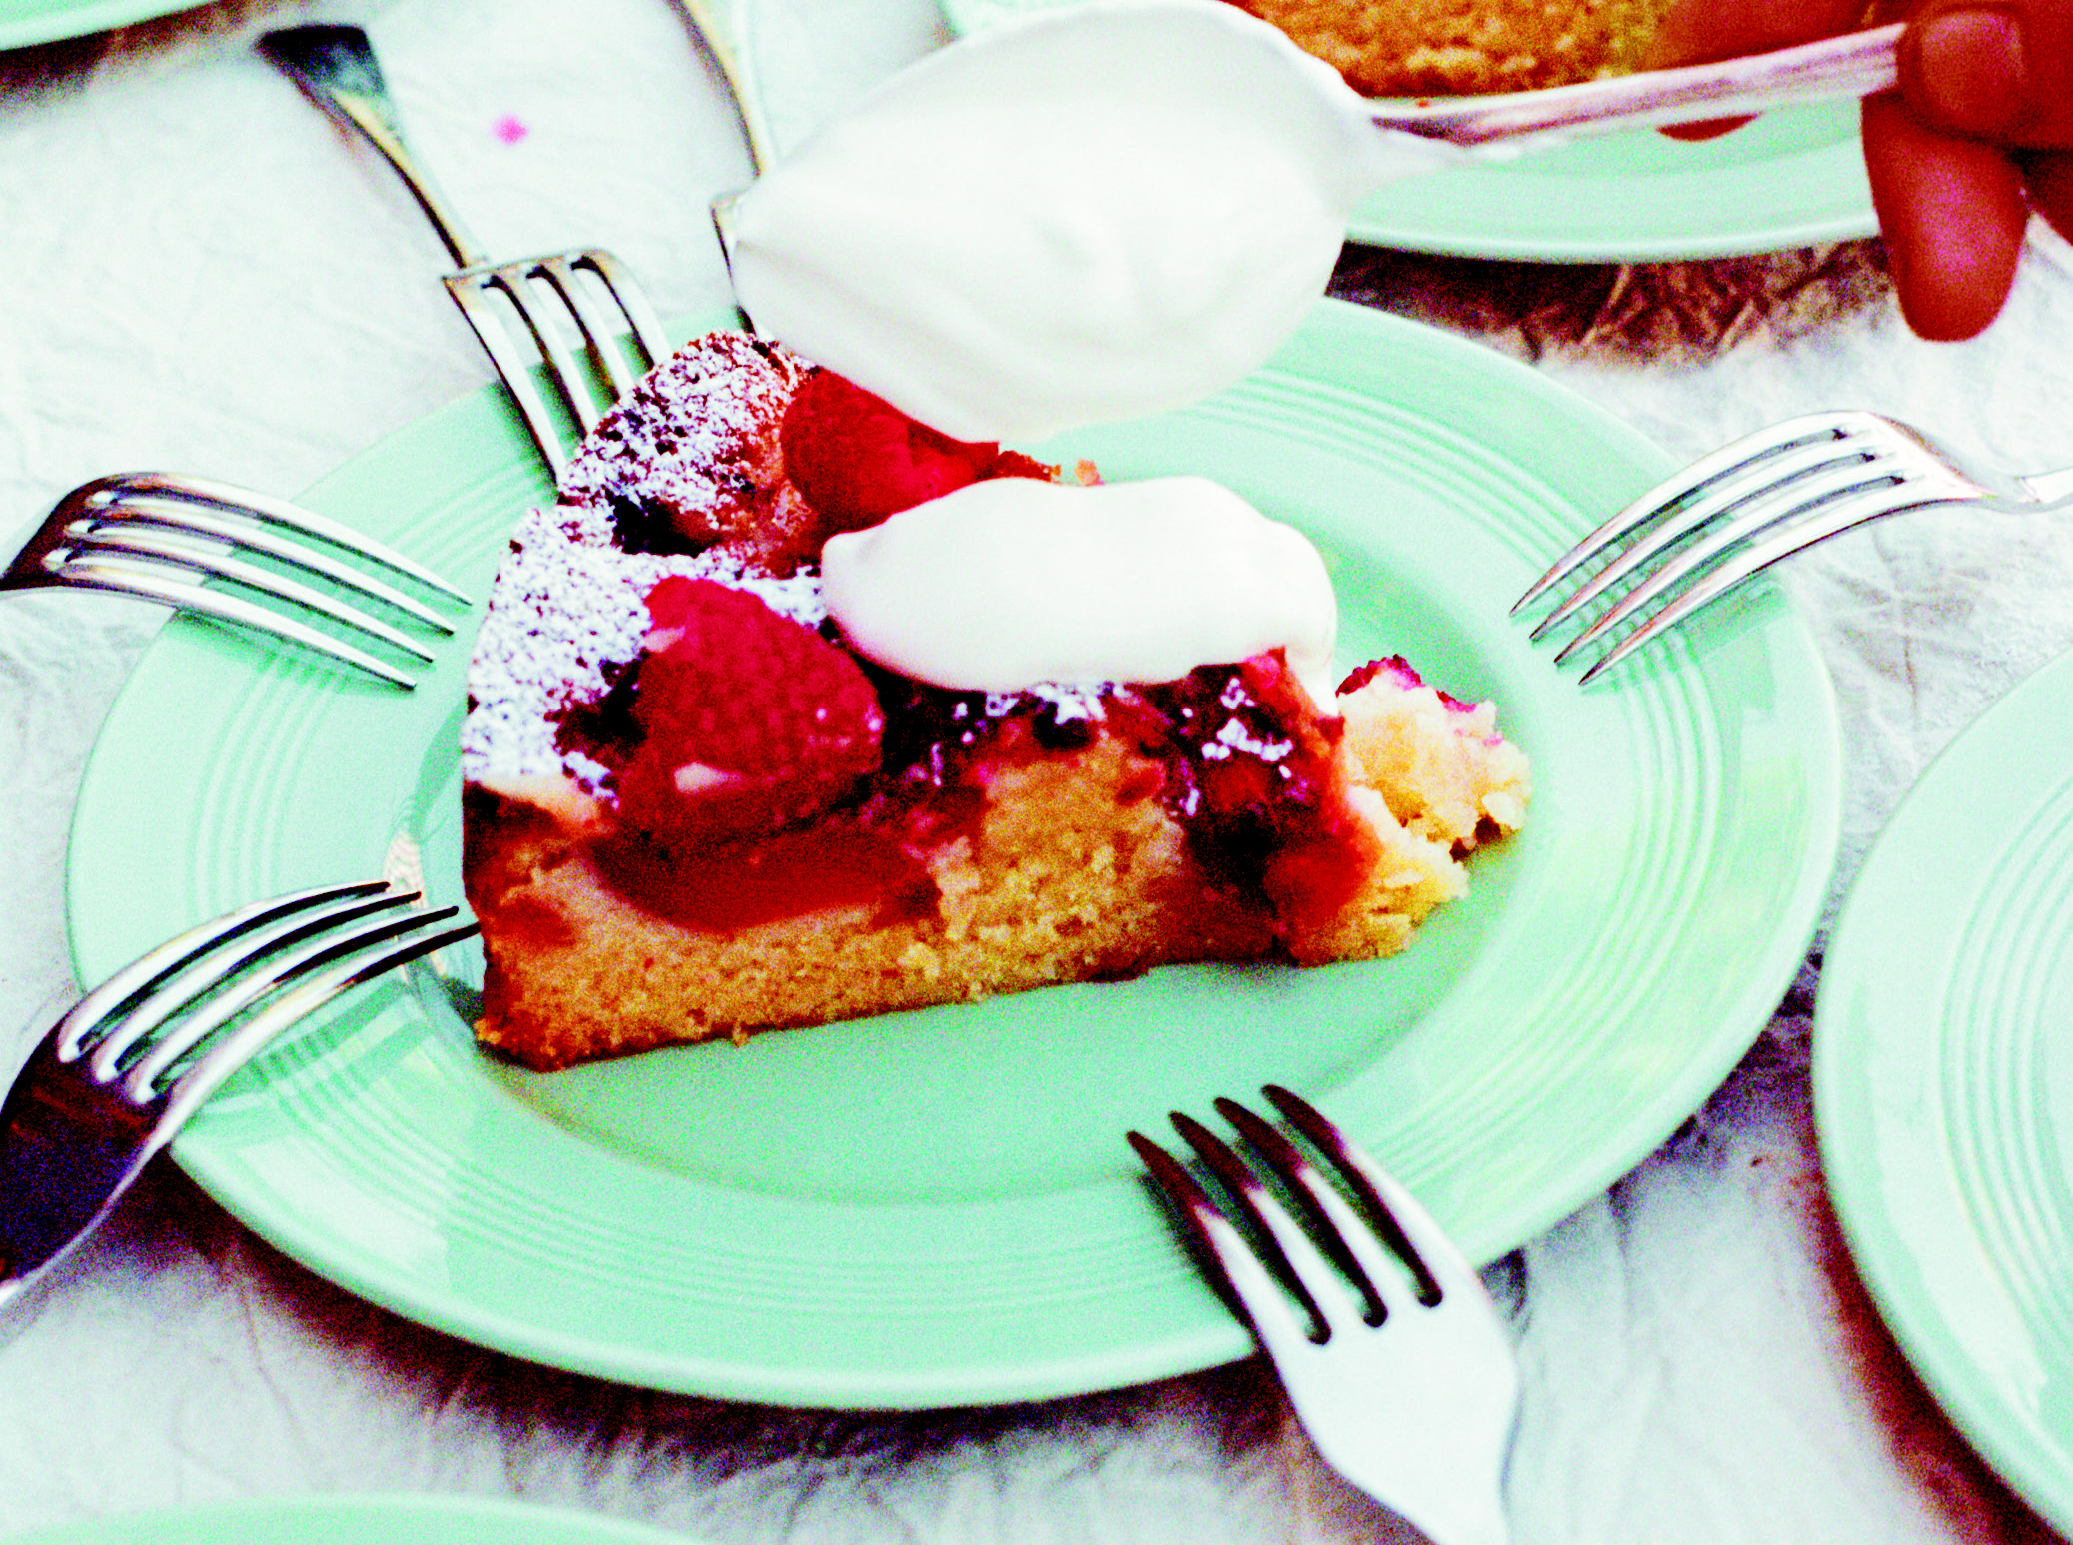
Serves 6-8 slices

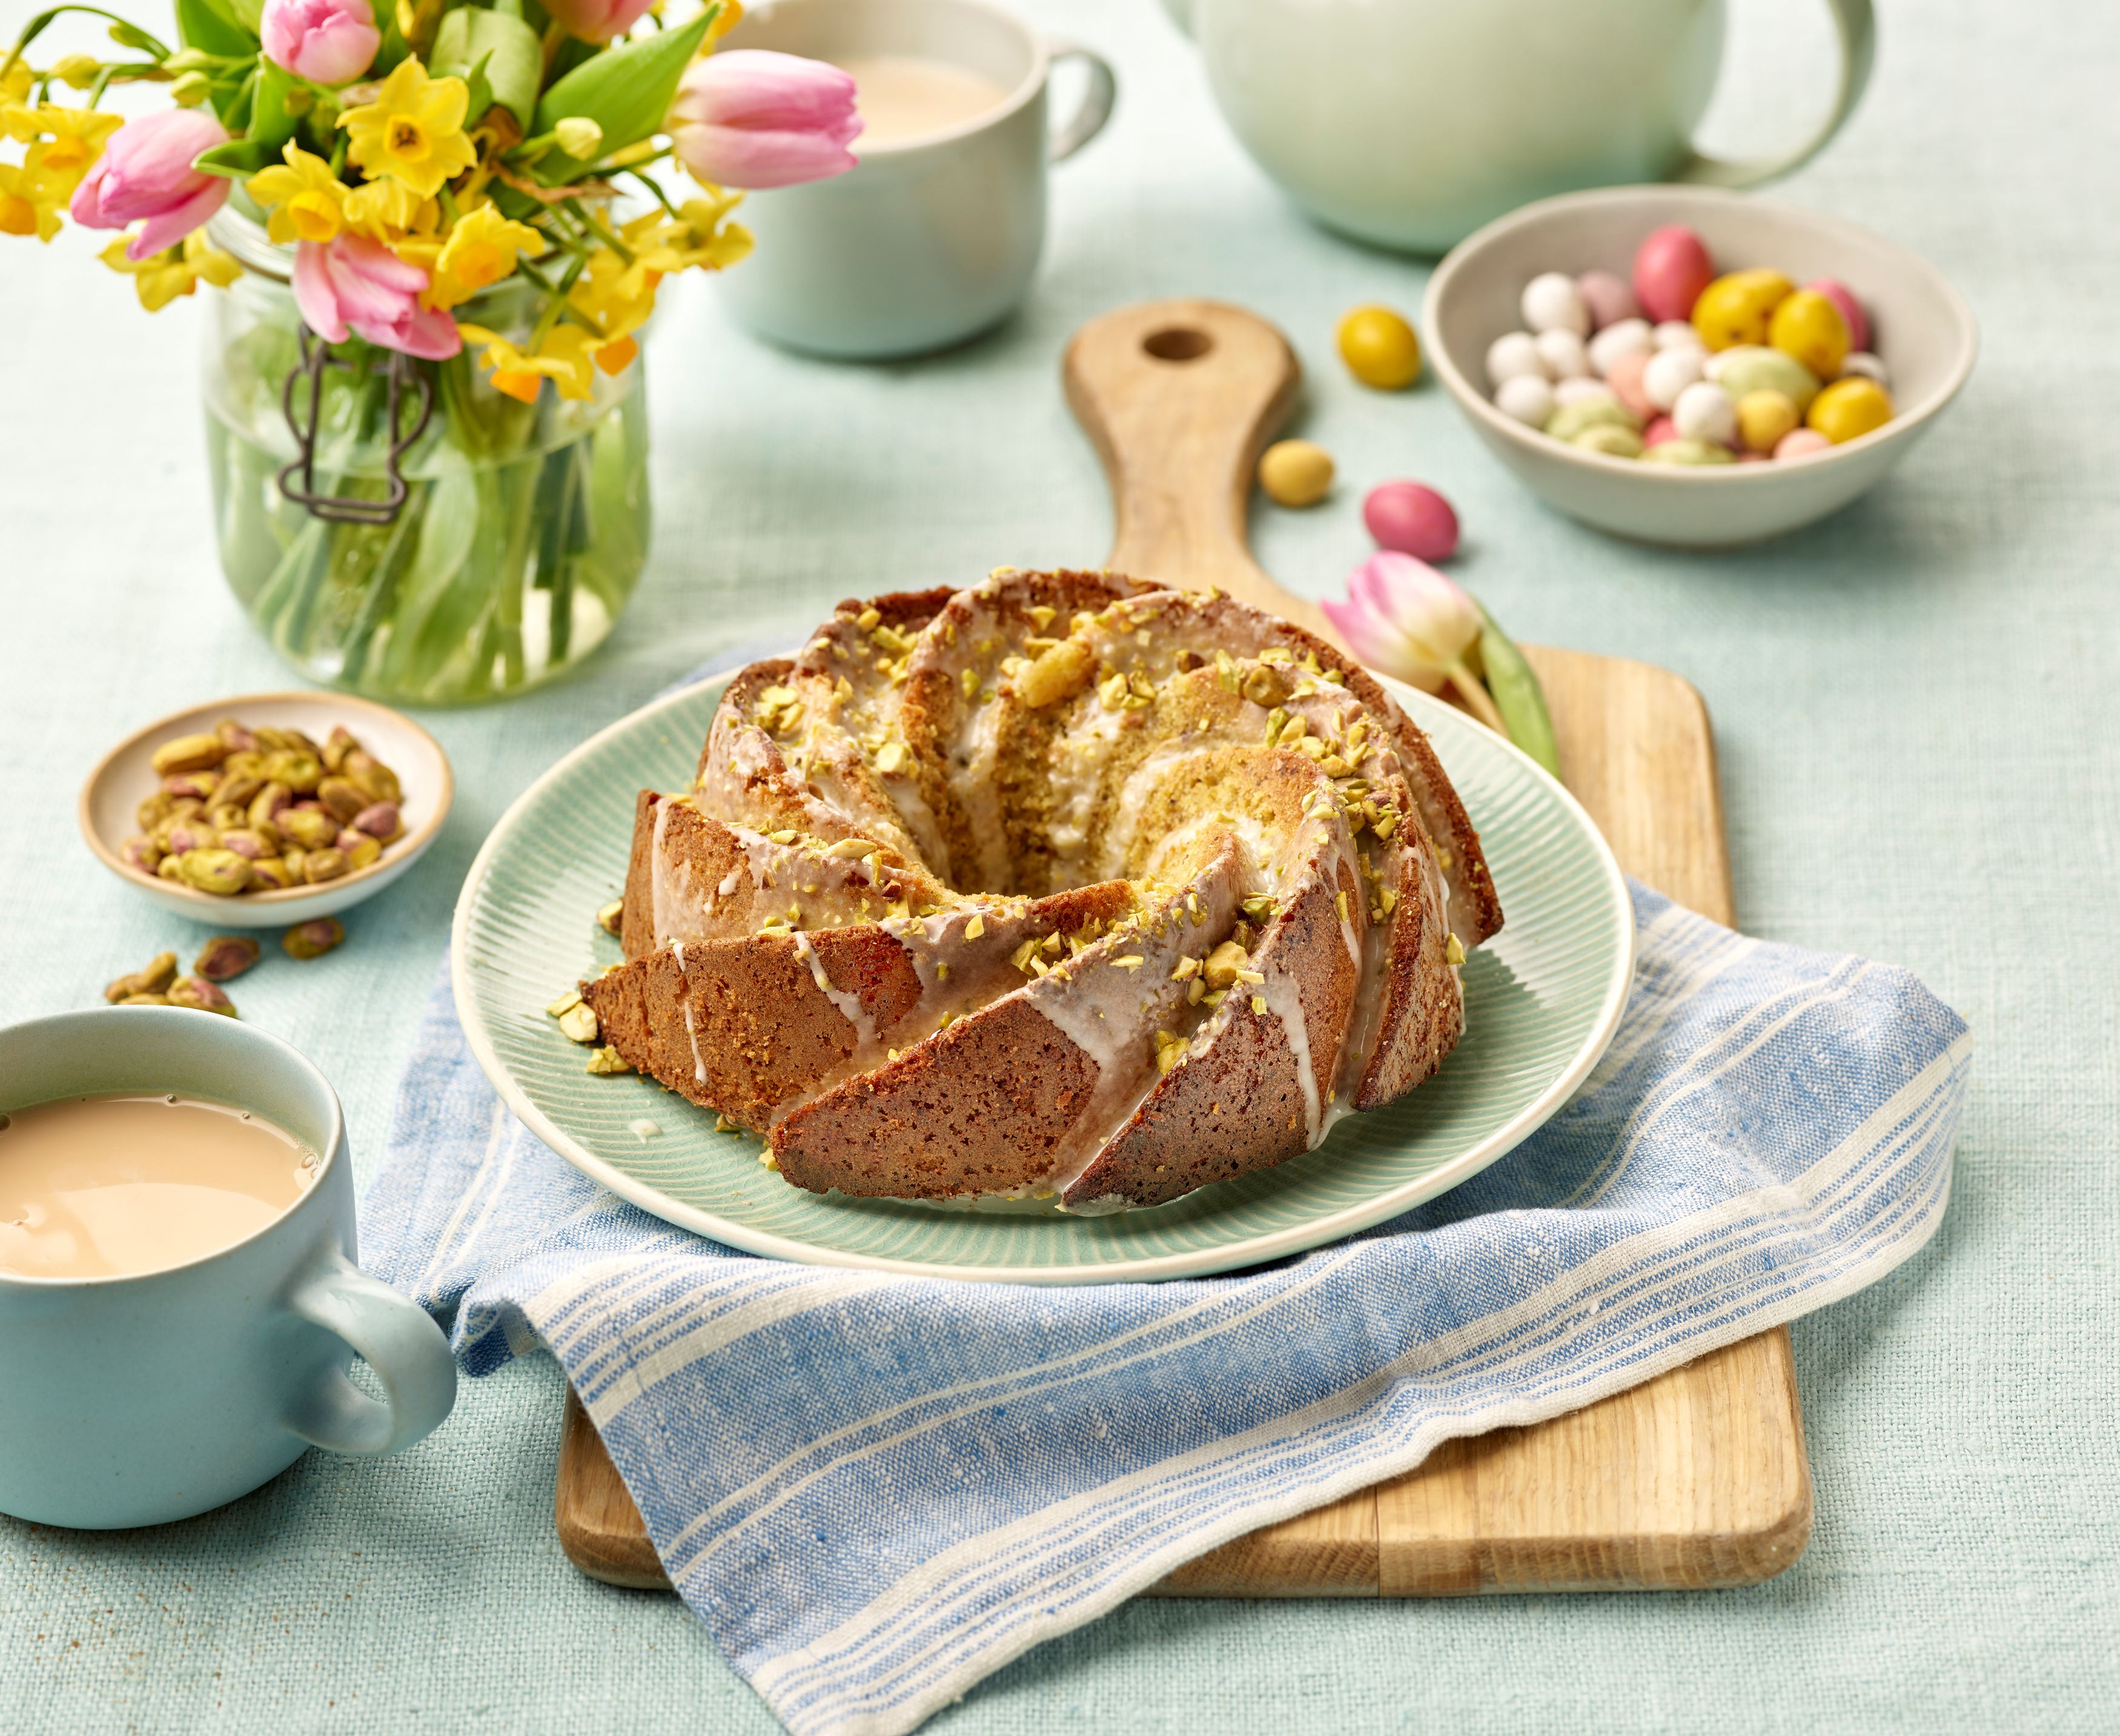
30 minutes
Serves 6-8


Great British Food Awards
Award winning foods

Boozy British trifle jars of joy
These layered trifles are summer in a glass – fragrant, fruity and just boozy enough to feel wonderfully indulgent…